We have already explained on other occasions how to access GDrive content from KODI and how to access a FTP server also from it. But the problem with accessing 4K content from the KODI addon is that it is very slow, causing problems such as momentary freezes or unwanted delays. On the other hand, FTP access works well but requires an unfeasible storage capacity.
In this article, we will use PlexDrive and the pyftpdlib library to serve GDrive content to a KODI installed on AndroidTV.
PlexDrive:
We must bear in mind that access to GDrive from PlexDrive is read-only:
Please note that plexdrive doesn't currently support writes (adding new files or modifications), it only supports reading existing files and deletion.
In my case, I will use a jail under IOCage from which I will import the GDrive content and serve it via FTP.
We mount the file system via FUSE in the parent and pass it to the jail so as not to have to modify special permissions in it.
We install the necessary software:
We load the fusefs module:
Now there should be a device called fuse:
crw-rw-rw- 1 root operator 0xe3 Nov 30 23:28 /dev/fuse
We configure the OS to load the module automatically at each startup:
kld_list="fusefs ..."
We find out the drive-id by copying it from the browser URL shown when we access GDrive. In my case, the URL looks like this:
https://drive.google.com/drive/folders/0ANN6pzUlNUgXUk9PVA
The drive-id is: 0ANN6pzUlNUgXUk9PVA
We download PlexDrive, and we can see the available versions at
this Github link
.
chmod 700 plexdrive-freebsd-amd64
We create the directory where we will mount the GDrive unit:
We manually start PlexDrive:
1. Please go to https://console.developers.google.com/
2. Create a new project
3. Go to library and activate the Google Drive API
4. Go to credentials and create an OAuth client ID
5. Set the application type to 'other'
6. Specify some name and click create
7. Enter your generated client ID:
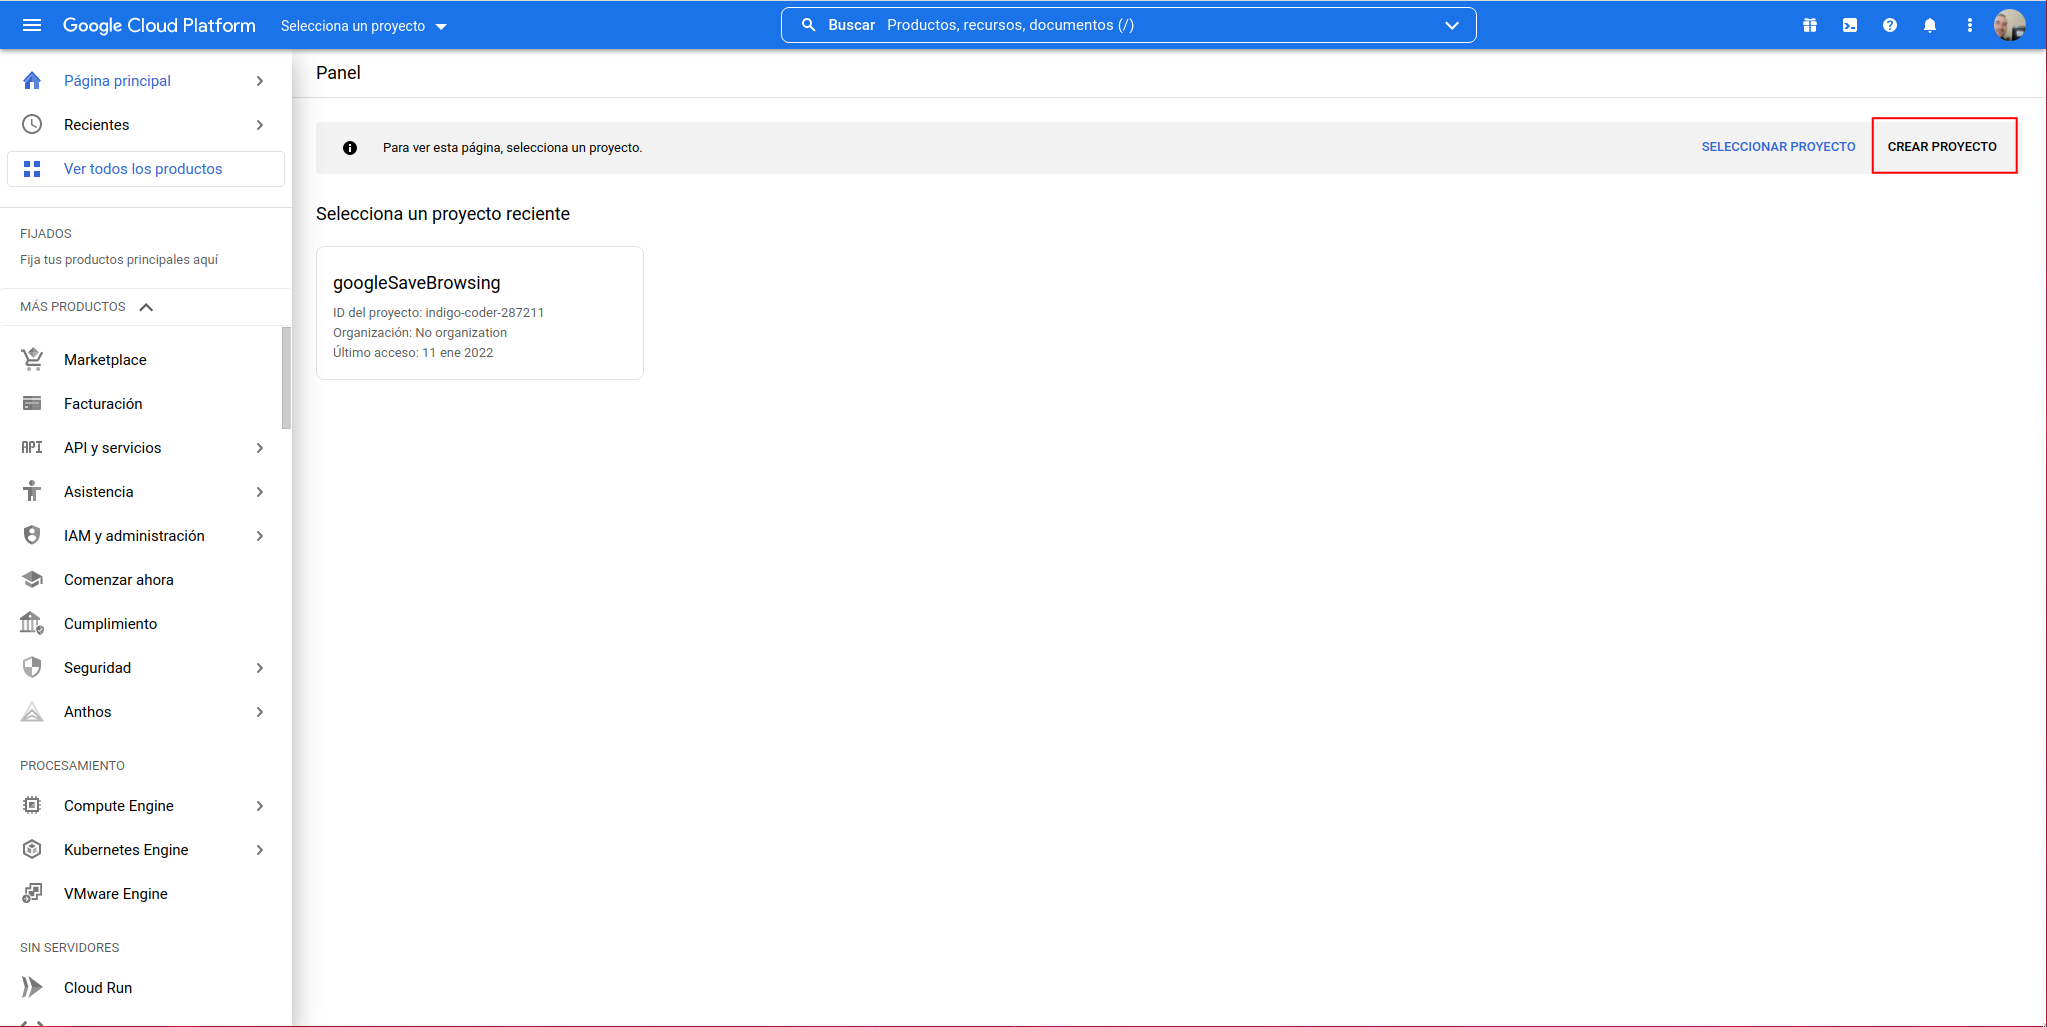
When accessing the displayed URL, we will see the following interface where we must click the button on the right “CREATE PROJECT”:
We indicate a name and click on create:
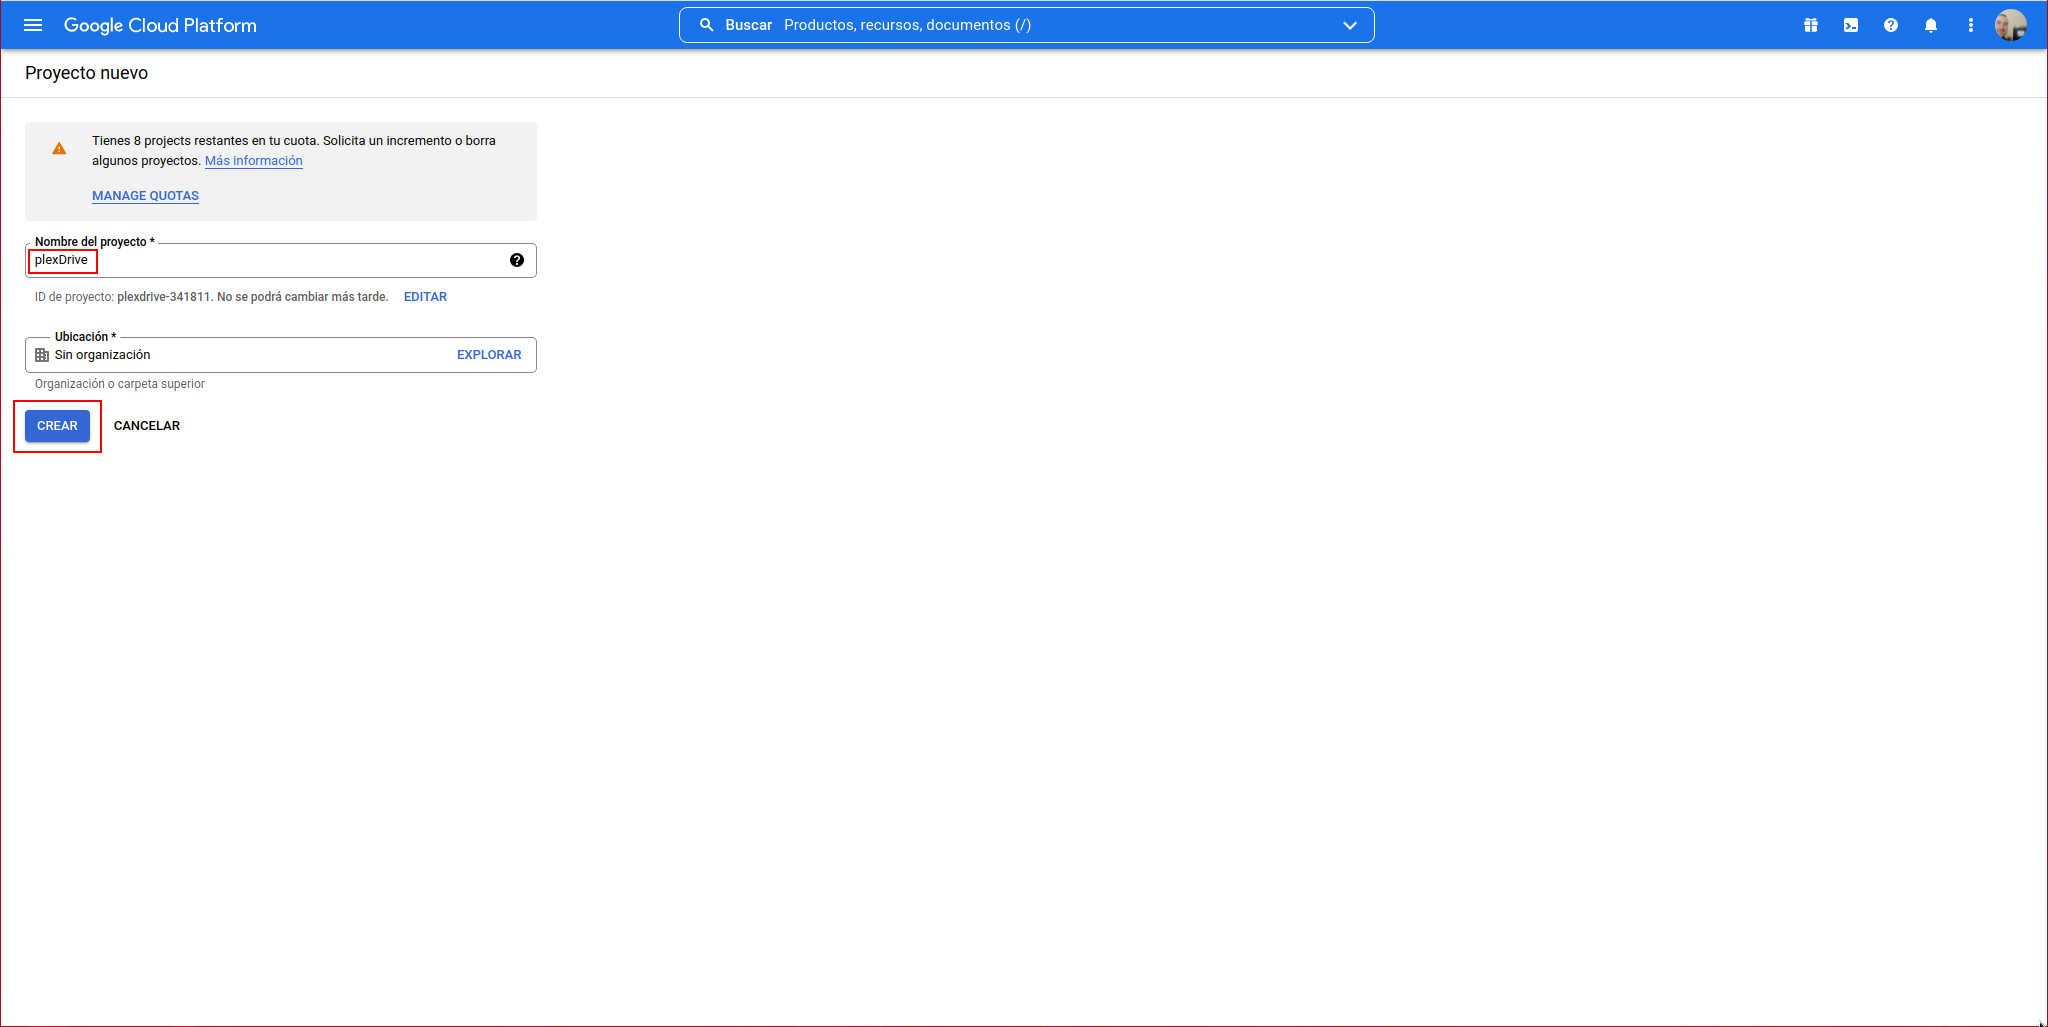
We already have the project created:
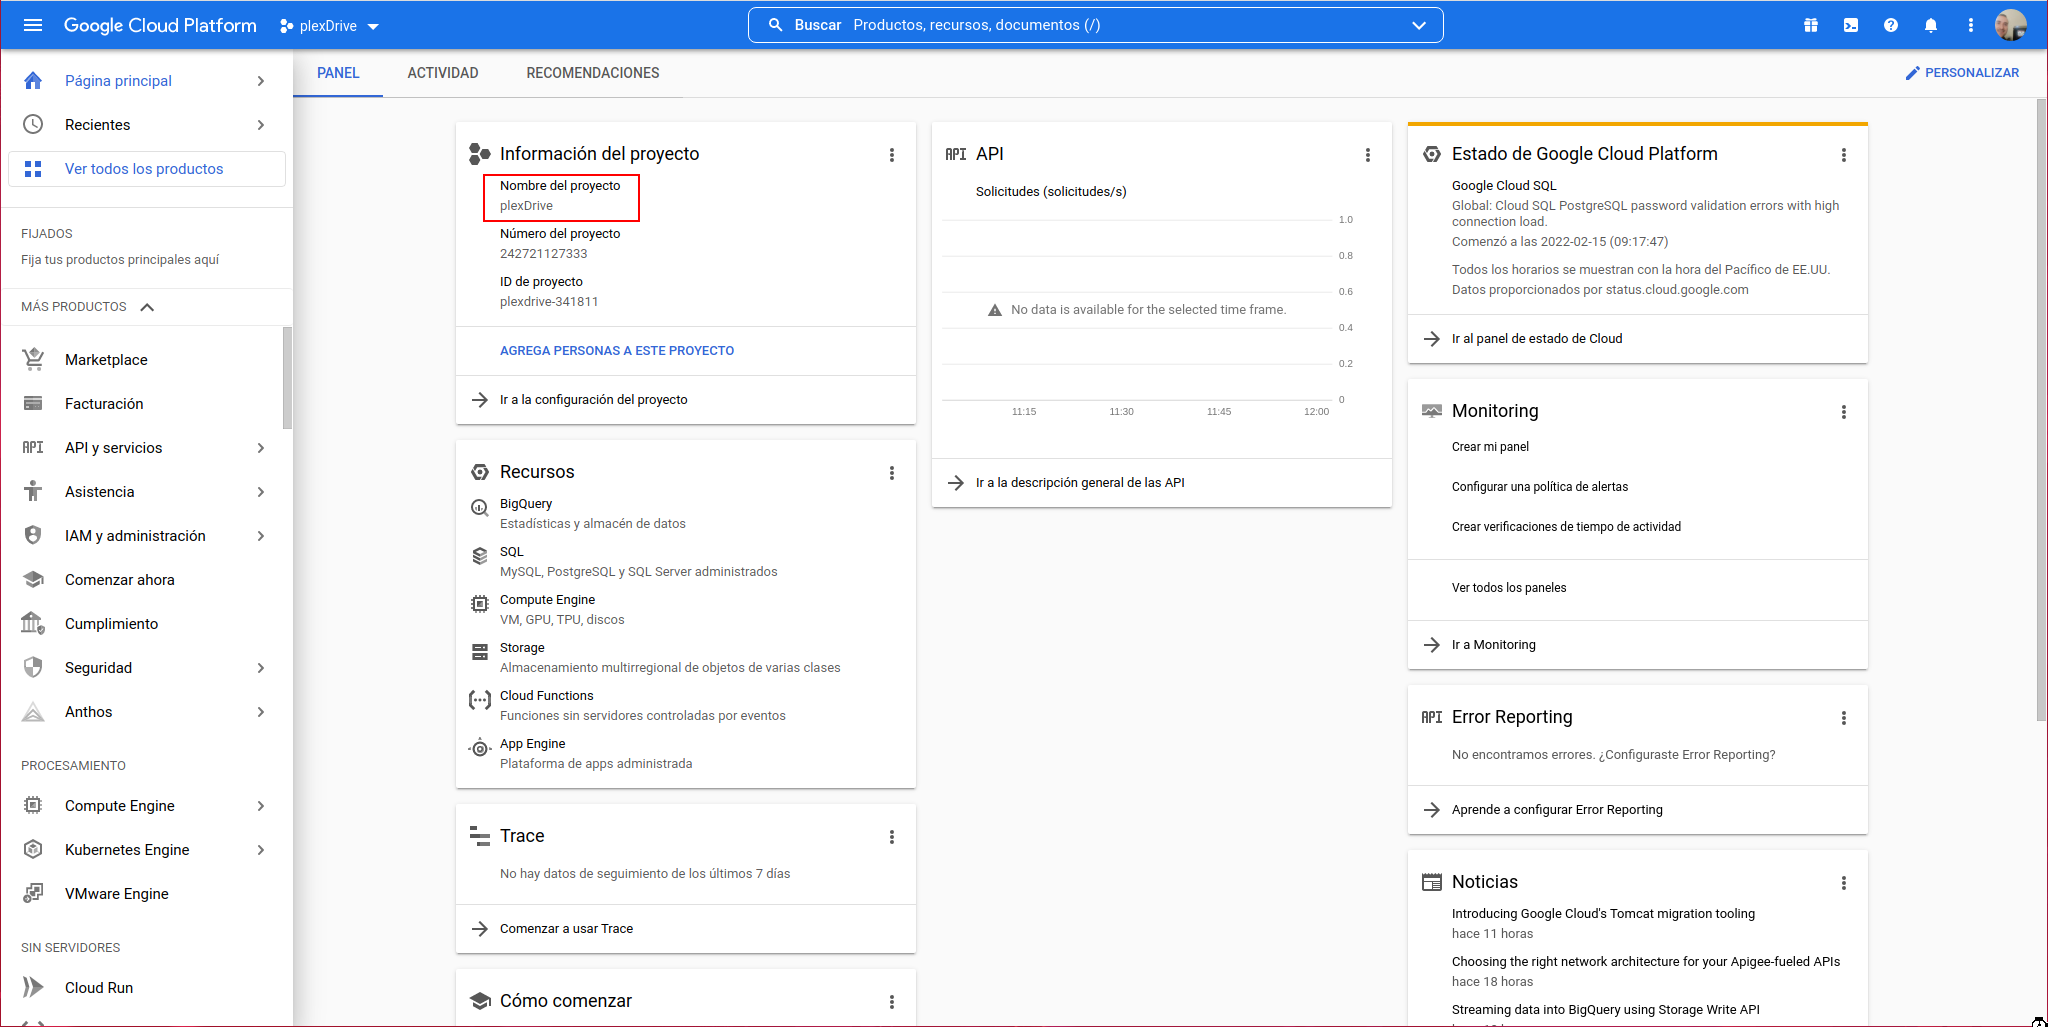
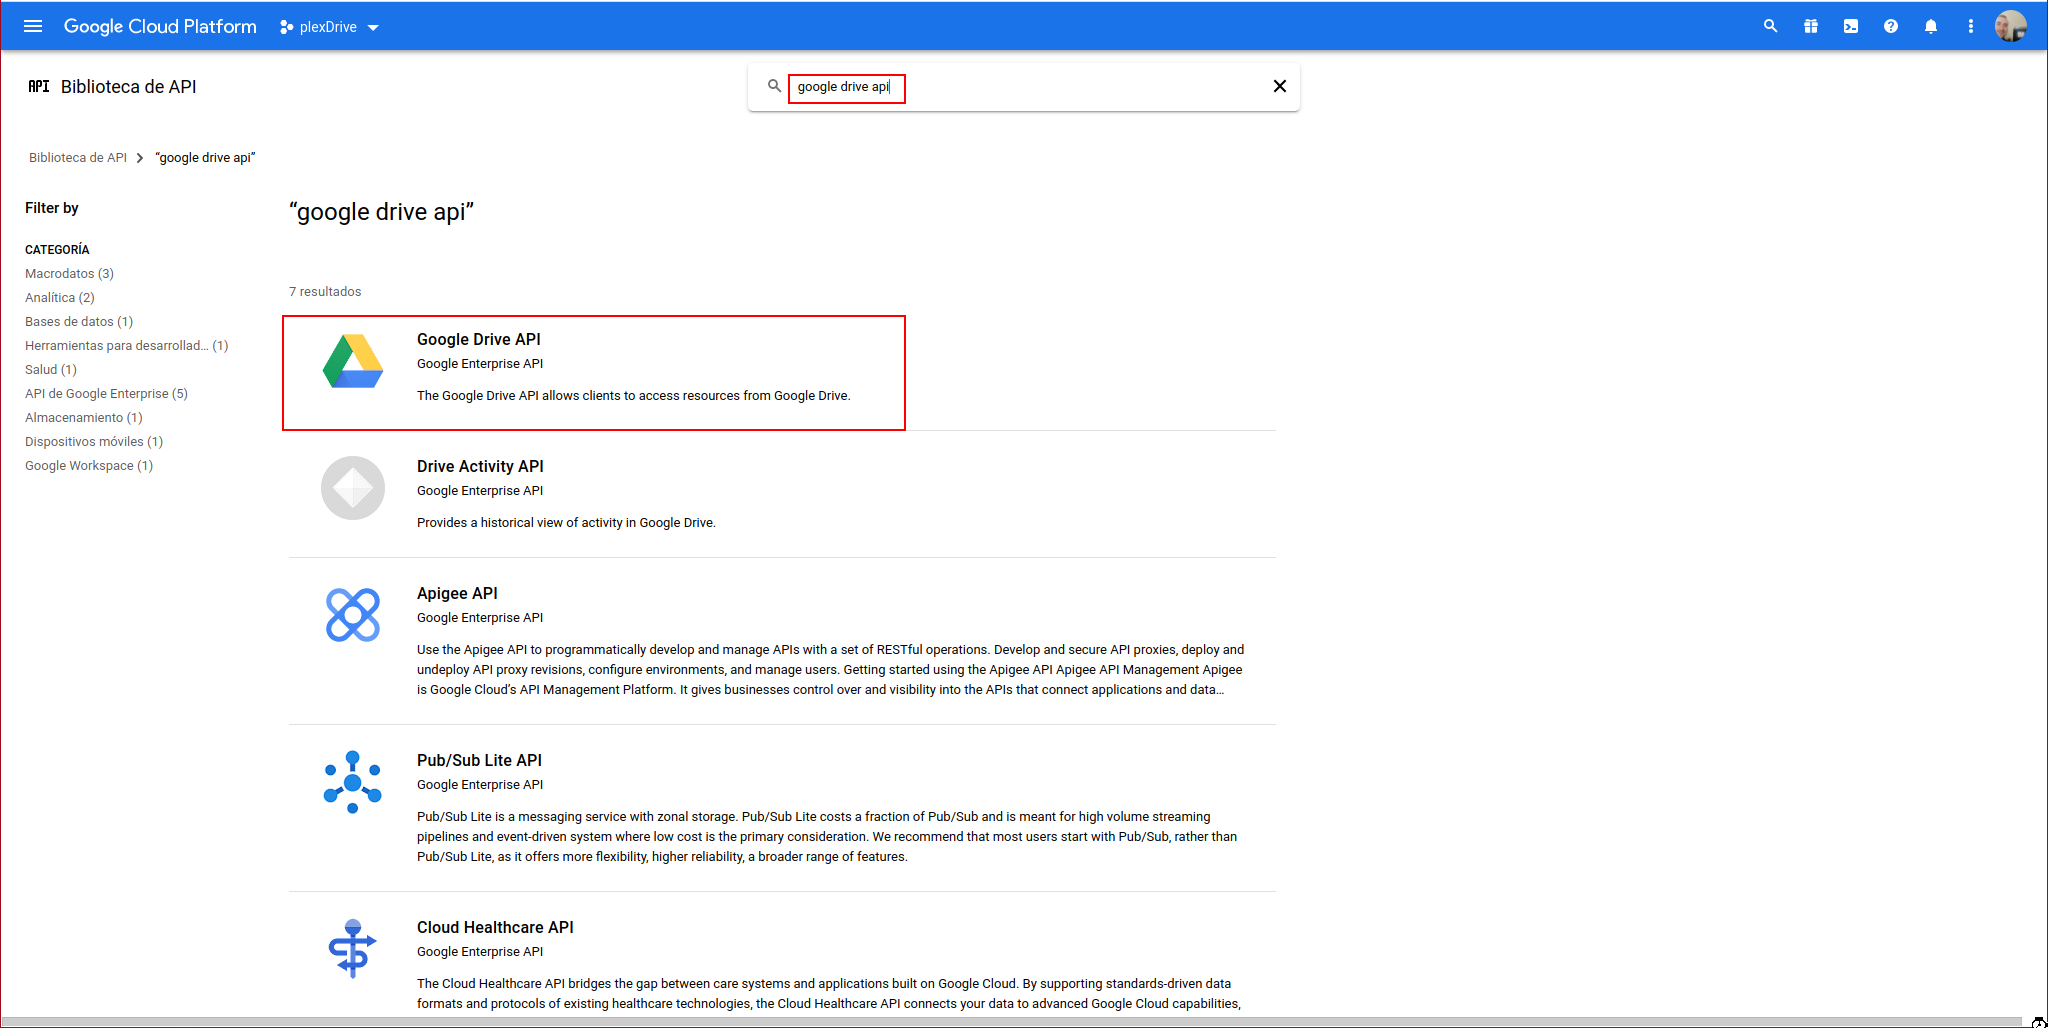
We activate the Google Drive API in the project, for this we access “APIs & Services” -> Library:

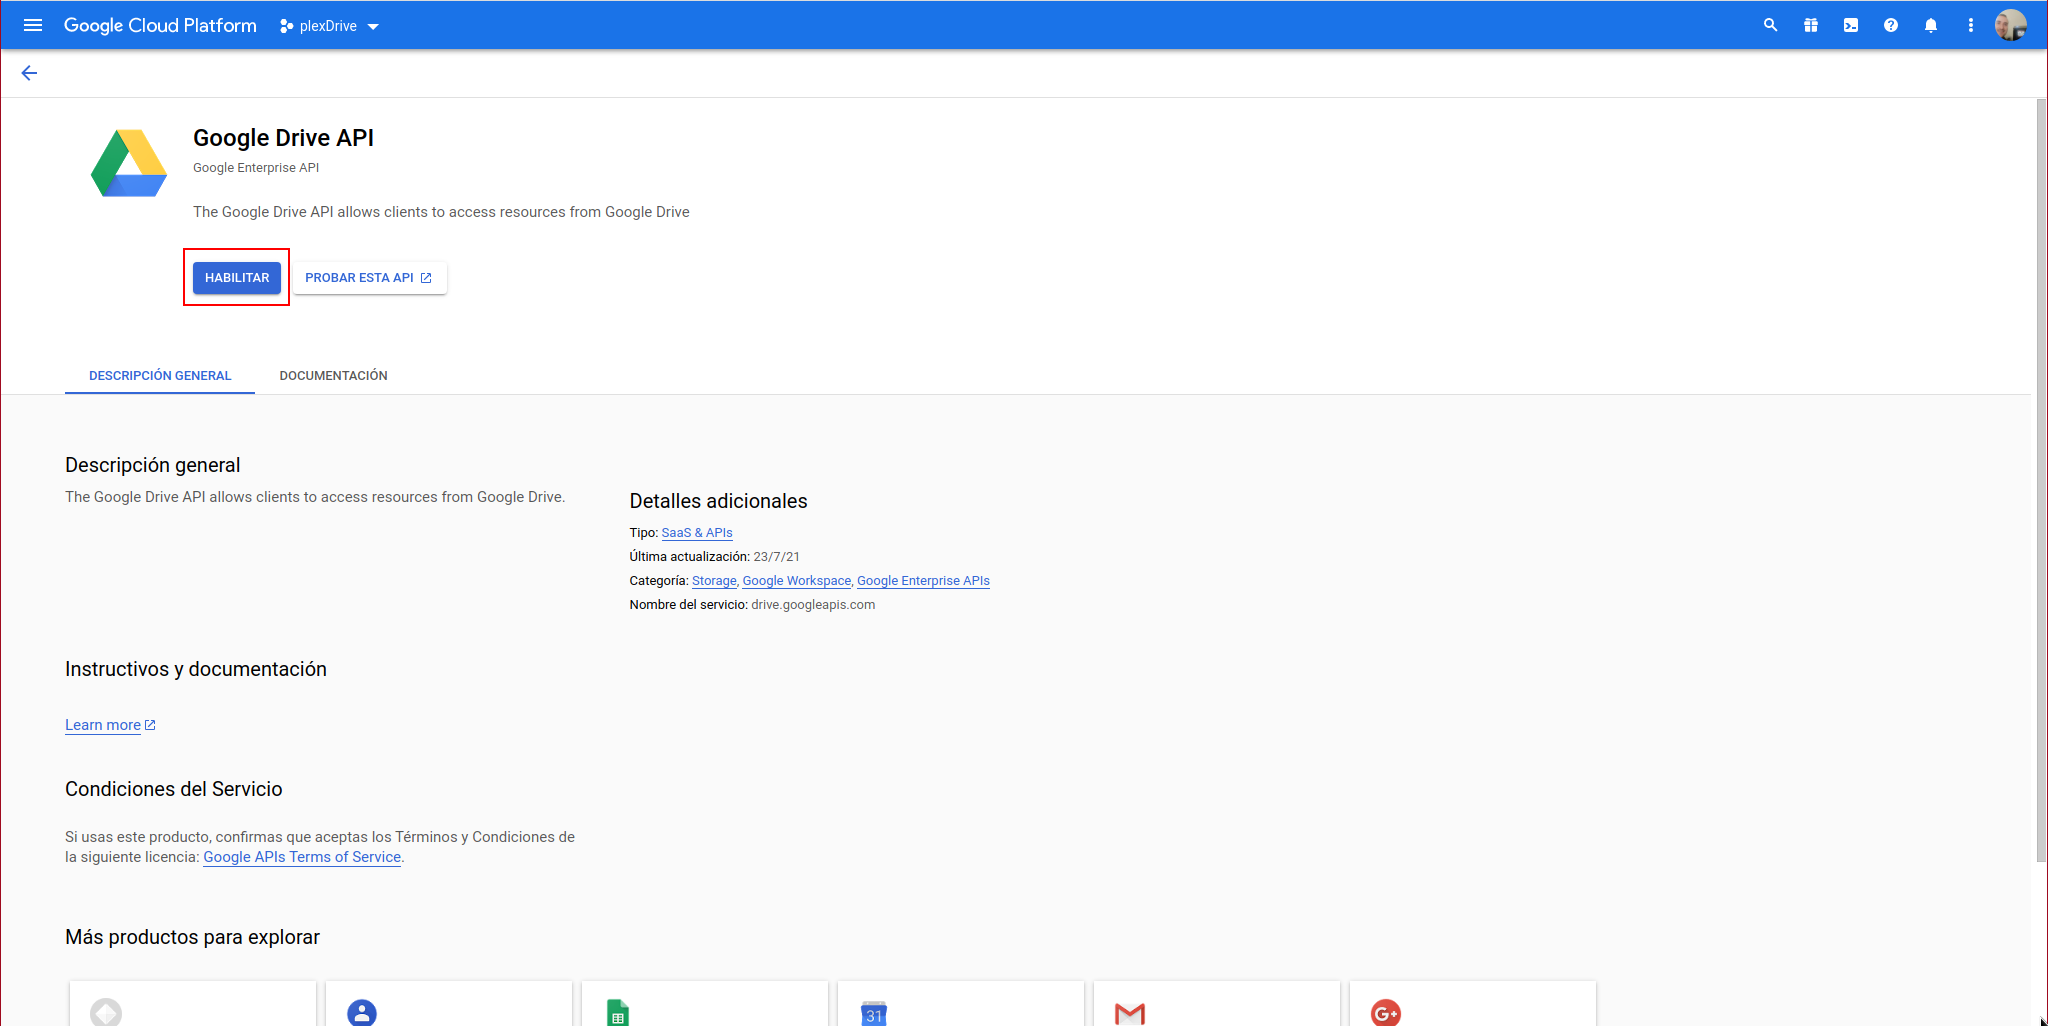
We search for “Google Drive API” and click on it:
We click on enable:
The following window will appear where we must create the access credentials:
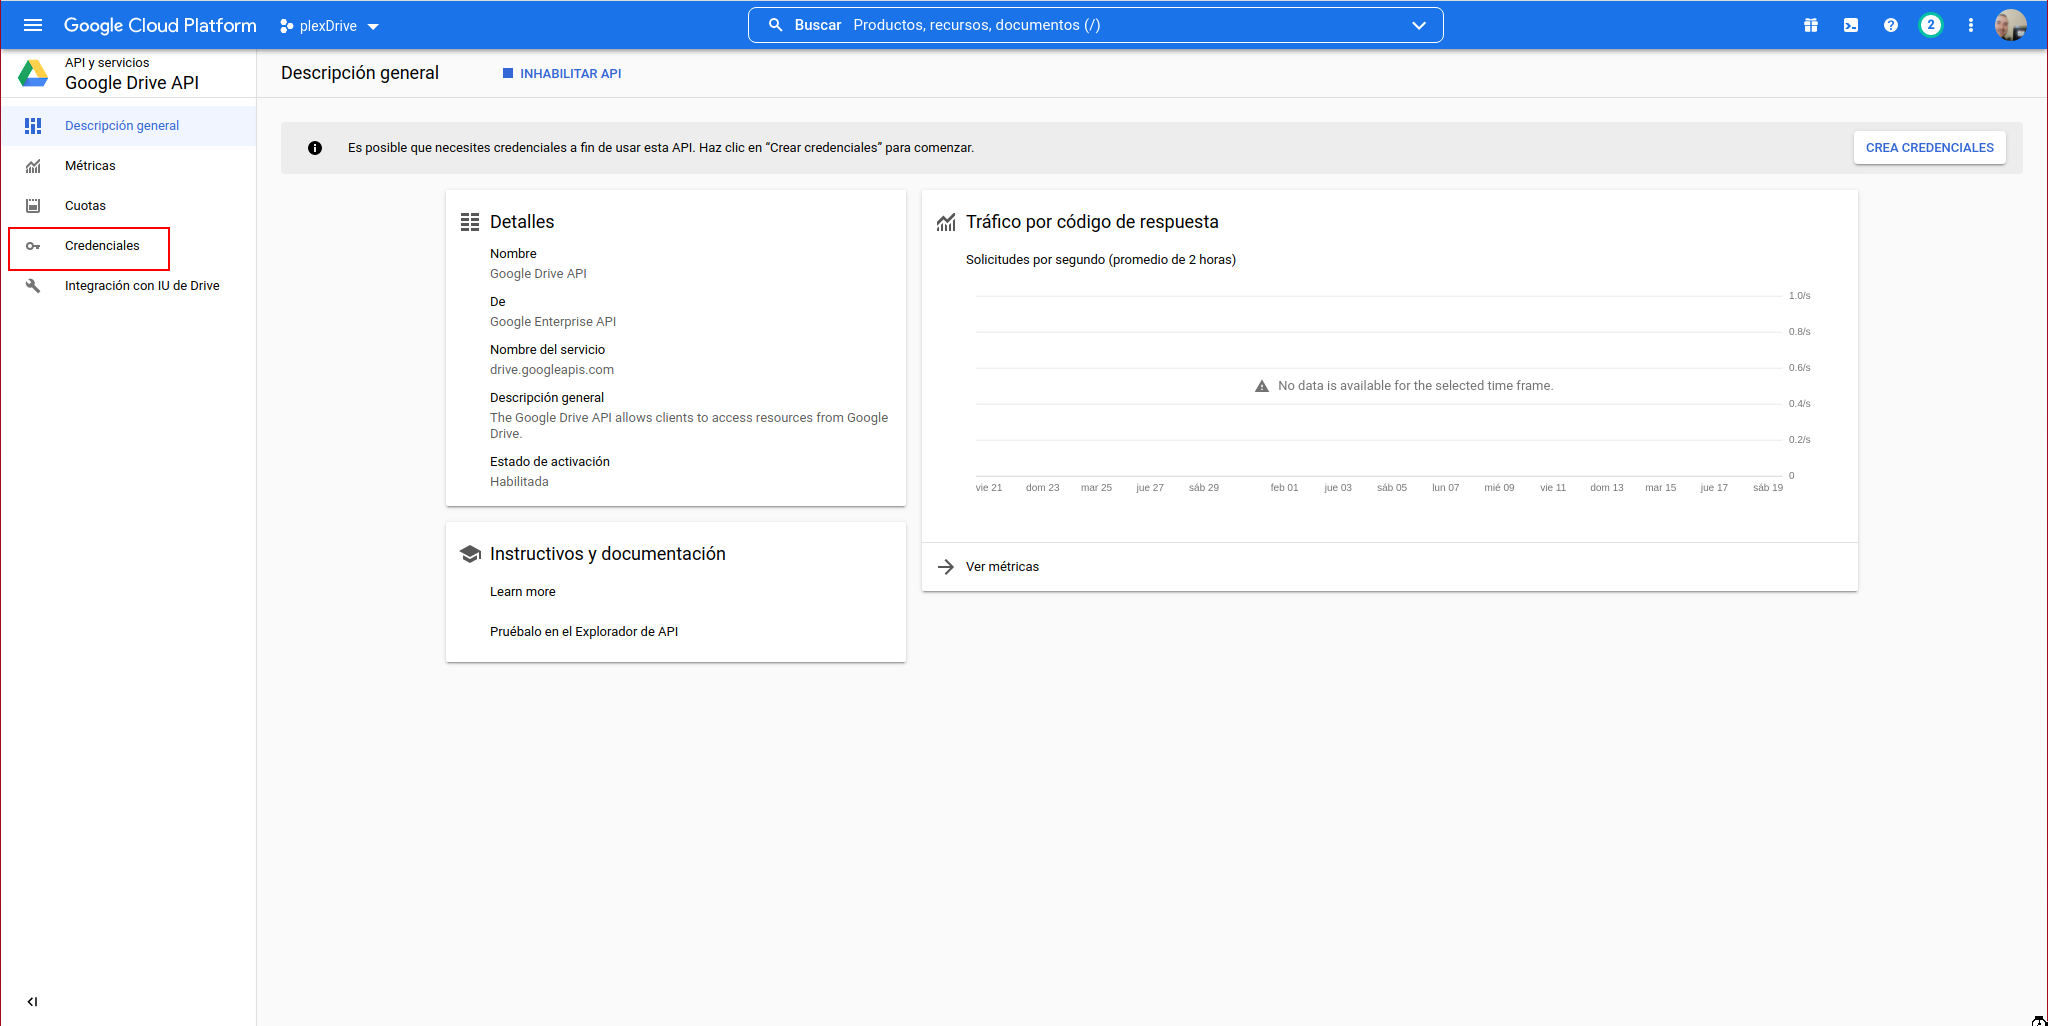
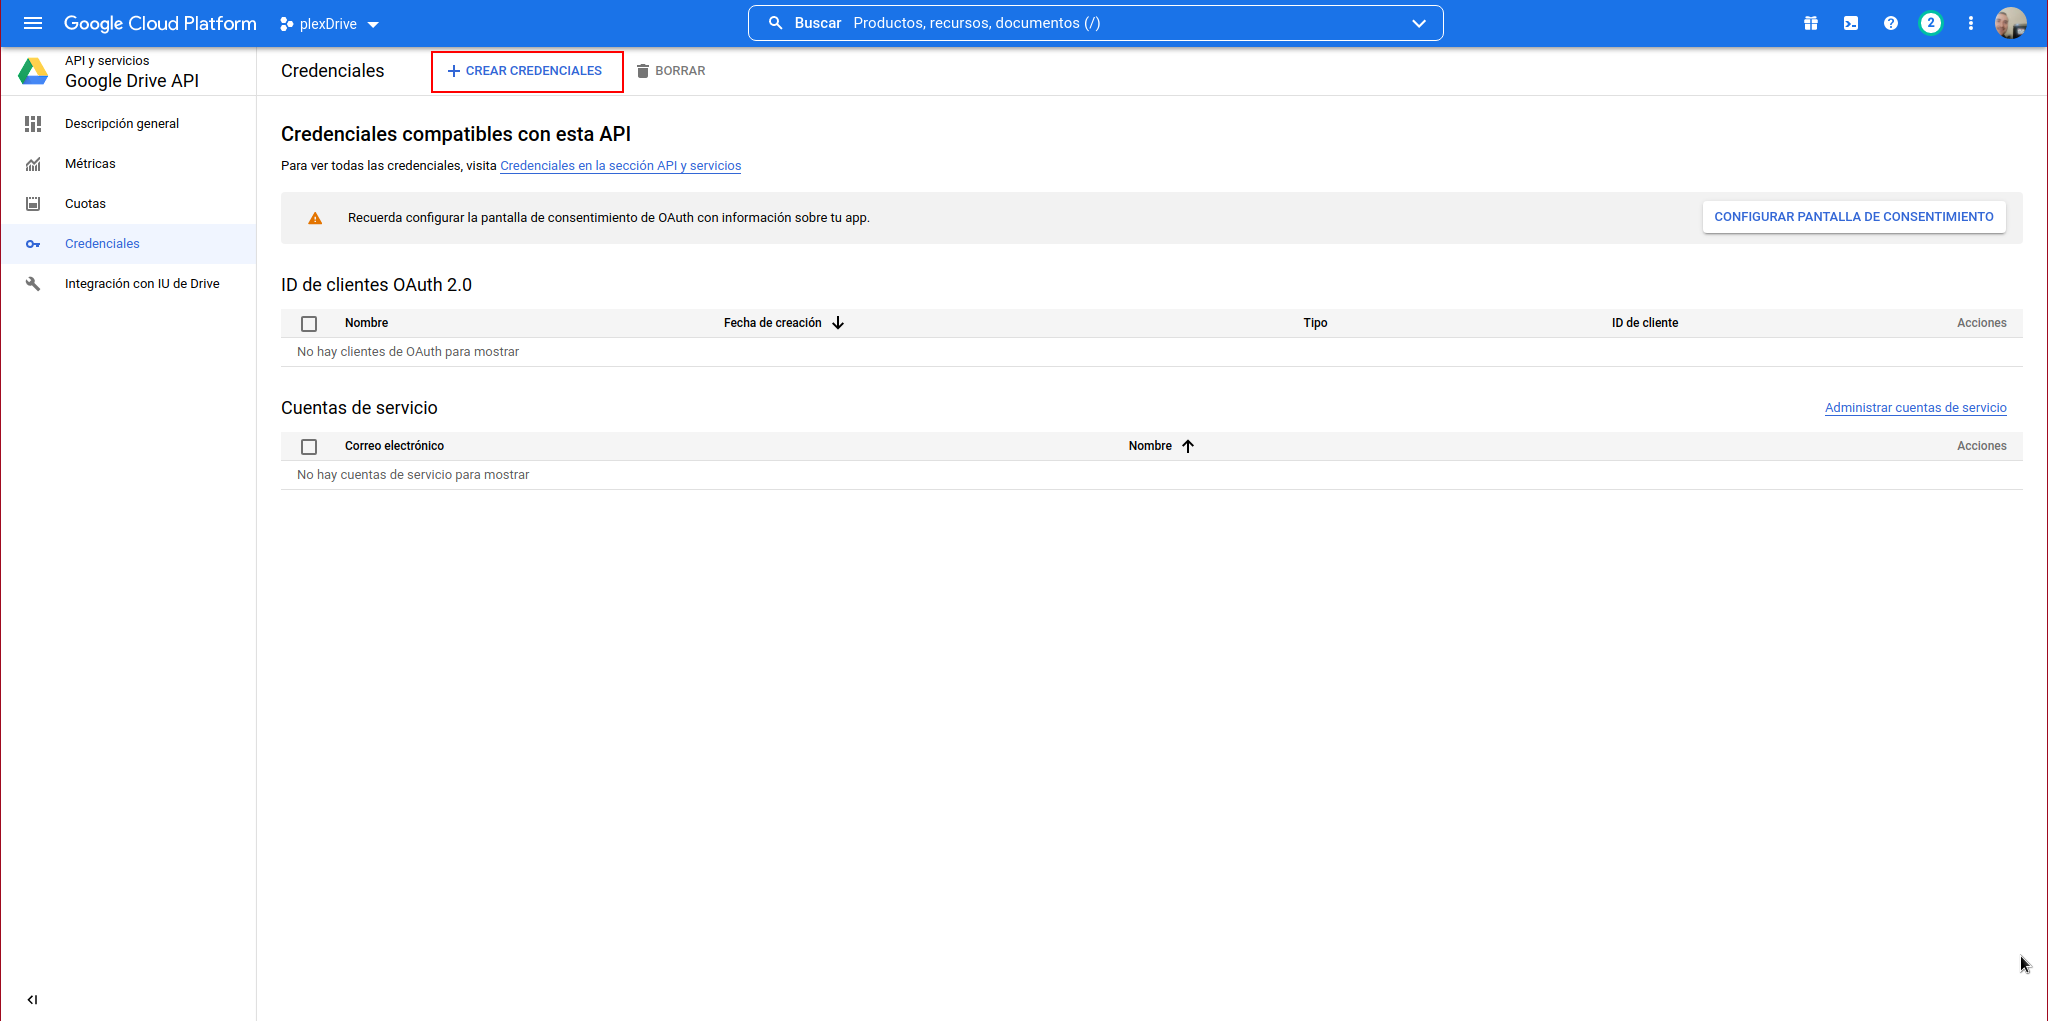
We click on “CREATE CREDENTIALS”:
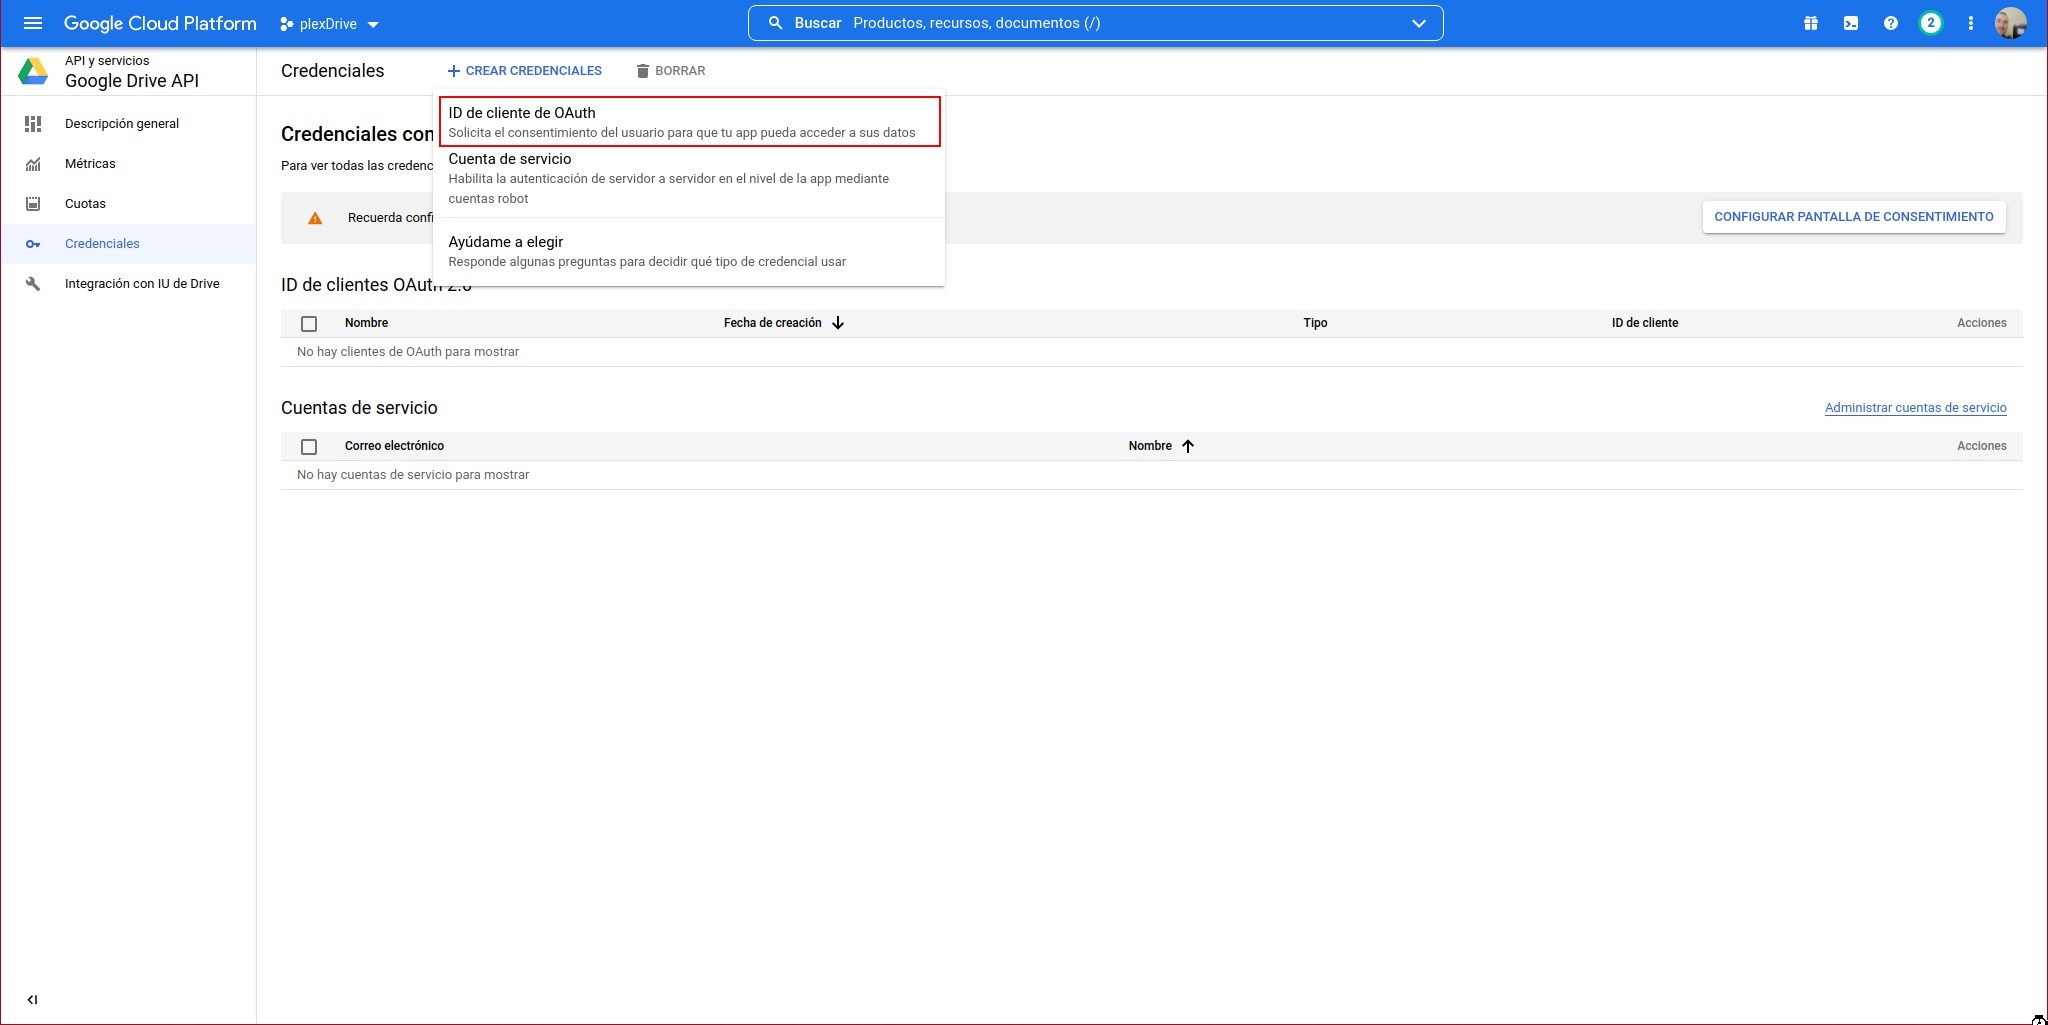
We select “OAuth client ID”:
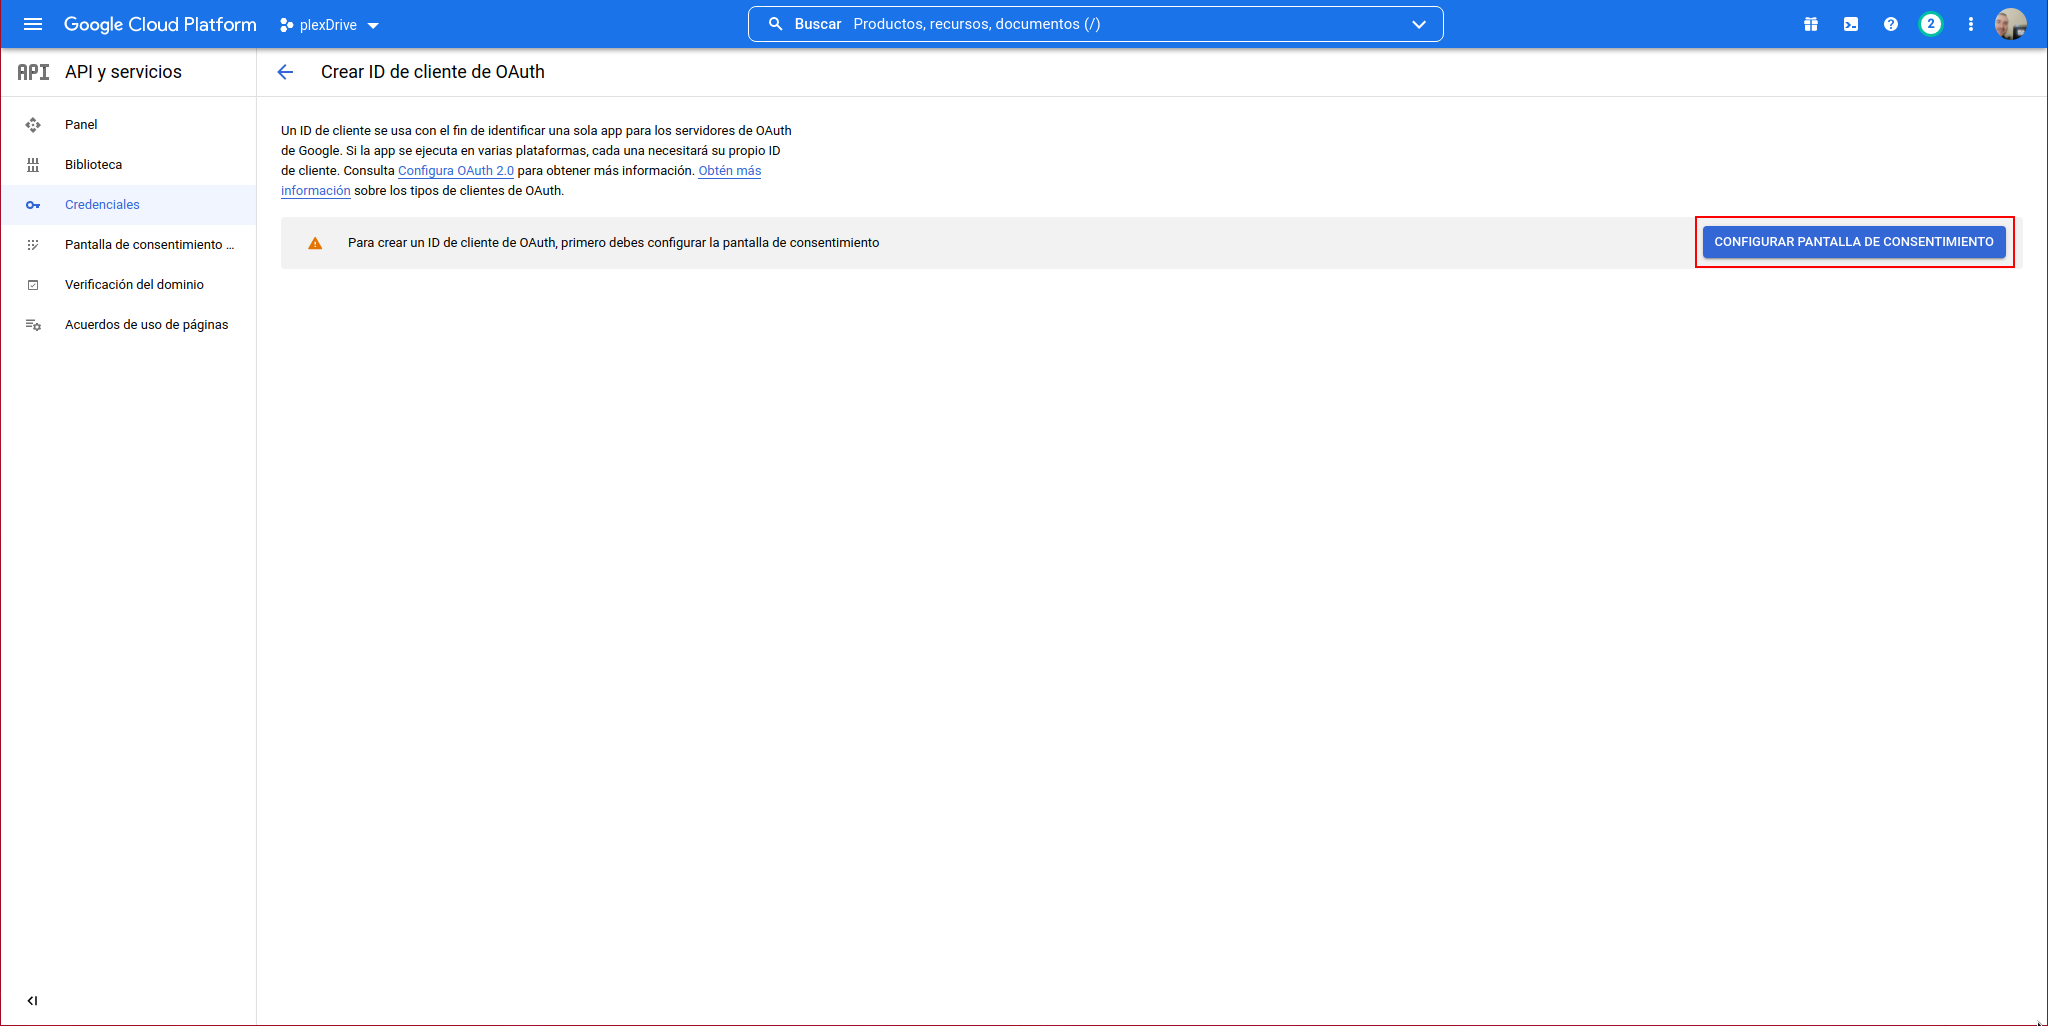
The following window will appear where we must click on “CONFIGURE CONSENT SCREEN”:
In User Type, we indicate: External and click on “CREATE”:

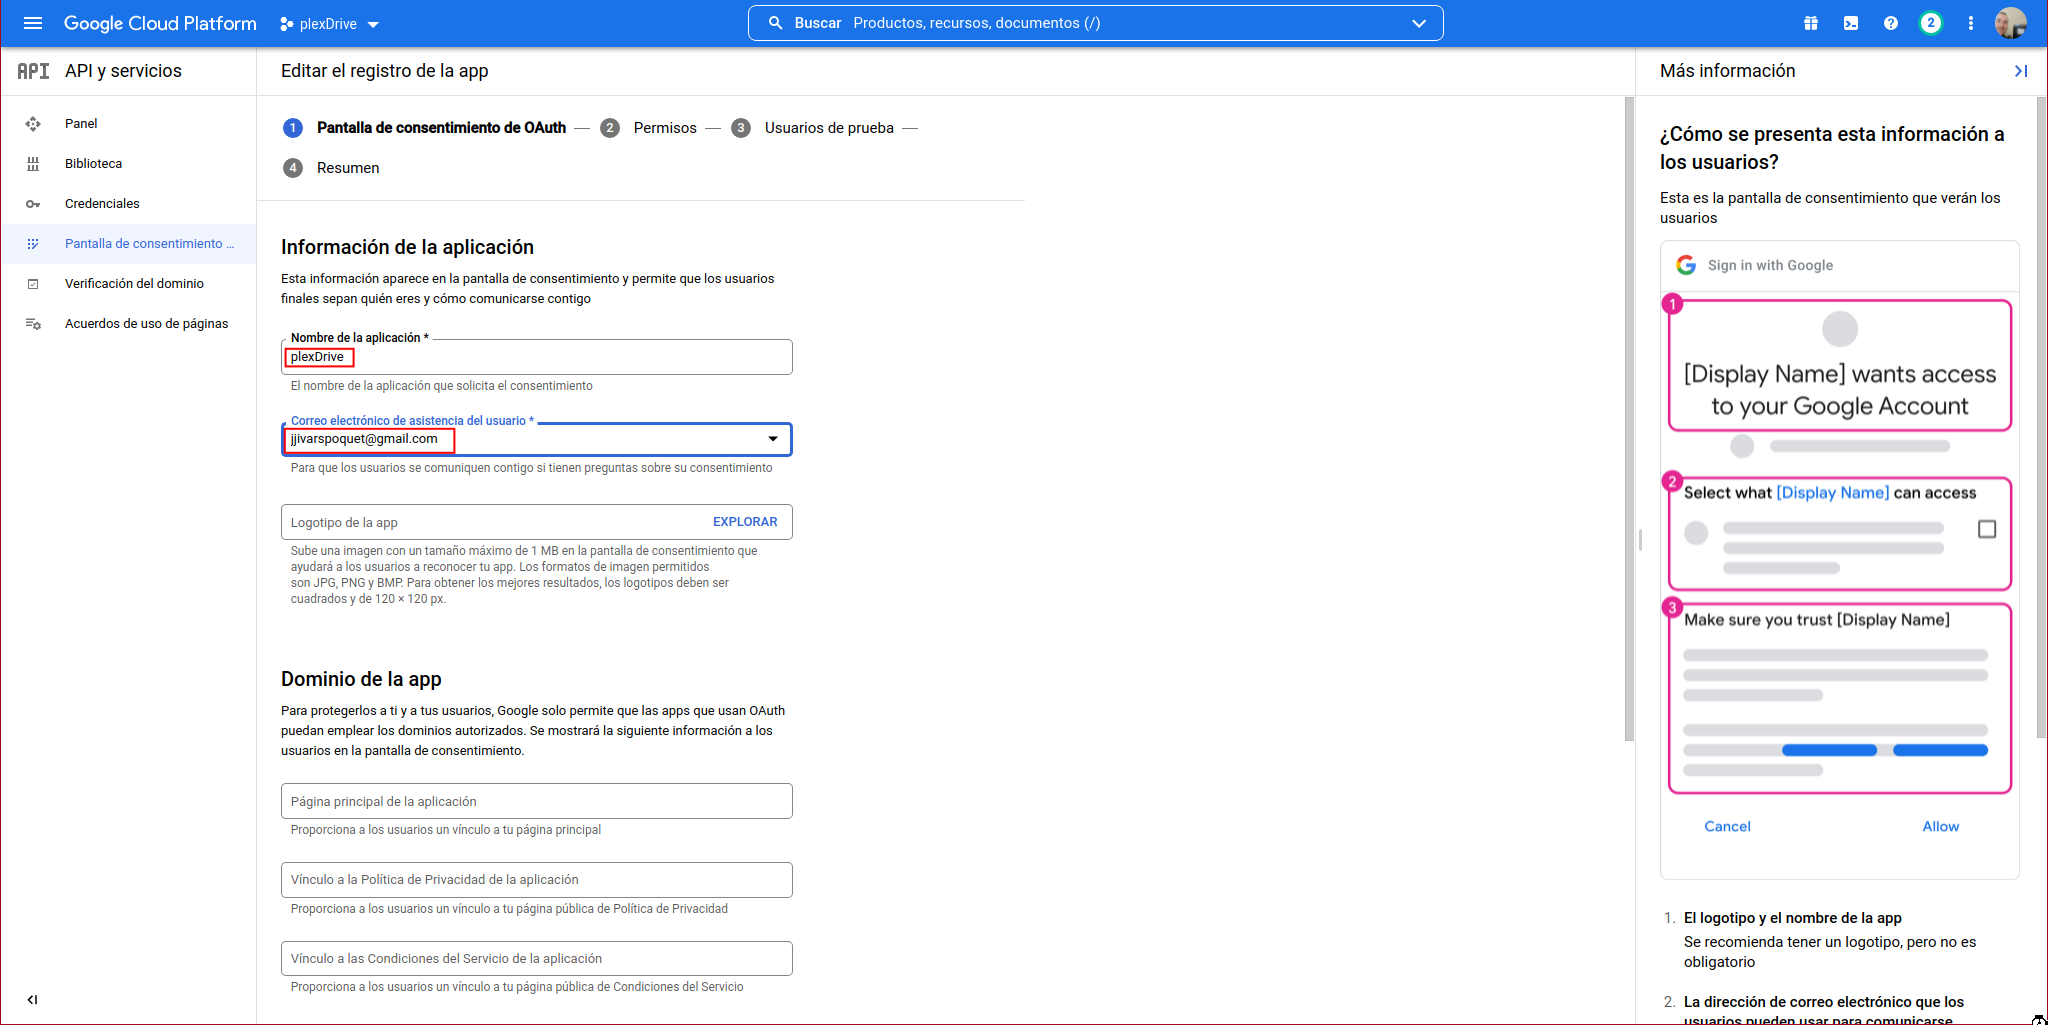
We fill in the mandatory form data and click on “SAVE AND CONTINUE”:

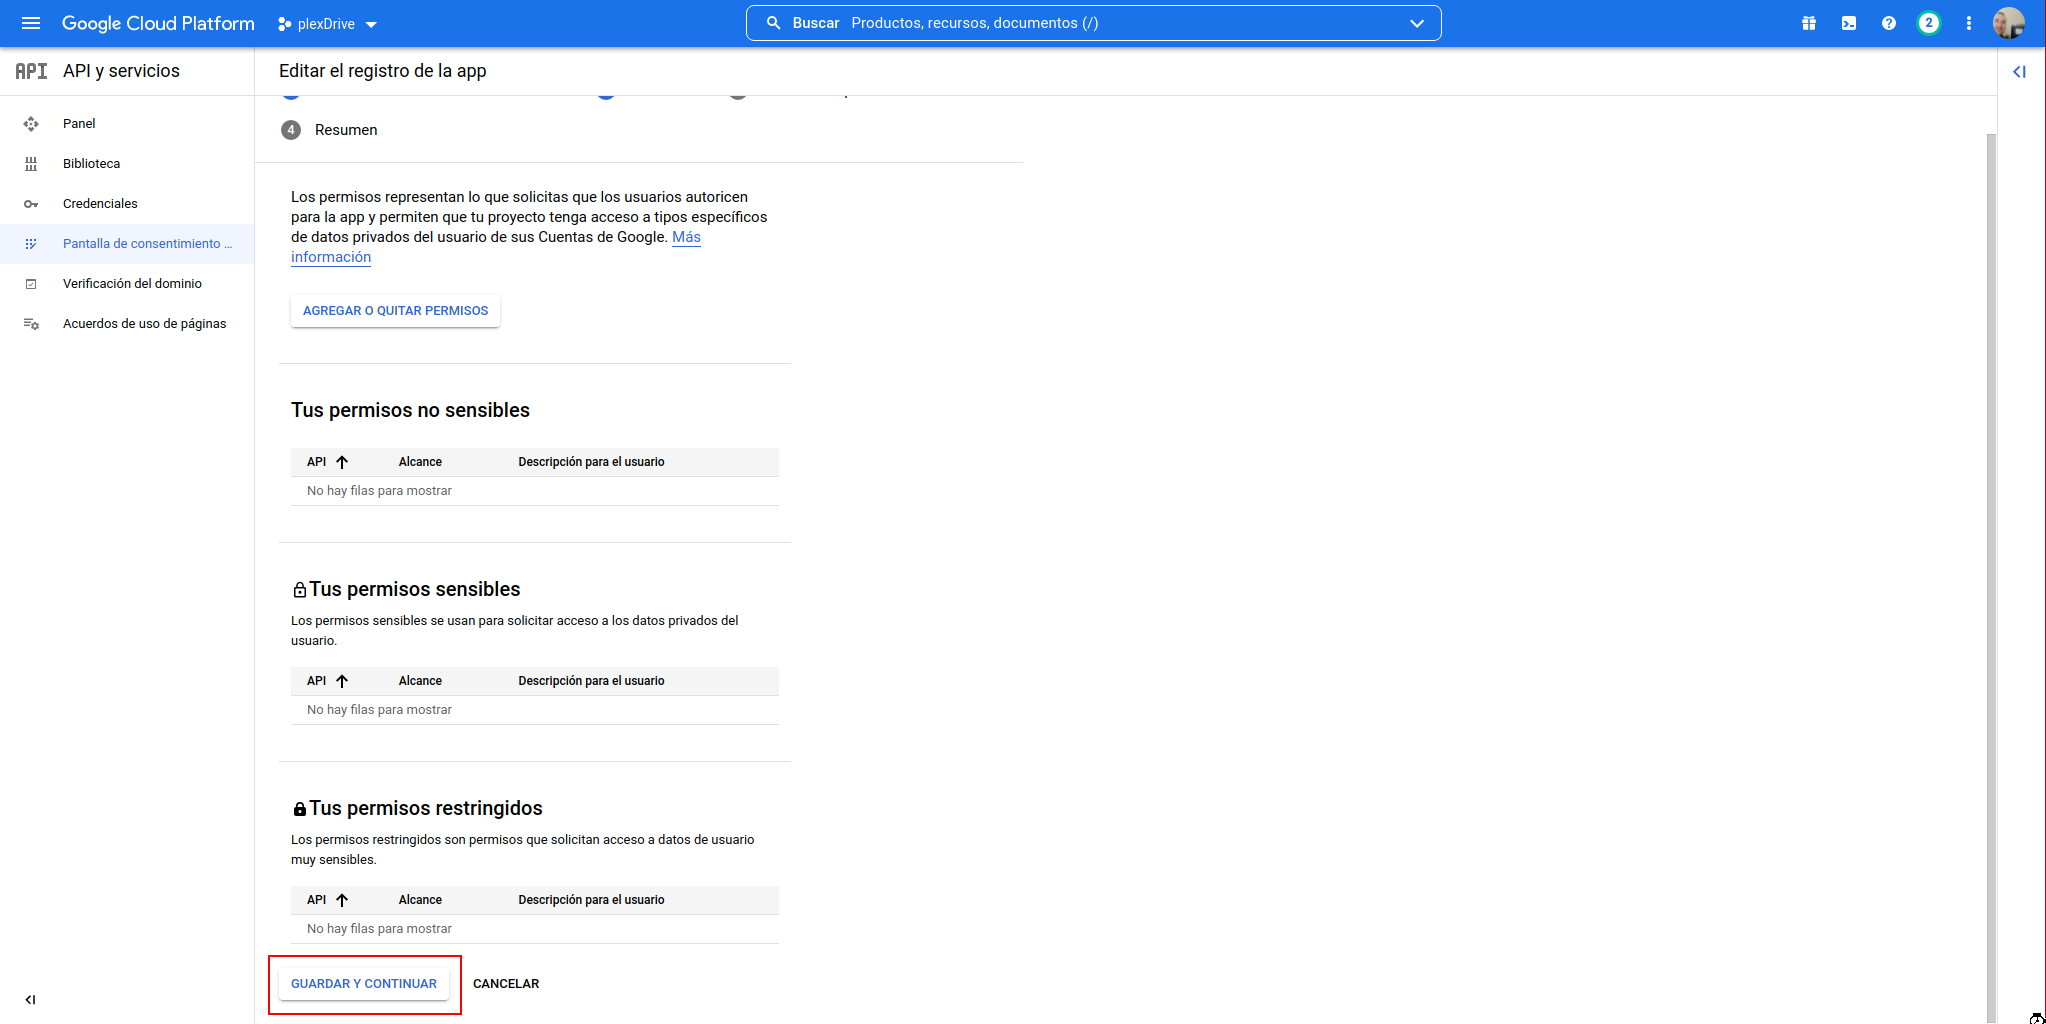
We don’t need any special permission, so we click on “SAVE AND CONTINUE”:
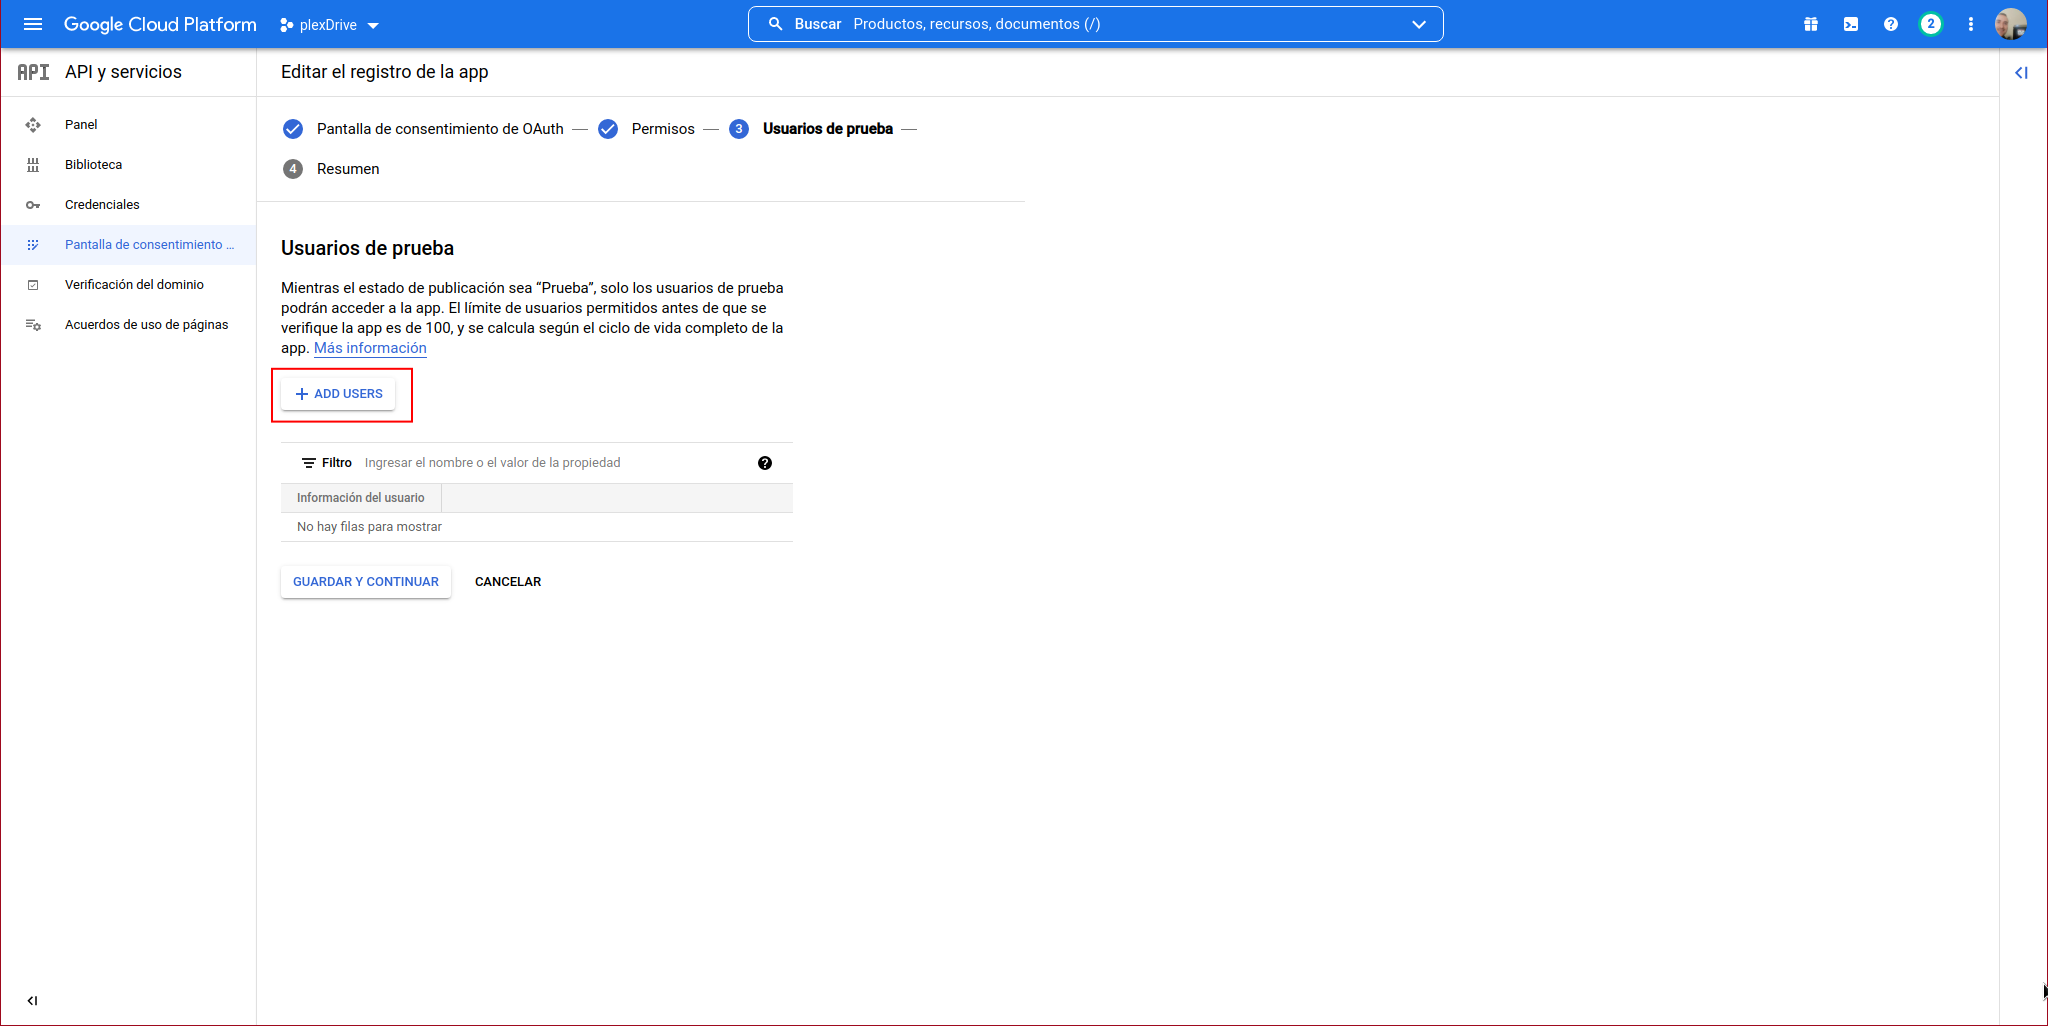
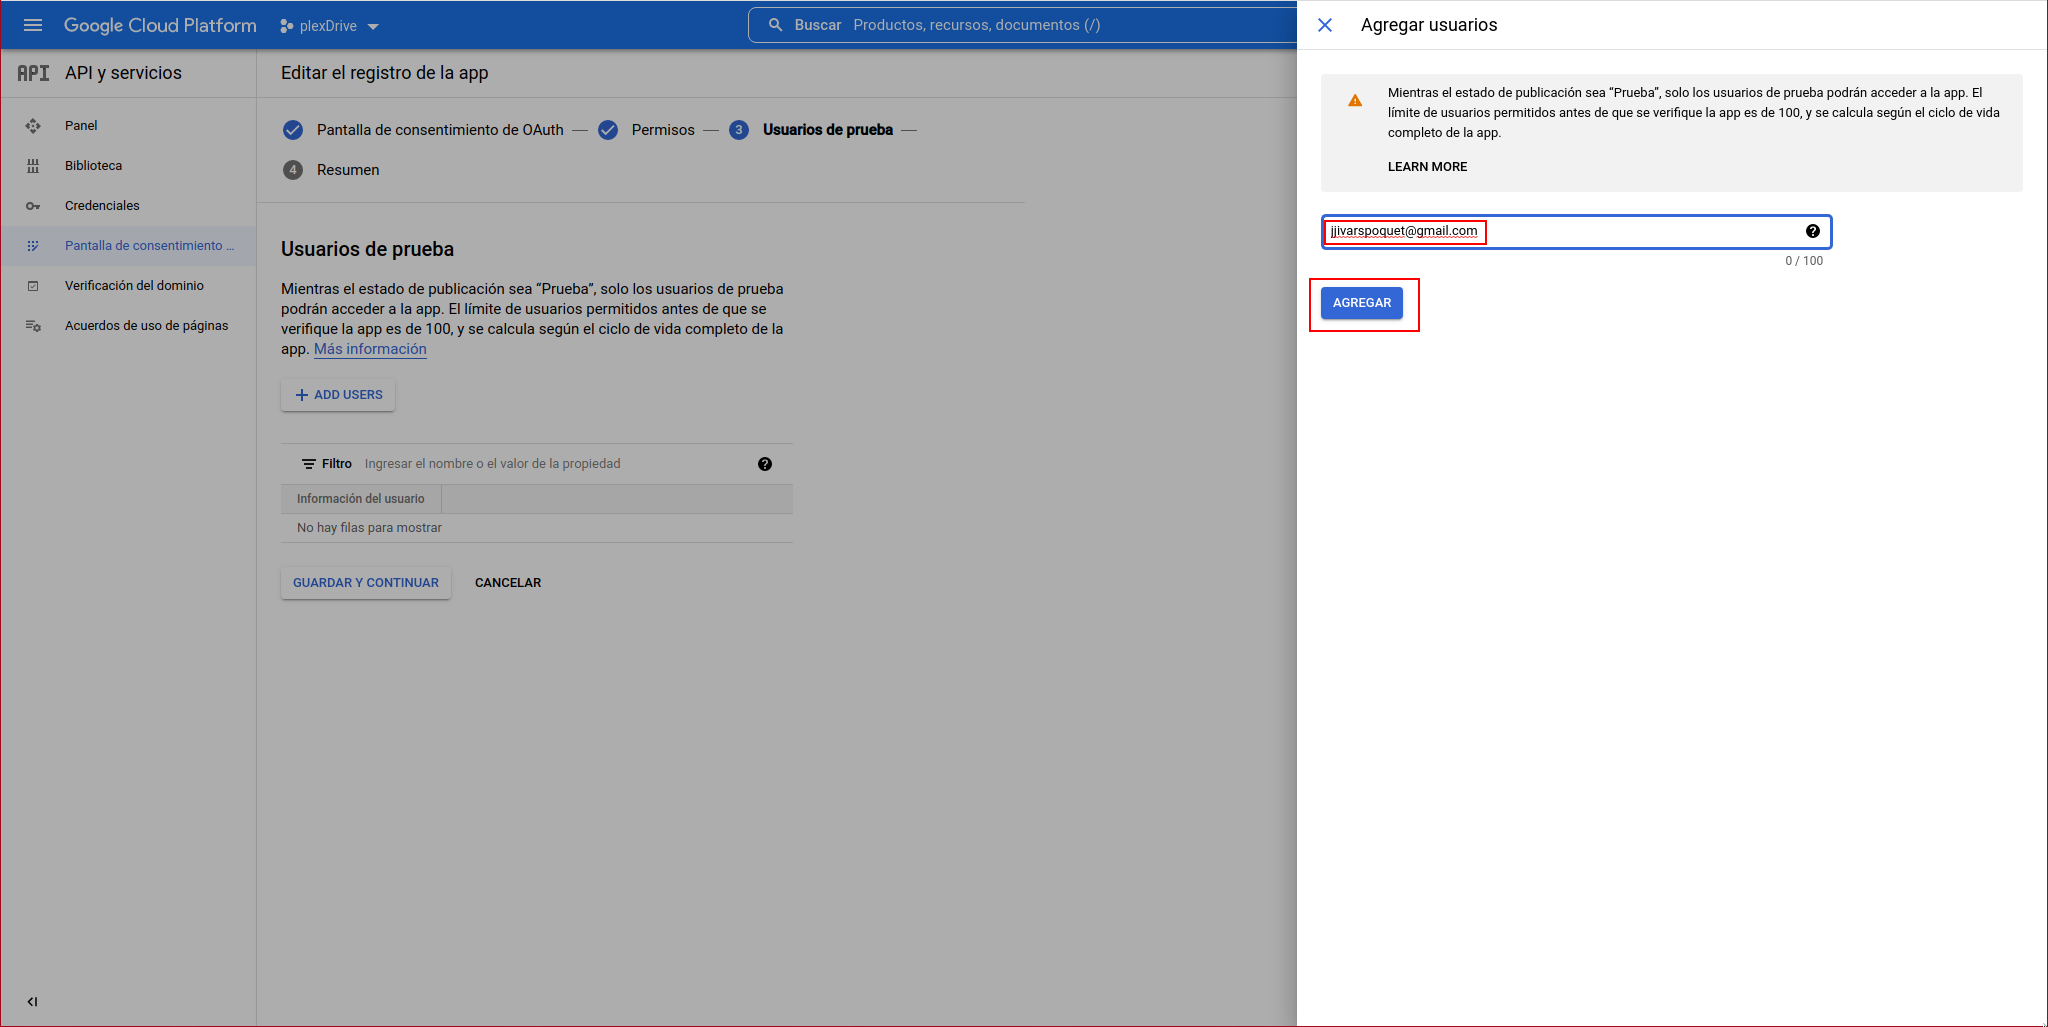
We add a user and click on “ADD USER”:
We enter the username and click on “ADD”:
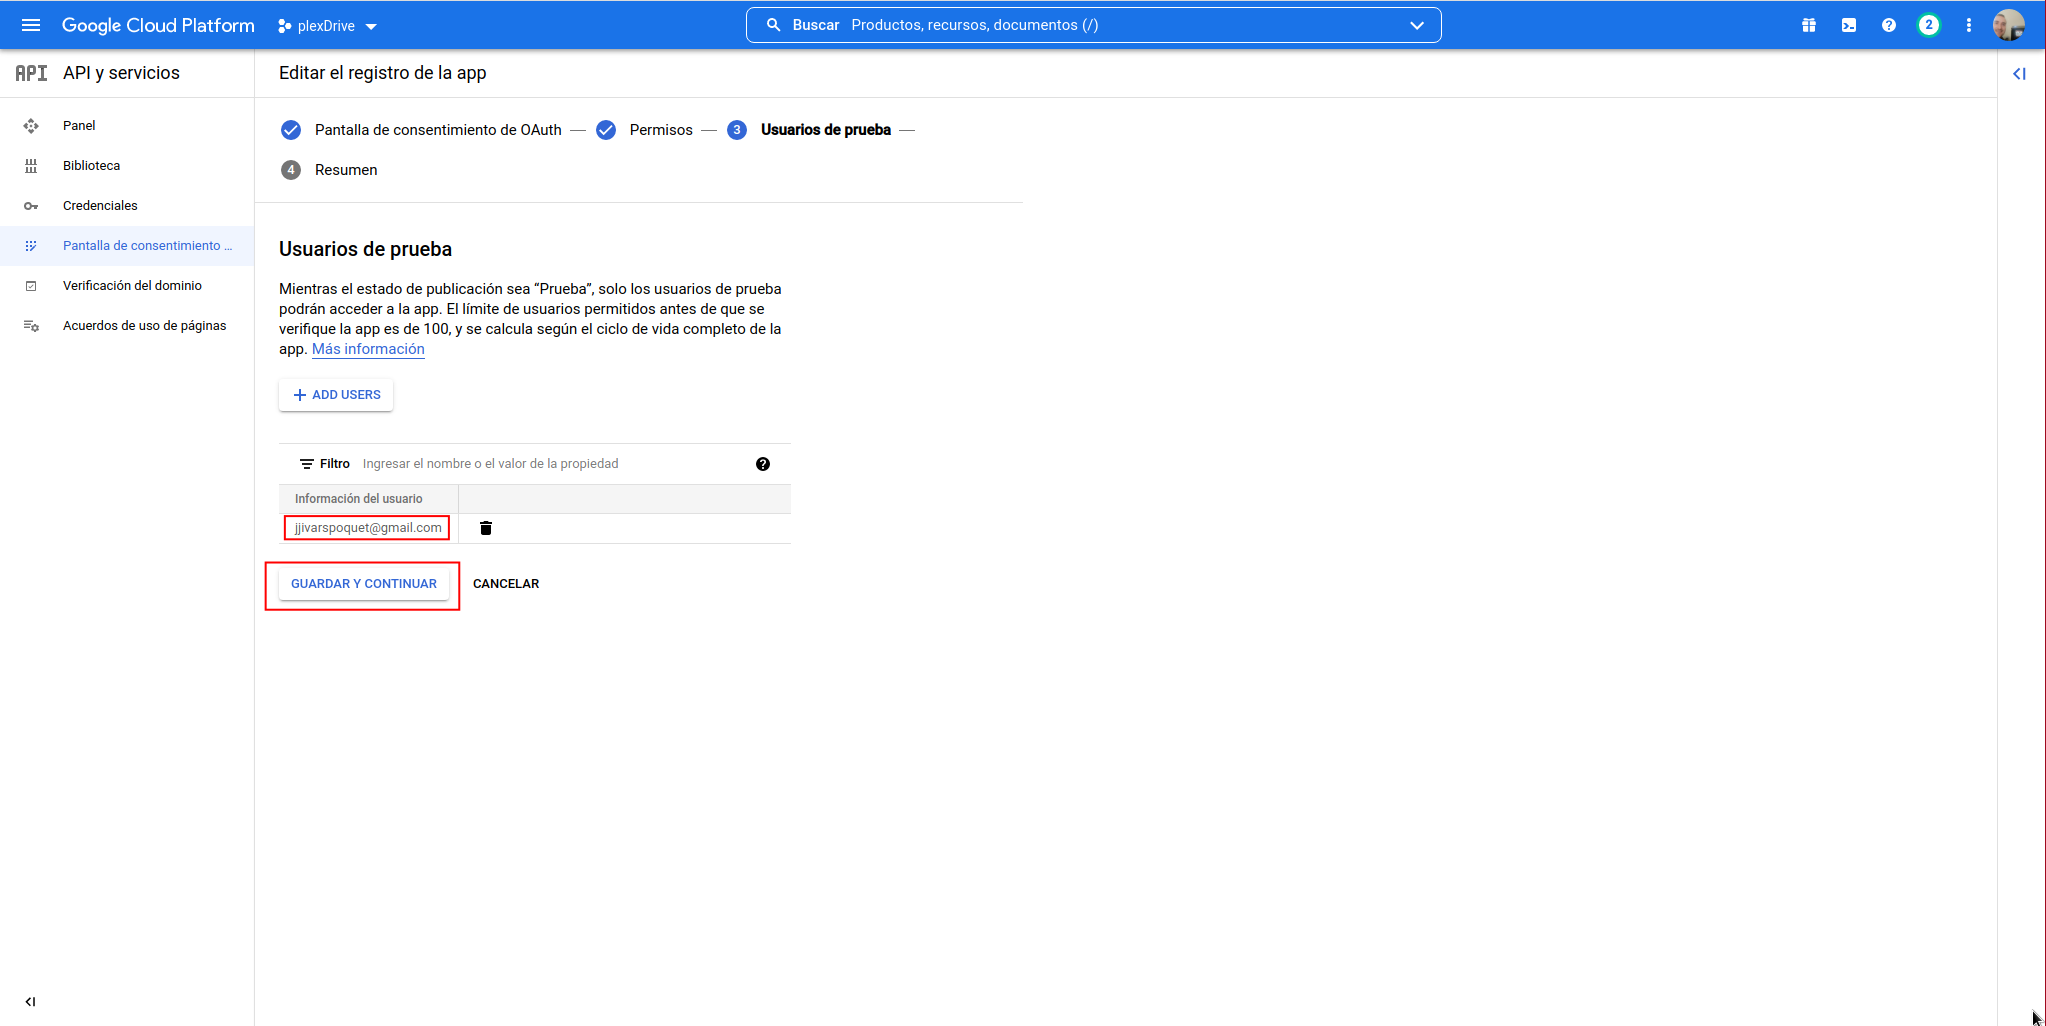
The user should appear in the list, so we click on “SAVE AND CONTINUE”:
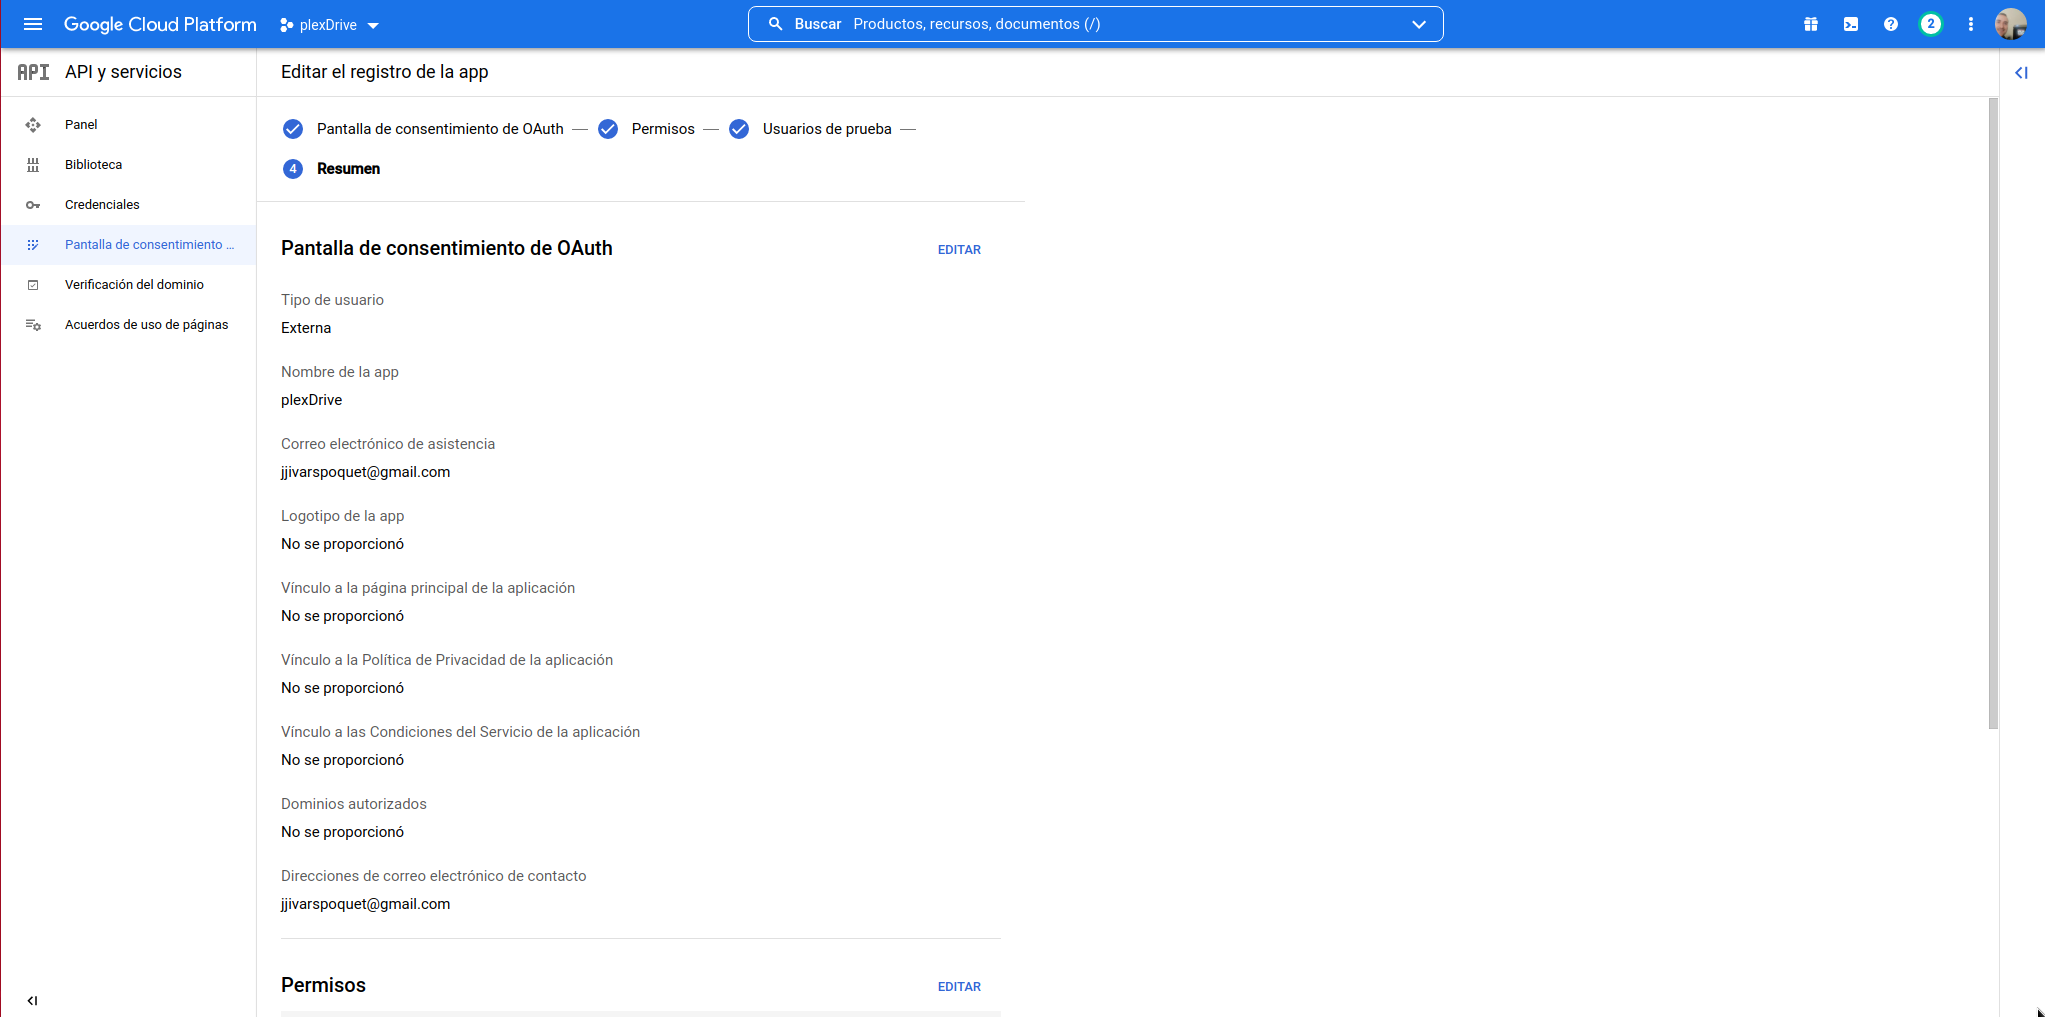
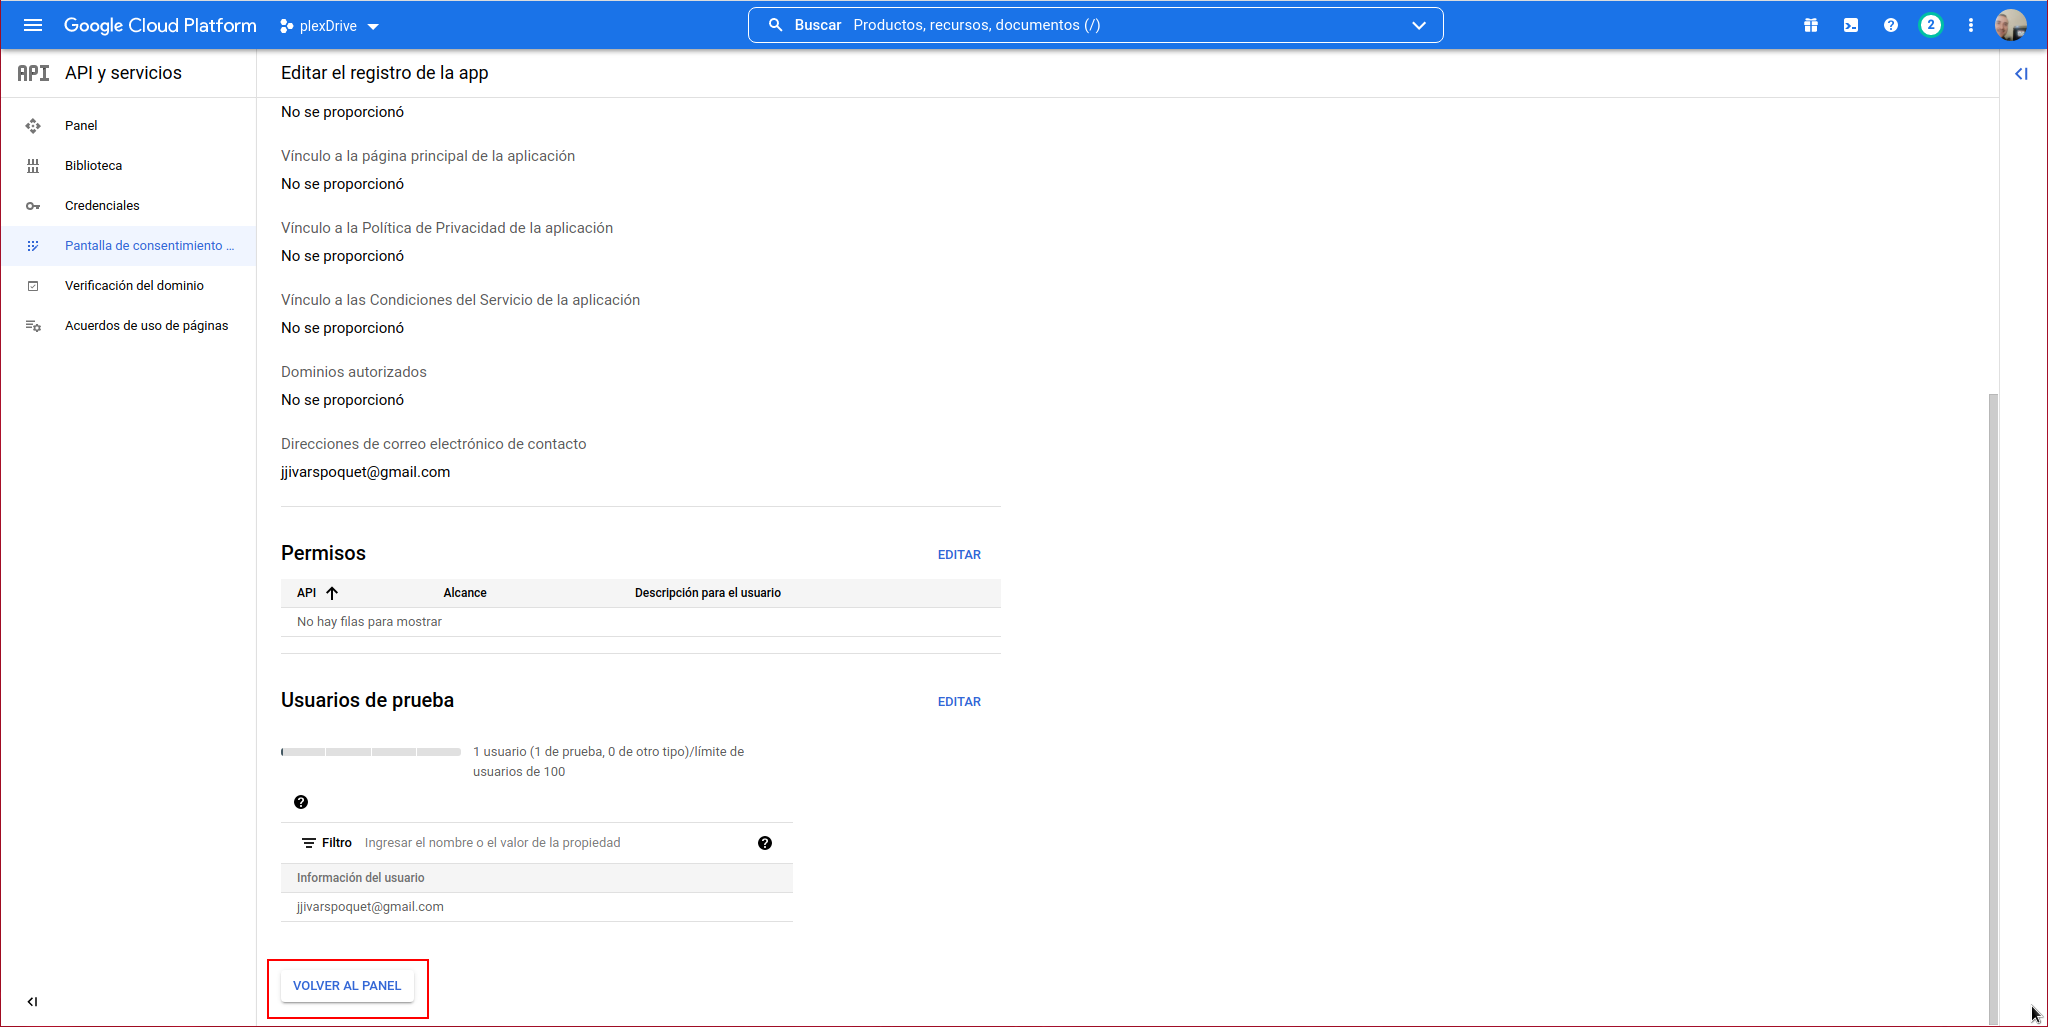
A summary will appear, so we click on “BACK TO DASHBOARD”:
It will take us to the “OAuth Consent Screen”, from here we access the “Credentials” section:
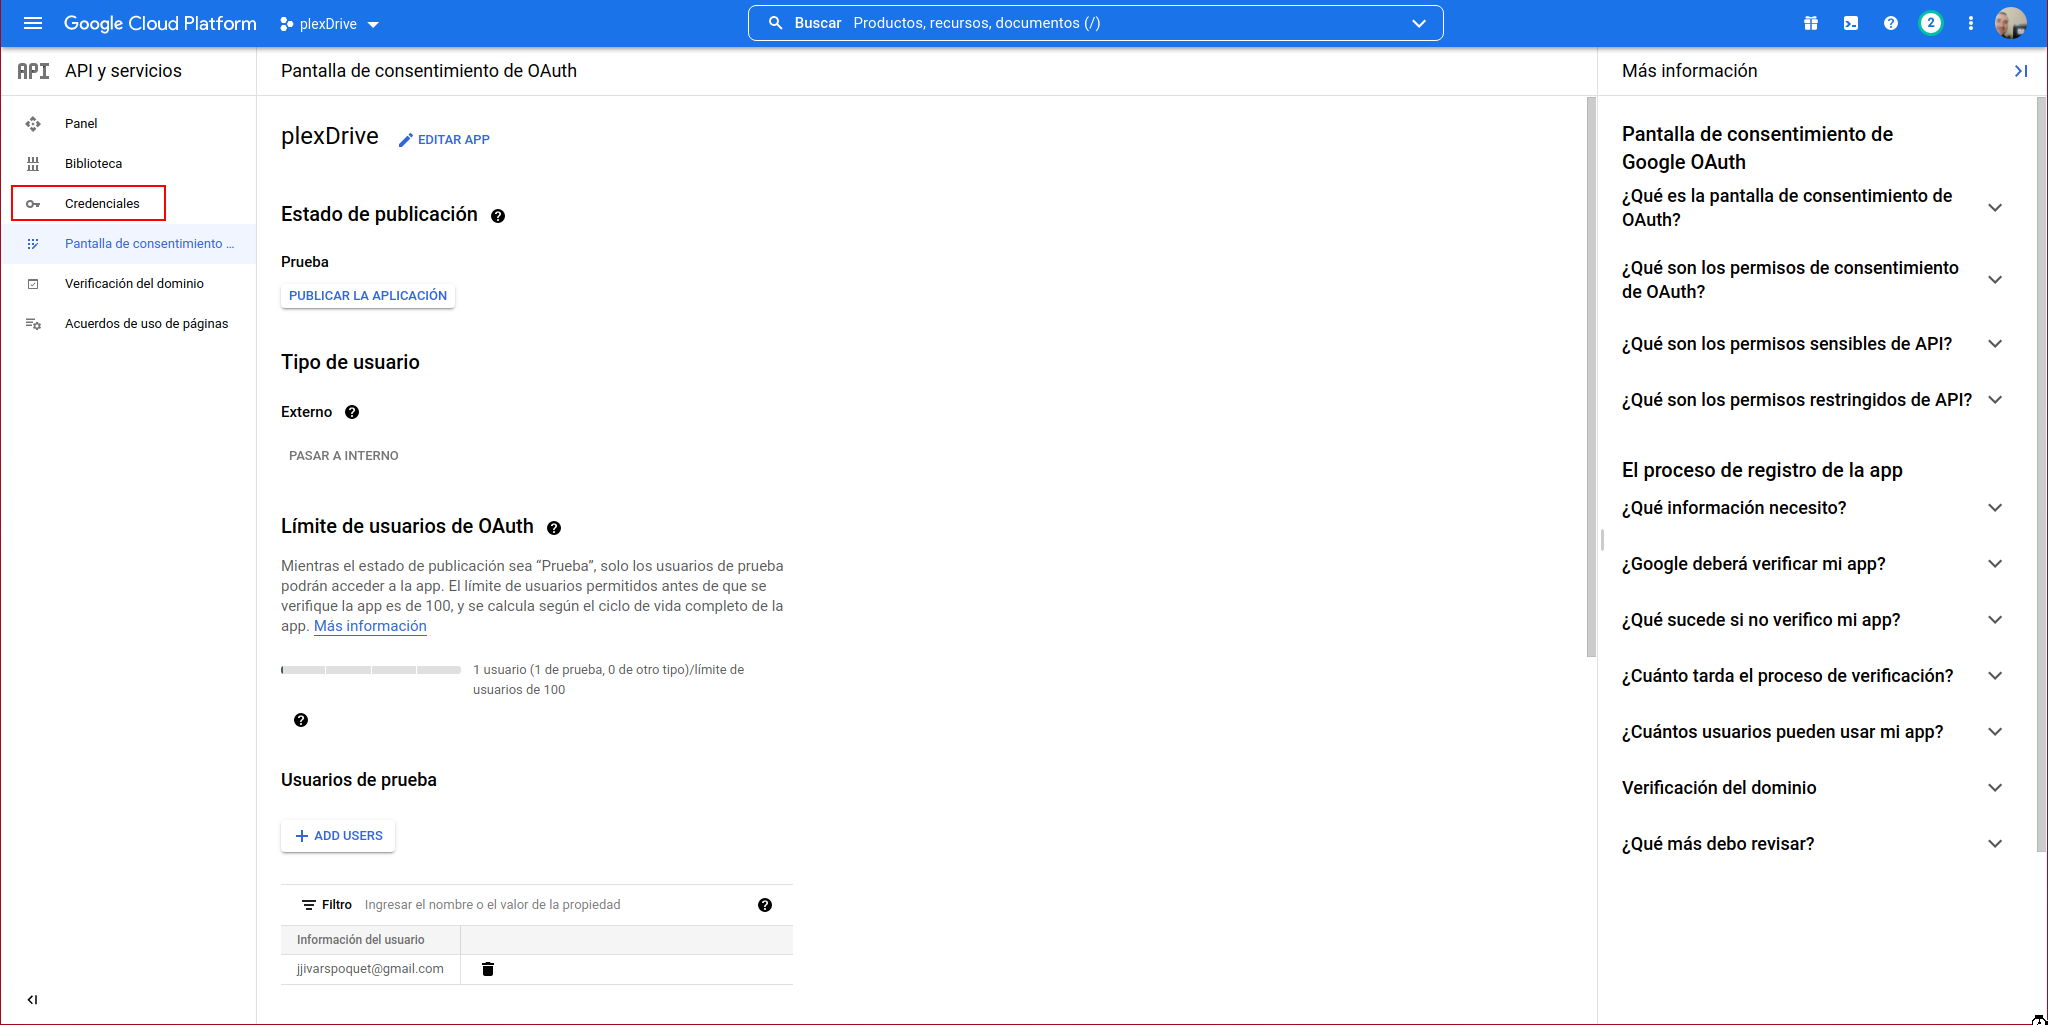
We click on “CREATE CREDENTIALS” again:
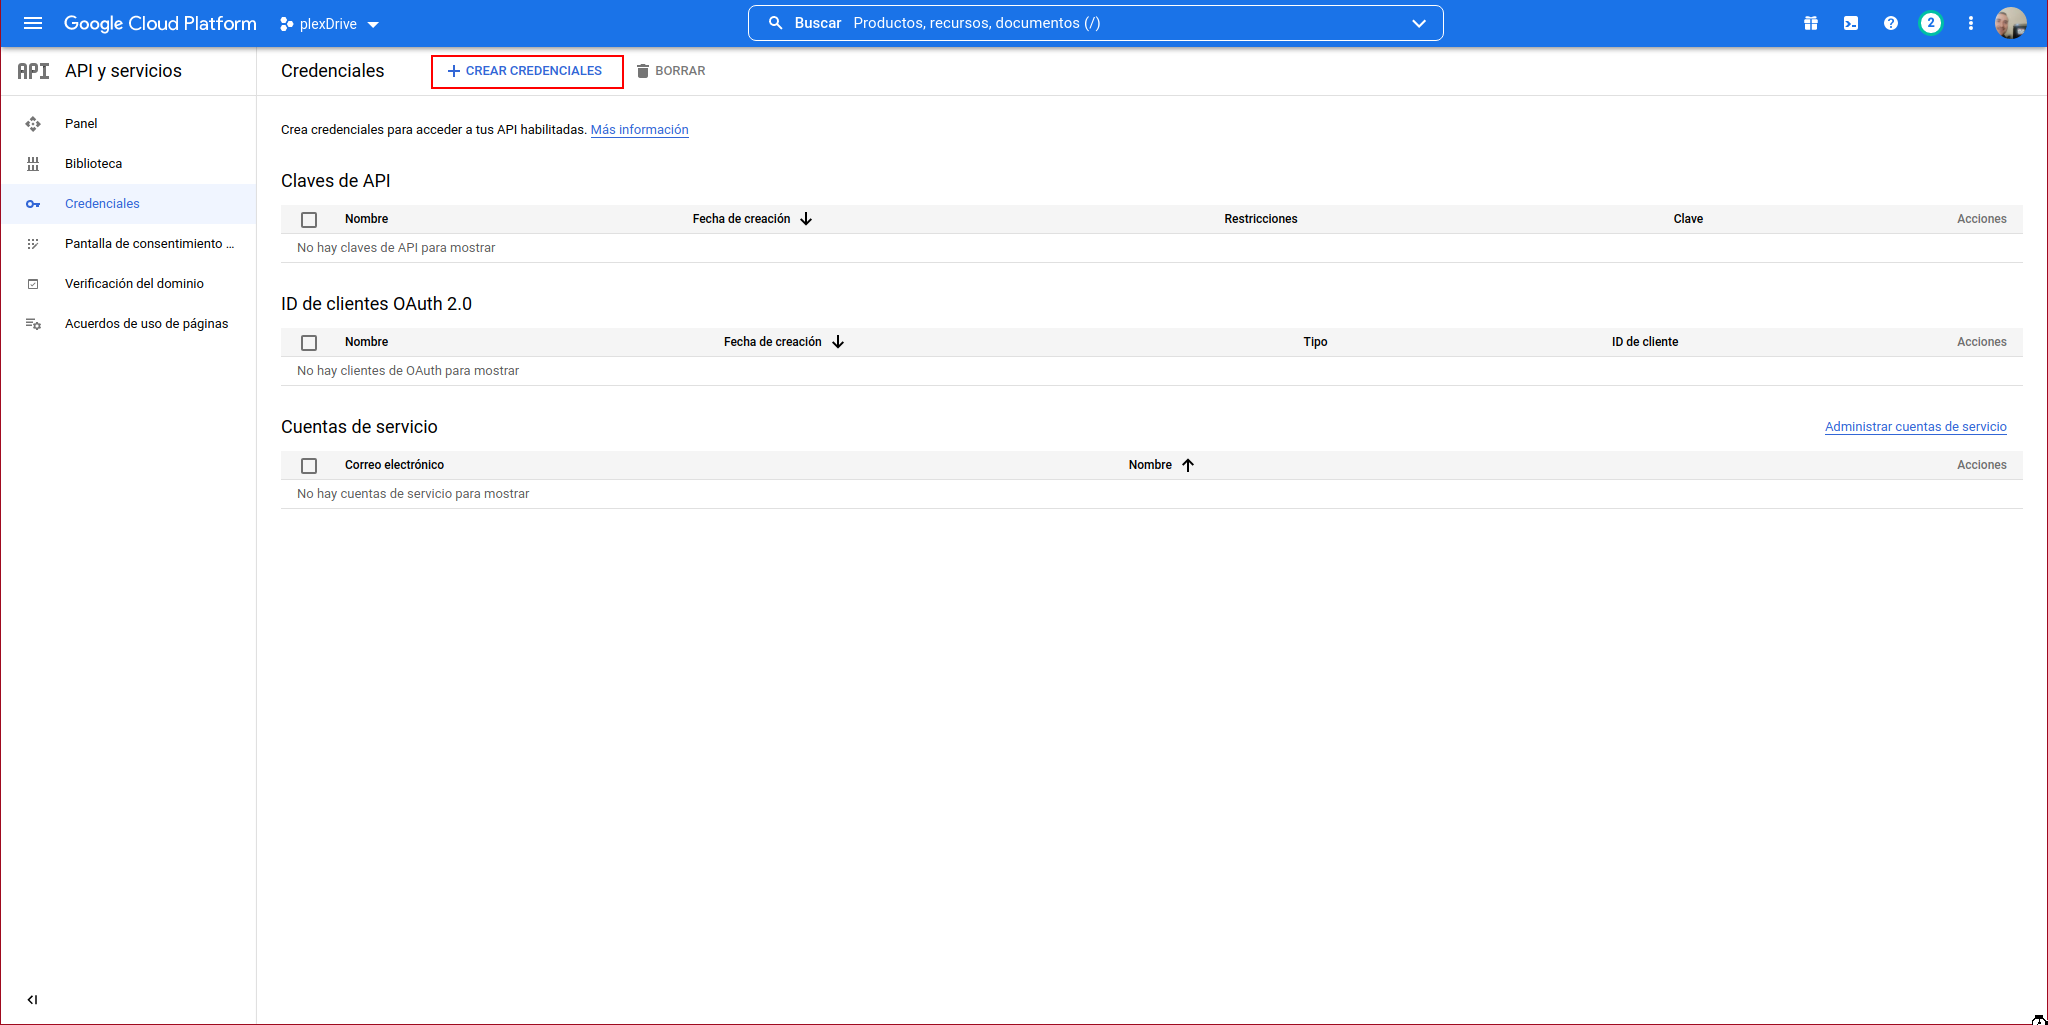
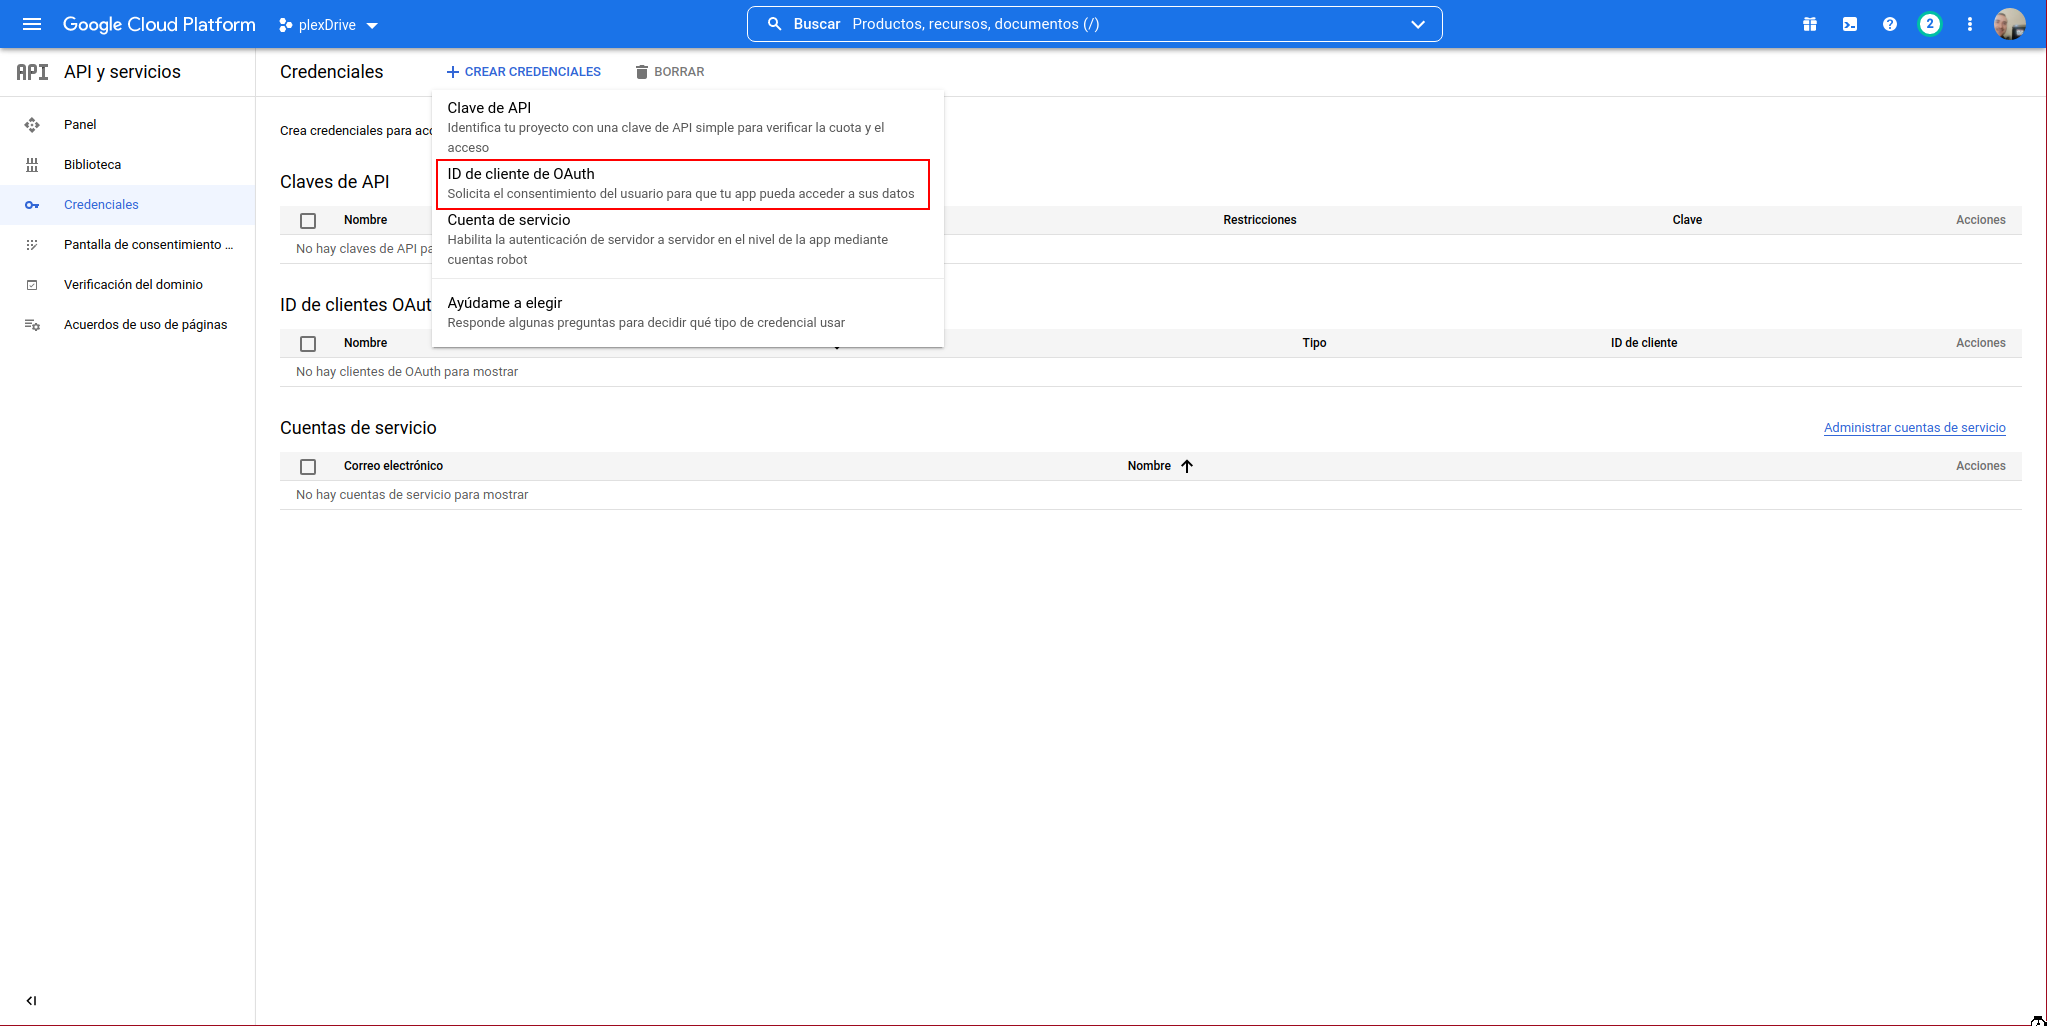
We select “OAuth client ID”:
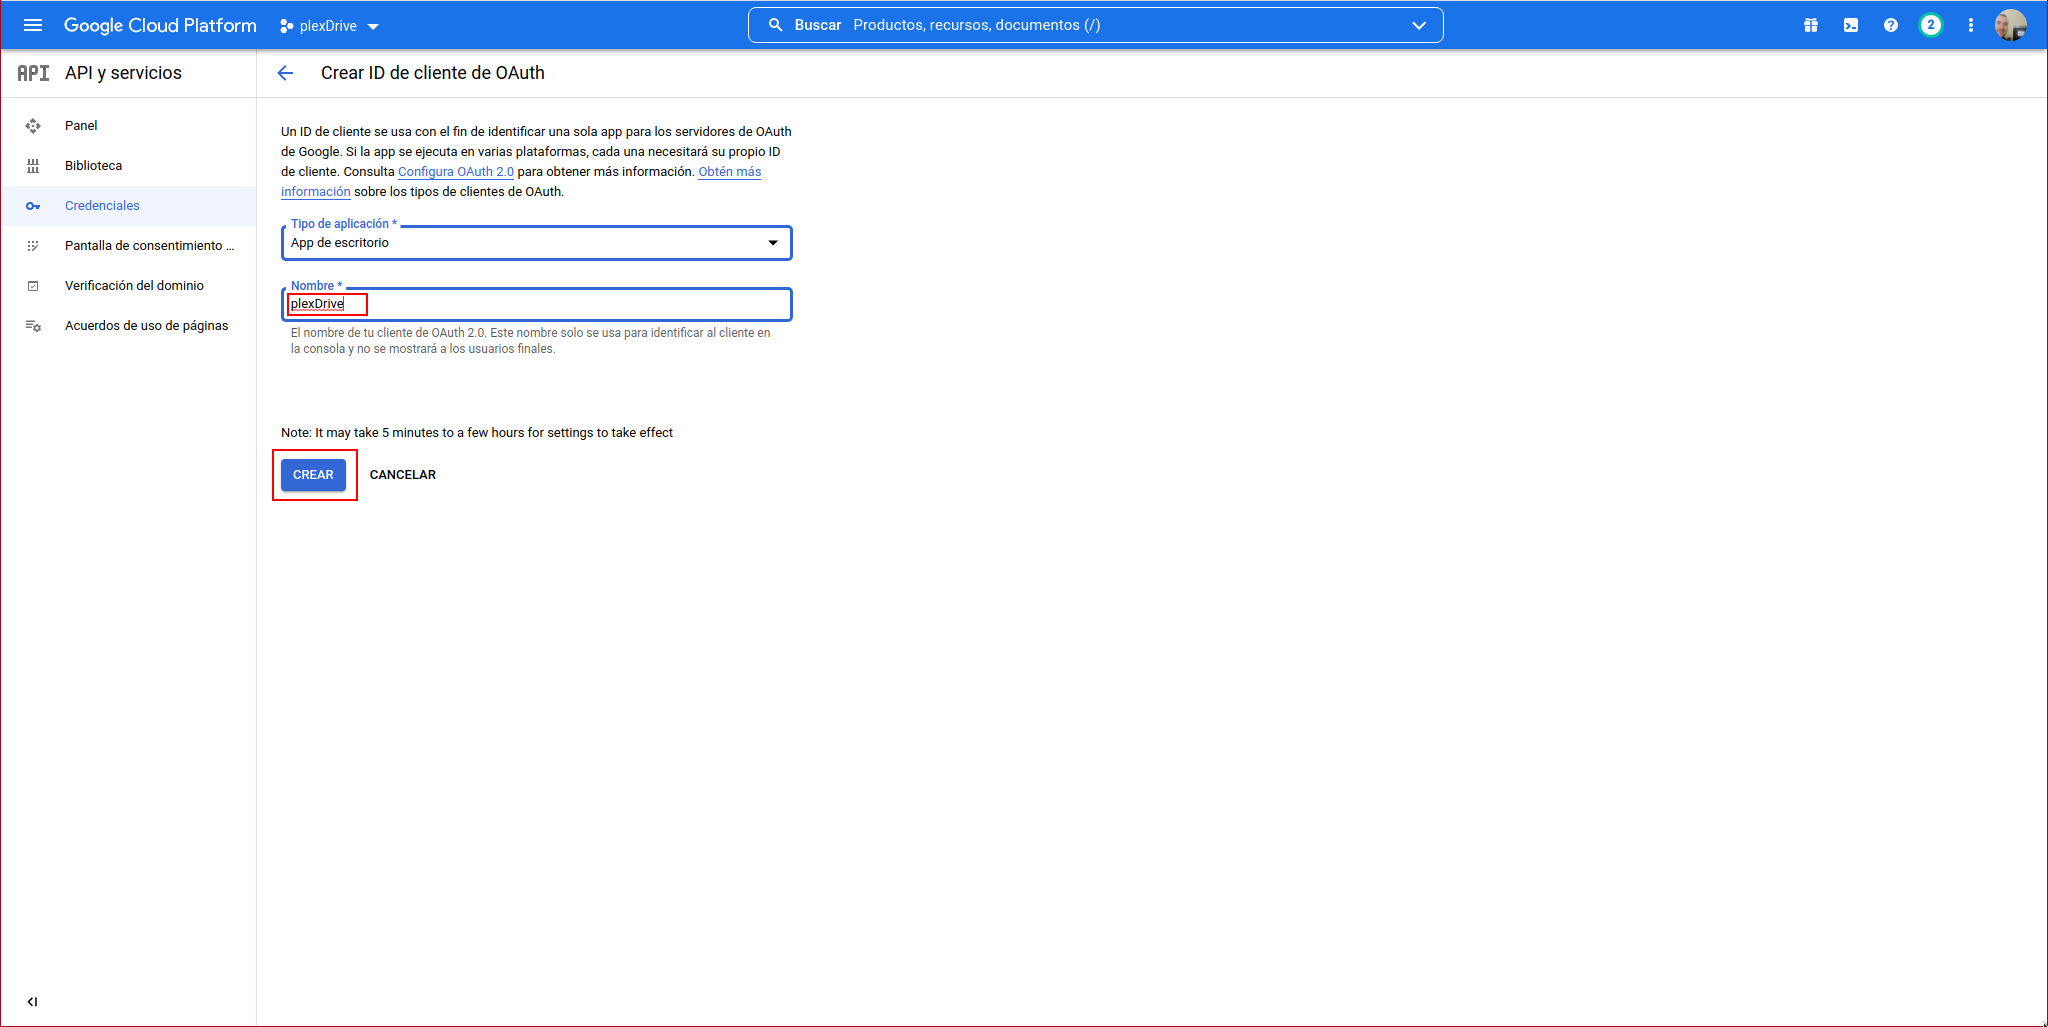
In the application type, we select “Desktop App”, give it a name, and click on “CREATE”:
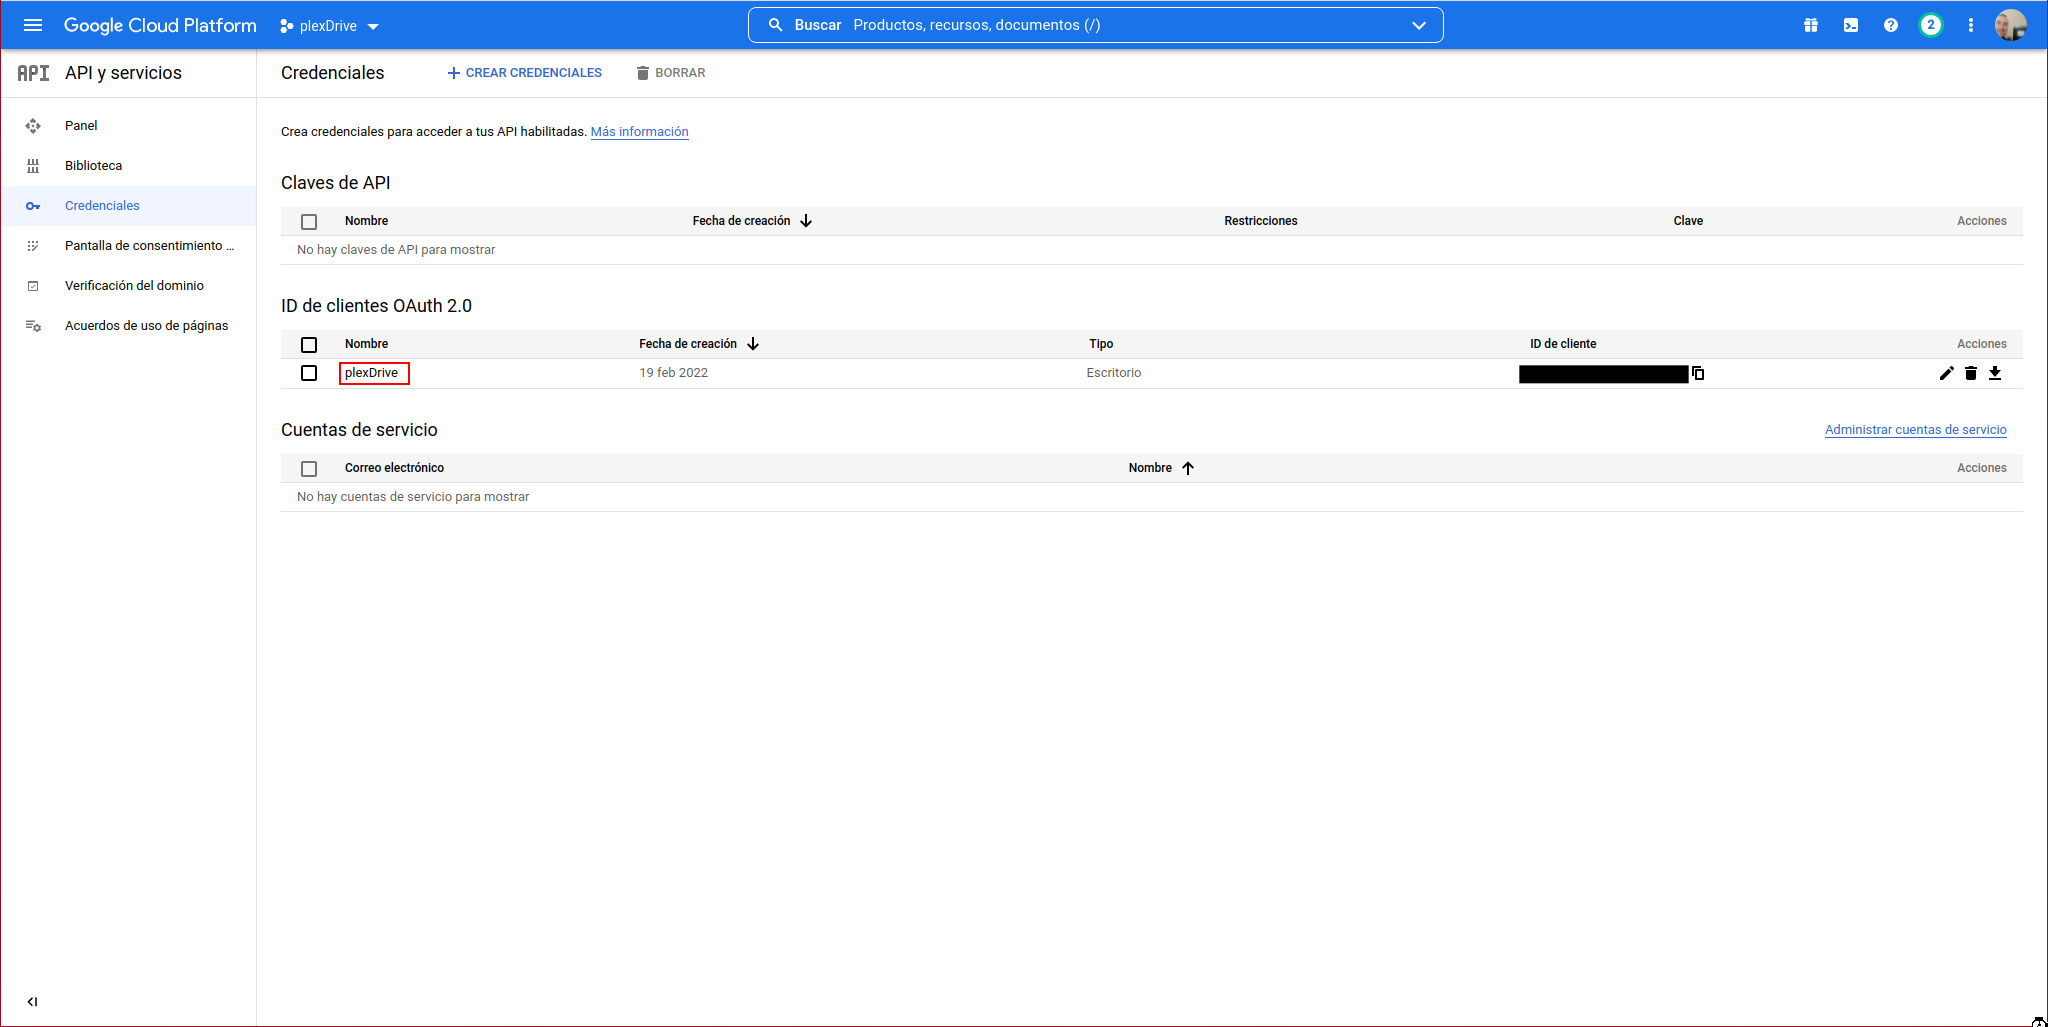
It will show us the following information:
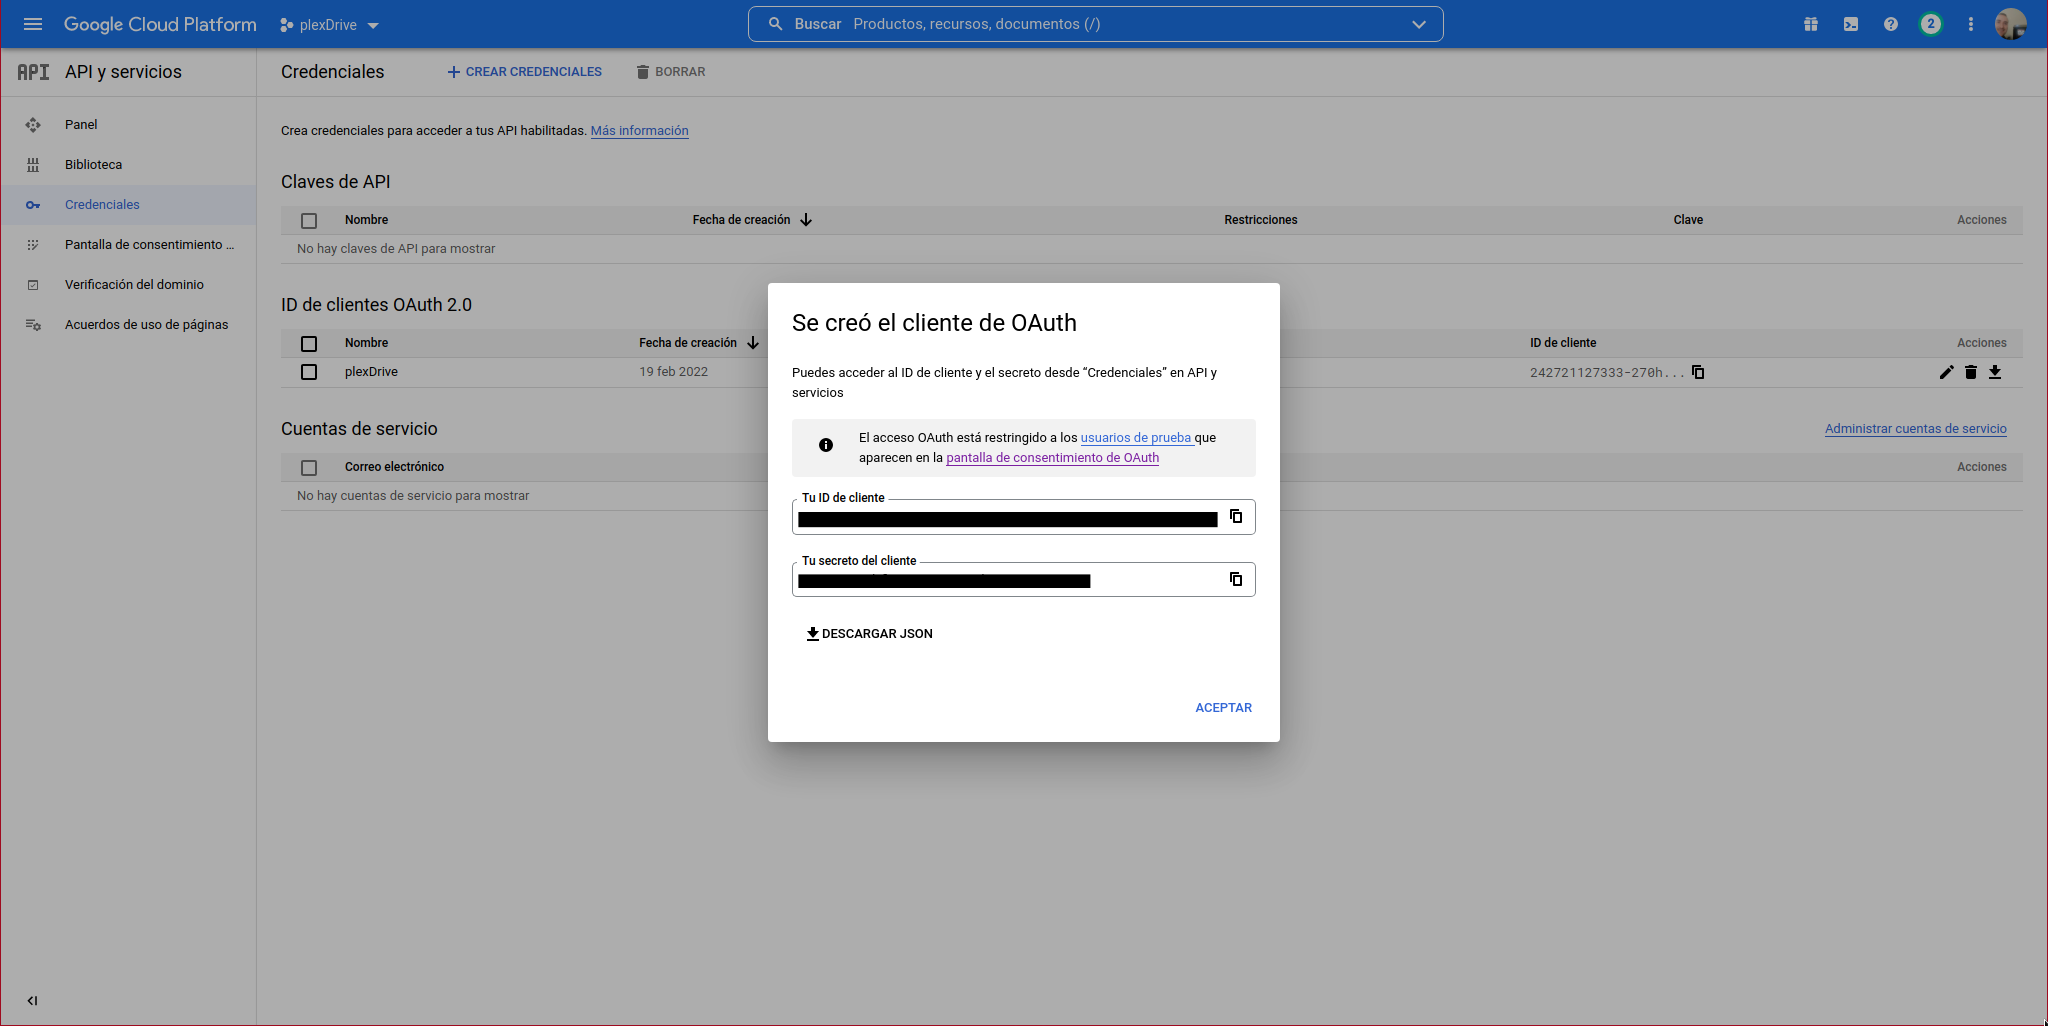
We can see the OAuth client:
We continue with the PlexDrive console:
1. Please go to https://console.developers.google.com/
2. Create a new project
3. Go to library and activate the Google Drive API
4. Go to credentials and create an OAuth client ID
5. Set the application type to 'other'
6. Specify some name and click create
7. Enter your generated client ID: XXXXXXXXXXXXXXXXXXXXXXX
8. Enter your generated client secret: YYYYYYYYYYYYYYYYYYY
Go to the following link in your browser https://accounts.google.com/o/oauth2/auth?access_type=offline&client_id=ZZZZZZZZZZZ-270hoqea0pinv0nc3sbpfkuja68alask.apps.googleusercontent.com&redirect_uri=urn%3Aietf%3Awg%3Aoauth%3A2.0%3Aoob&response_type=code&scope=https%3A%2F%2Fwww.googleapis.com%2Fauth%2Fdrive&state=state-token
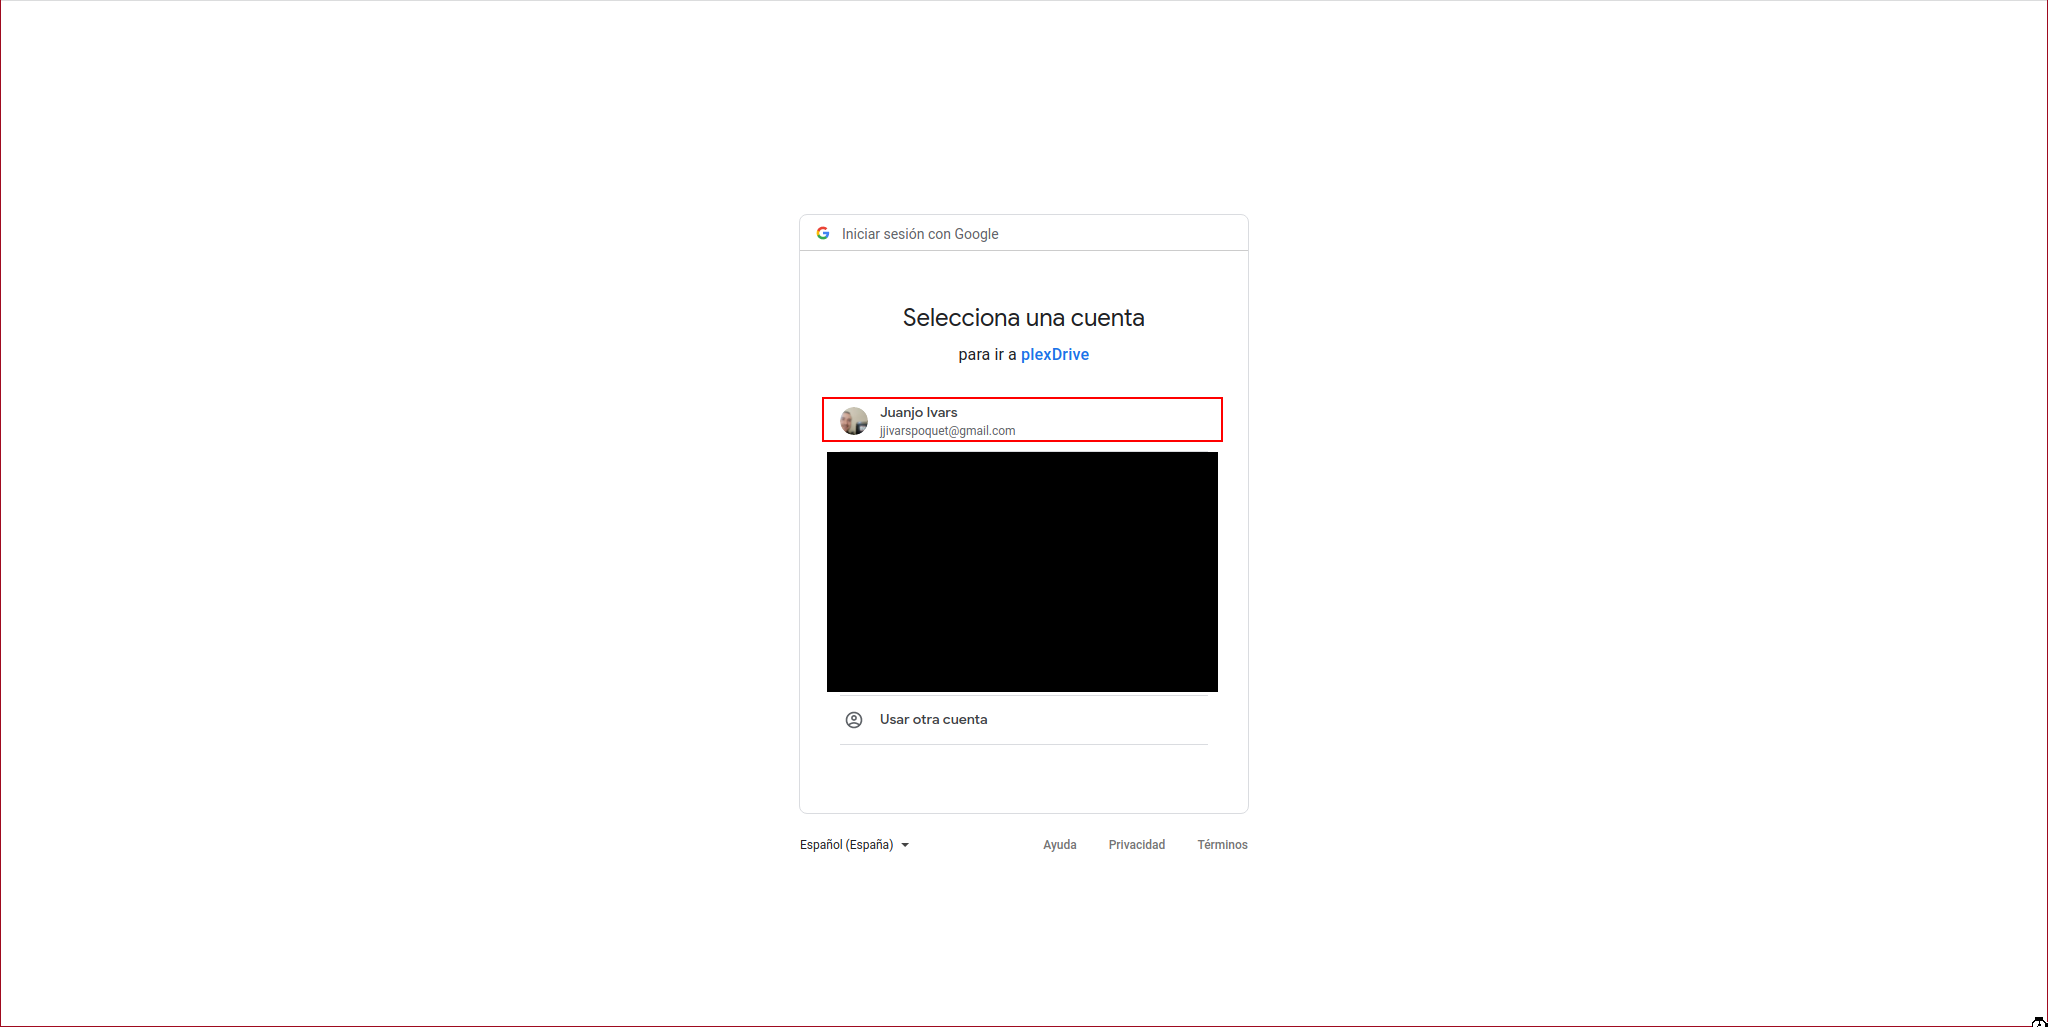
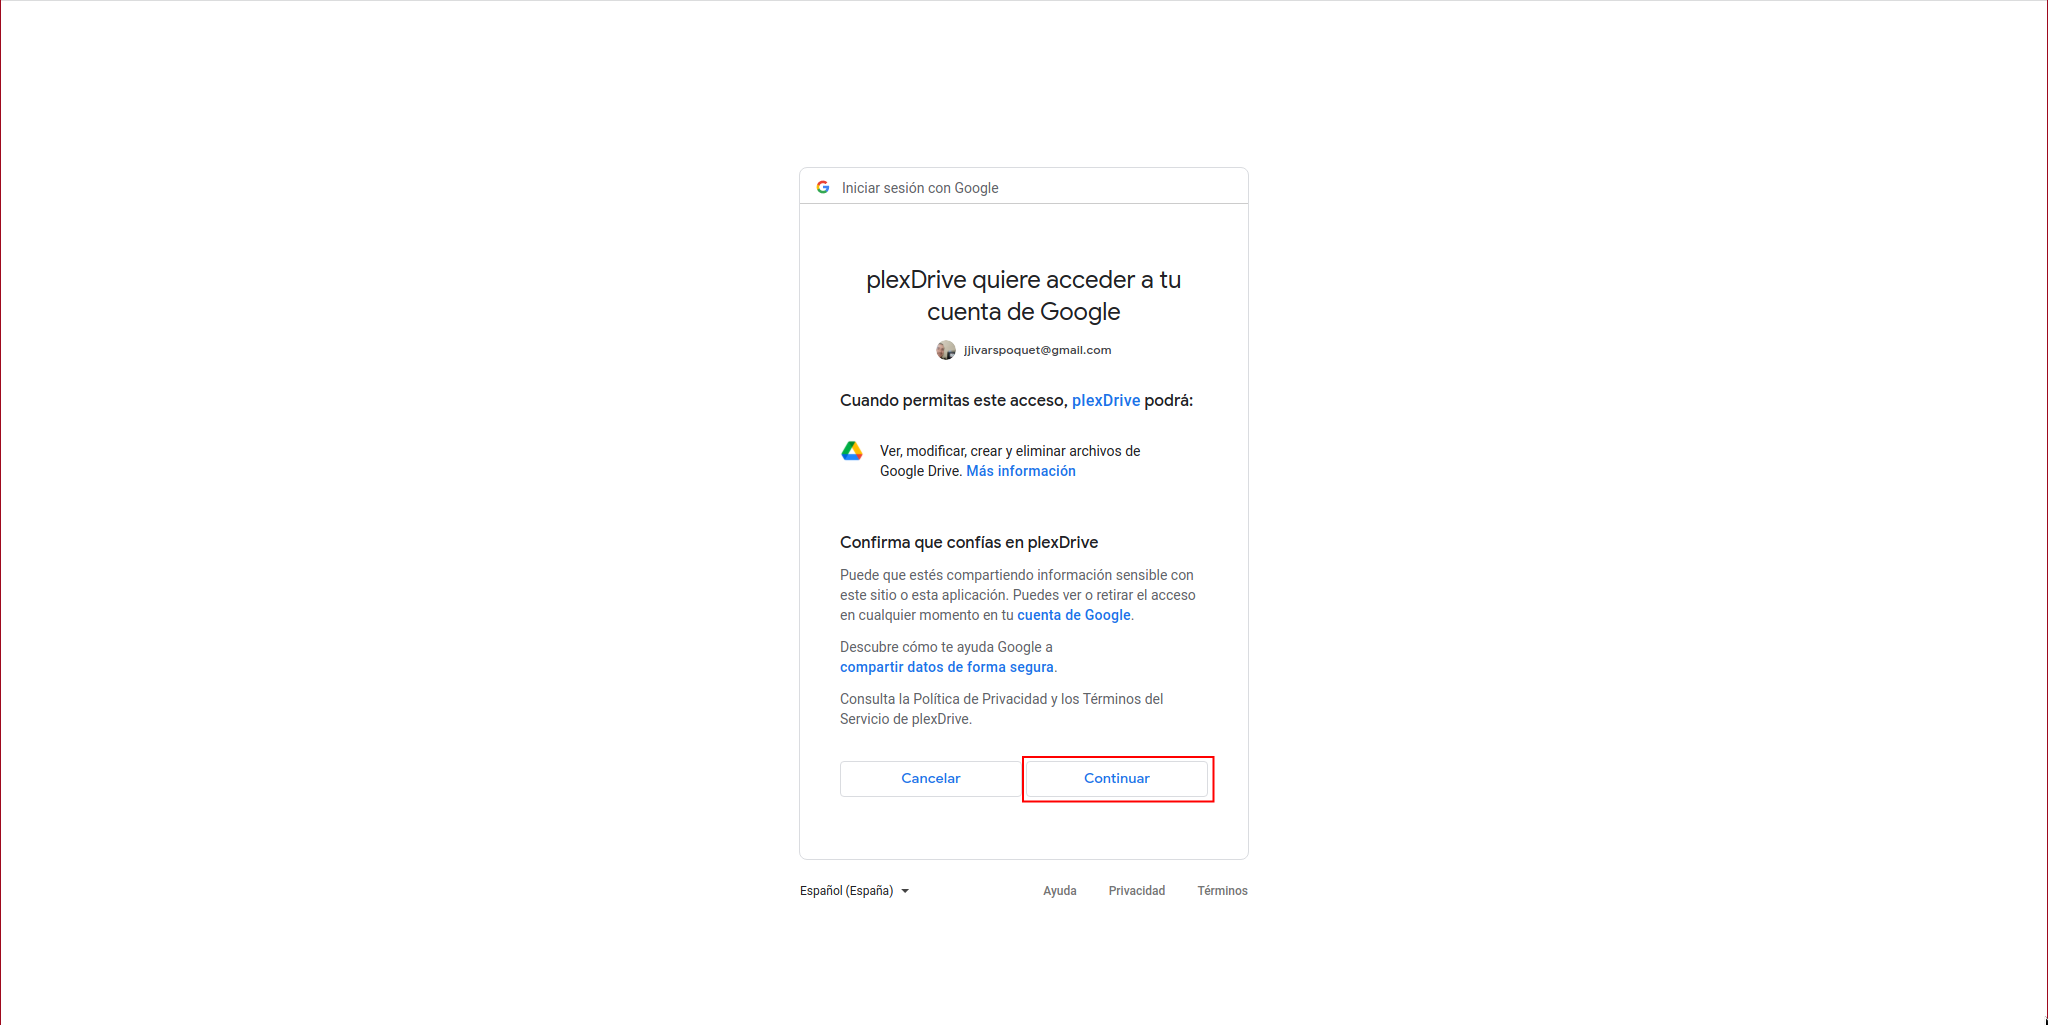
We access the URL indicated by PlexDrive using the previously authorized user:
The following message will appear, so we click on “CONTINUE”:
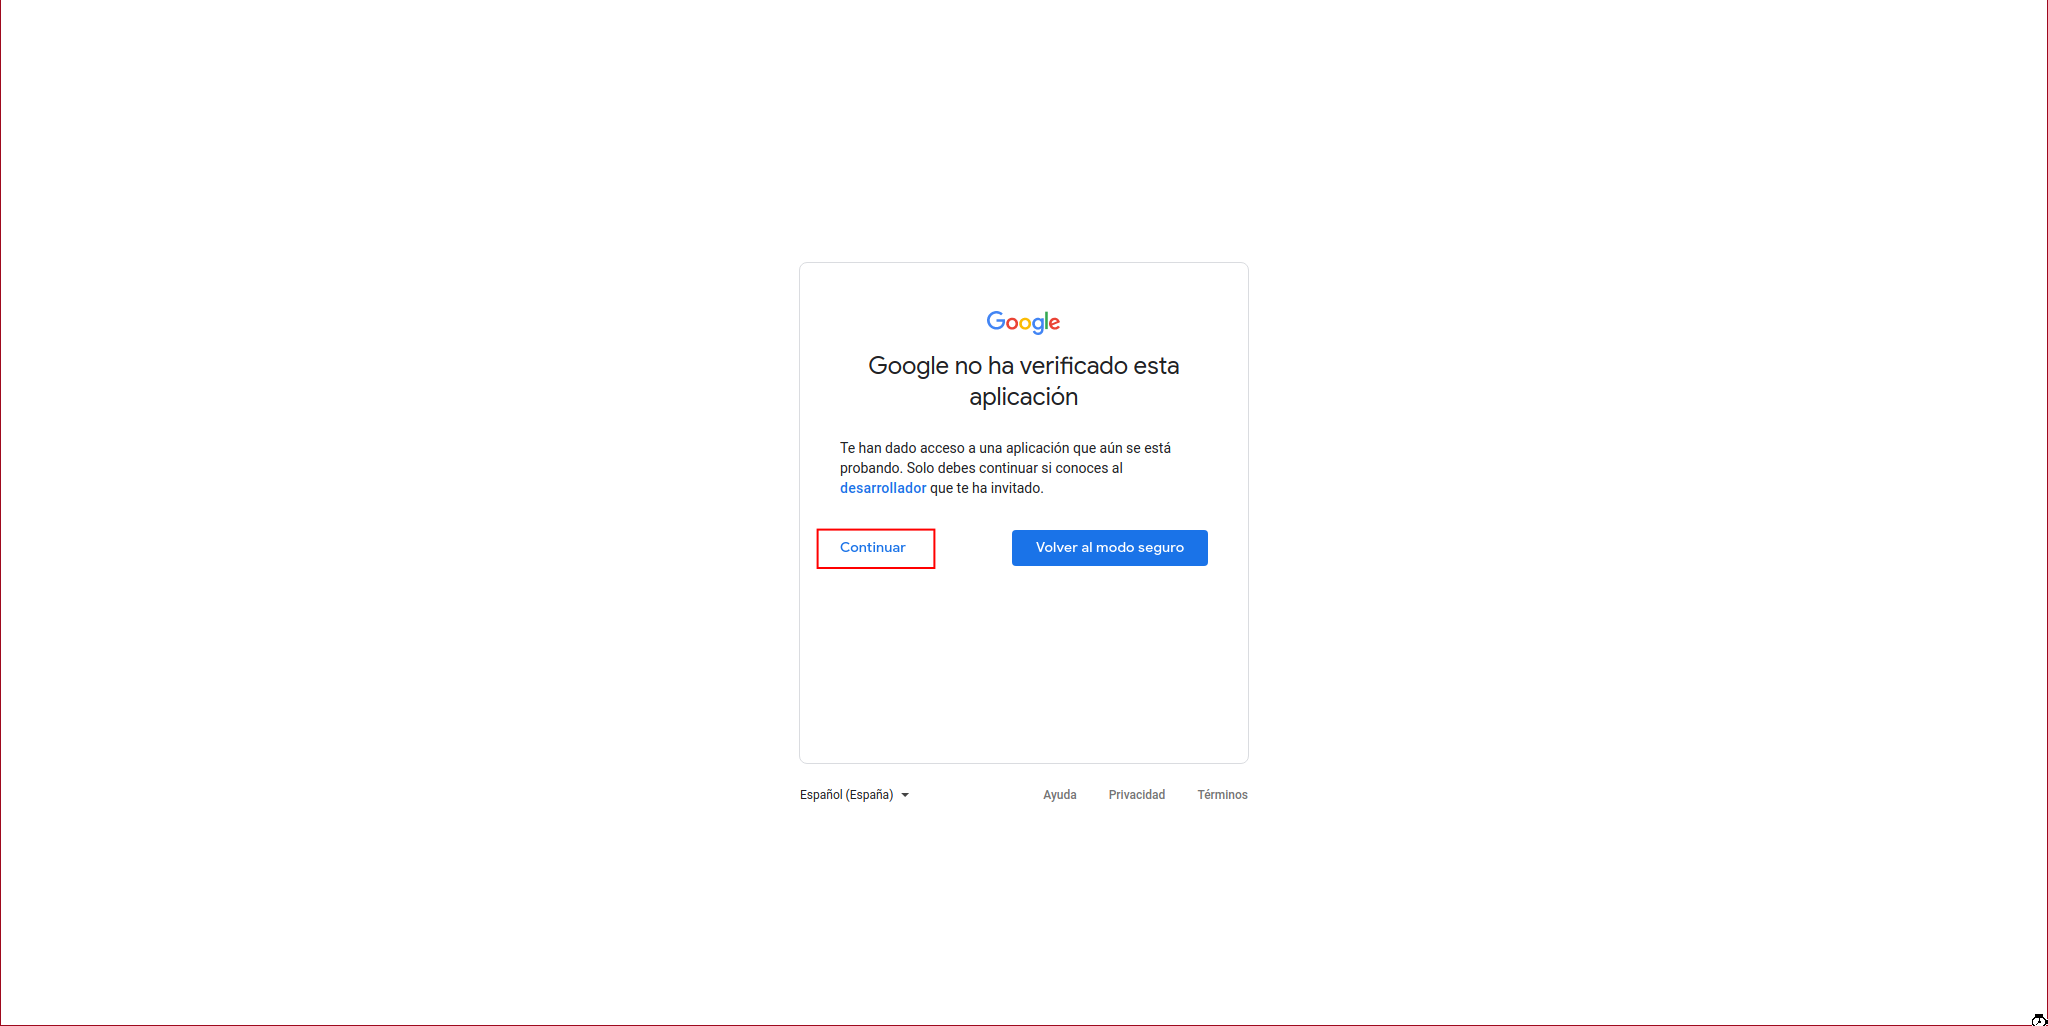
We click on “CONTINUE” again:
It will show us a code:
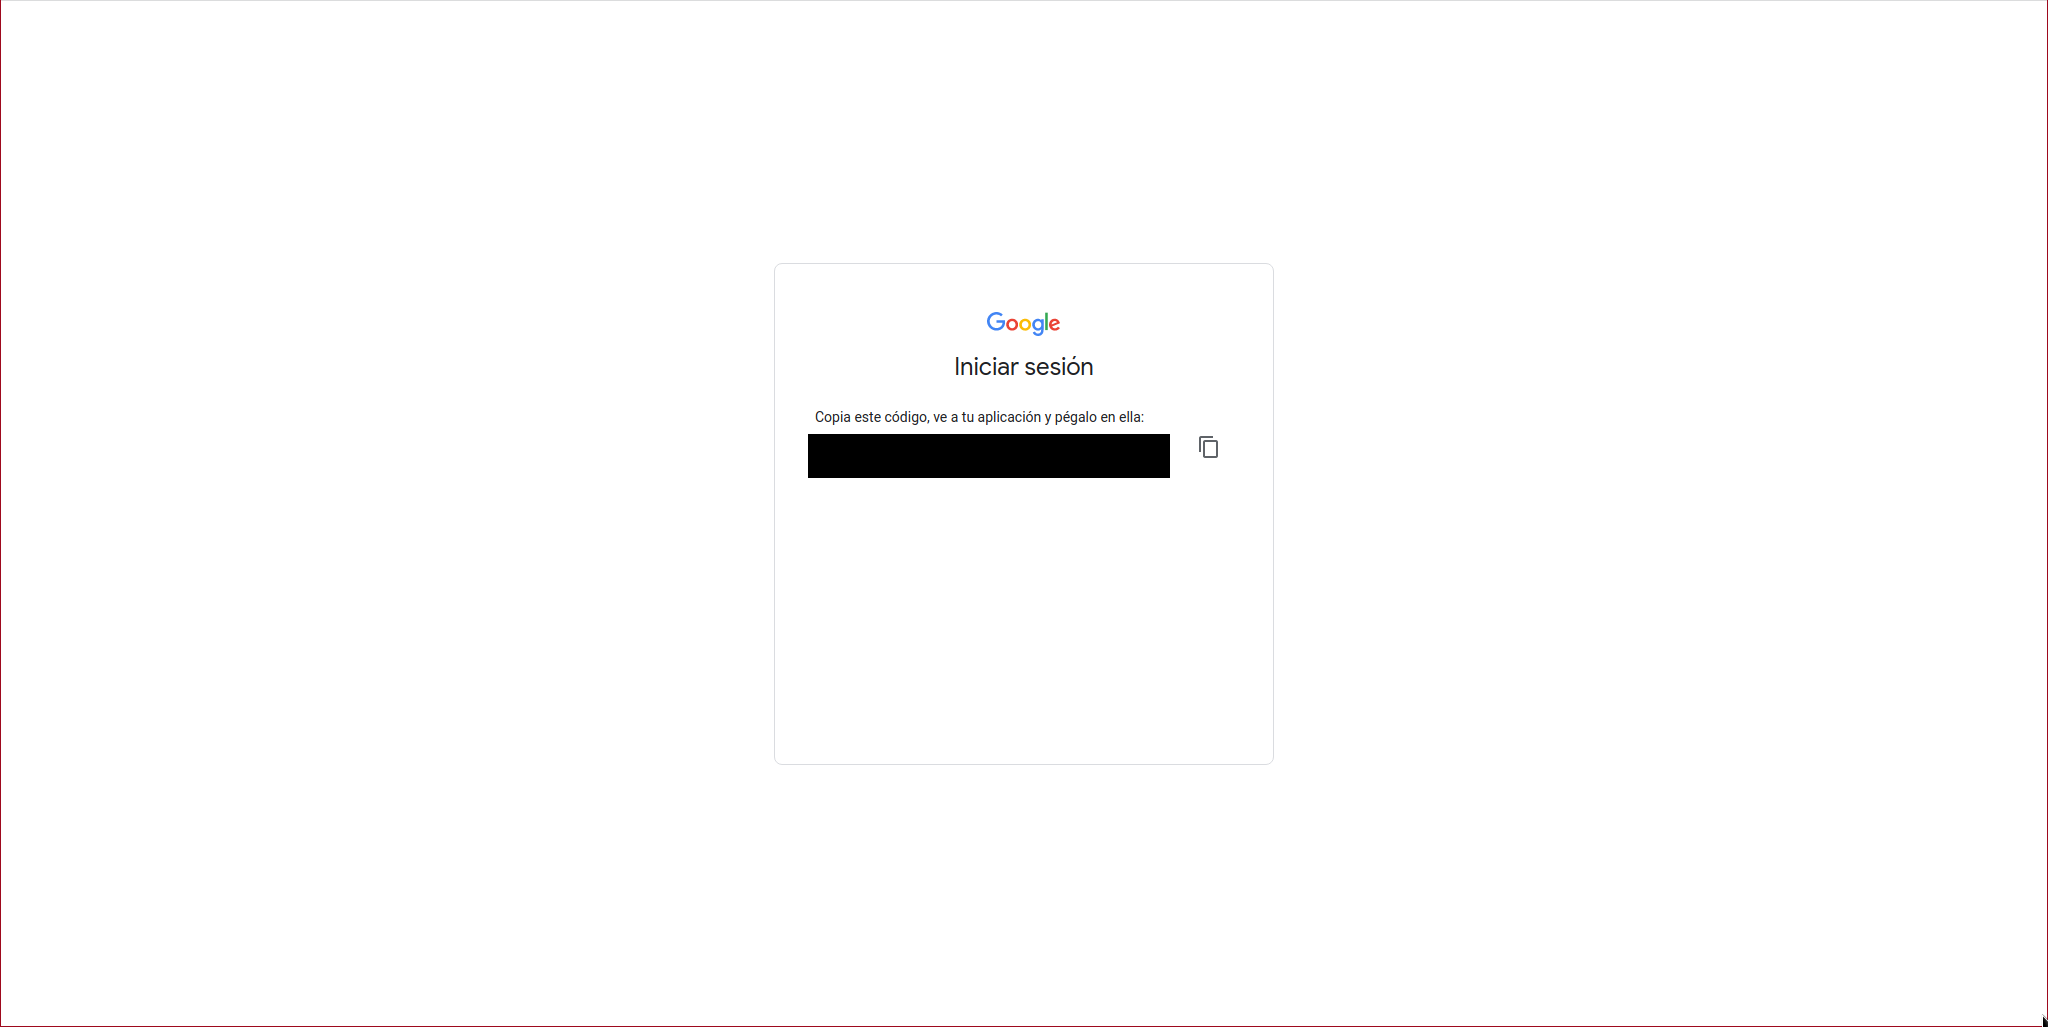
We paste the code in the console:
Paste the authorization code: XXXXXXXXXXXXXXXXXXXX
We press Ctrl+C and demonize the GDrive unit mount:
#! /bin/sh
#
# $FreeBSD$
#

# PROVIDE: gdrive
# REQUIRE: DAEMON
# KEYWORD: shutdown

. /etc/rc.subr

name="gdrive"
rcvar="${name}_enable"
extra_commands="status"

start_cmd="${name}_start"
stop_cmd="${name}_stop"
status_cmd="${name}_status"

gdrive_start(){
    echo "Clearing cache files: ${name}"
    rm /root/.plexdrive/cache.bolt
    echo "Starting service: ${name}"
    /usr/sbin/daemon -S -p /var/run/${name}.pid -T gdrive -u root /root/plexdrive-freebsd-amd64 mount -o allow_other -v 3 --drive-id=0ANN6pzUlNUgXUk9PVA /mnt/gdrive
}

gdrive_stop(){
    if [ -f /var/run/${name}.pid ]; then
        echo "Stopping service: ${name}"
        kill -s INT $(cat /var/run/${name}.pid)
        sleep 3
    else
        echo "It appears ${name} is not running."
    fi
}

gdrive_status(){
    if [ -f /var/run/${name}.pid ]; then
        echo "${name} running with PID: $(cat /var/run/${name}.pid)"
    else
        echo "It appears ${name} is not running."
    fi
}


load_rc_config ${name}
run_rc_command "$1"
We assign the necessary permissions:
chown root:wheel /usr/local/etc/rc.d/gdrive
We enable the service and start it:
service gdrive start
Now we will import the /mnt/gdrive directory from the parent to the jail.
We create the directory in the jail:
mkdir /mnt/gdrive
exit
We import the directory using the IOCage fstab command:
Successfully added mount to GDrive's fstab
Now we access the jail and mount the FTP server, install the necessary library for it:
We daemonize the FTP service:
#! /bin/sh
#
# $FreeBSD$
#

# PROVIDE: pyftpdlib
# REQUIRE: DAEMON
# KEYWORD: shutdown

. /etc/rc.subr

name="pyftpdlib"
rcvar="${name}_enable"
extra_commands="status"

start_cmd="${name}_start"
stop_cmd="${name}_stop"
status_cmd="${name}_status"

pyftpdlib_start(){
    echo "Starting service: ${name}"
    chdir /mnt/gdrive
    /usr/sbin/daemon -S -p /var/run/${name}.pid -T gdrive -u kr0m /usr/local/bin/python -m pyftpdlib -p 2121 -u USERNAME -P PASSWORD -i 192.168.69.14
}

pyftpdlib_stop(){
    if [ -f /var/run/${name}.pid ]; then
        echo "Stopping service: ${name}"
        kill -s INT $(cat /var/run/${name}.pid)
        sleep 3
    else
        echo "It appears ${name} is not running."
    fi
}

pyftpdlib_status(){
    if [ -f /var/run/${name}.pid ]; then
        echo "${name} running with PID: $(cat /var/run/${name}.pid)"
    else
        echo "It appears ${name} is not running."
    fi
}


load_rc_config ${name}
run_rc_command "$1"
We assign the necessary permissions:
chown root:wheel /usr/local/etc/rc.d/pyftpdlib
We enable the service and start it:
service pyftpdlib start
We check that the FTP server is active:
kr0m python3.8 18969 4 tcp4 192.168.69.14:2121 *:* LISTEN
Now we just have to import the content in KODI as indicated in this previous article
Expired token:
Google generates tokens for unpublished apps in “Testing” mode:
- A Google Cloud Platform project with an OAuth consent screen configured for an external user type and a publishing status of "Testing" is issued a refresh token expiring in 7 days.
This causes the following error in PlexDrive every 7 days:
Response: {
  "error": "invalid_grant",
  "error_description": "Token has been expired or revoked."
}
Publishing the app would make this limitation disappear, but publishing an app requires many additional steps such as configuring DNS with specific Google entries and more.
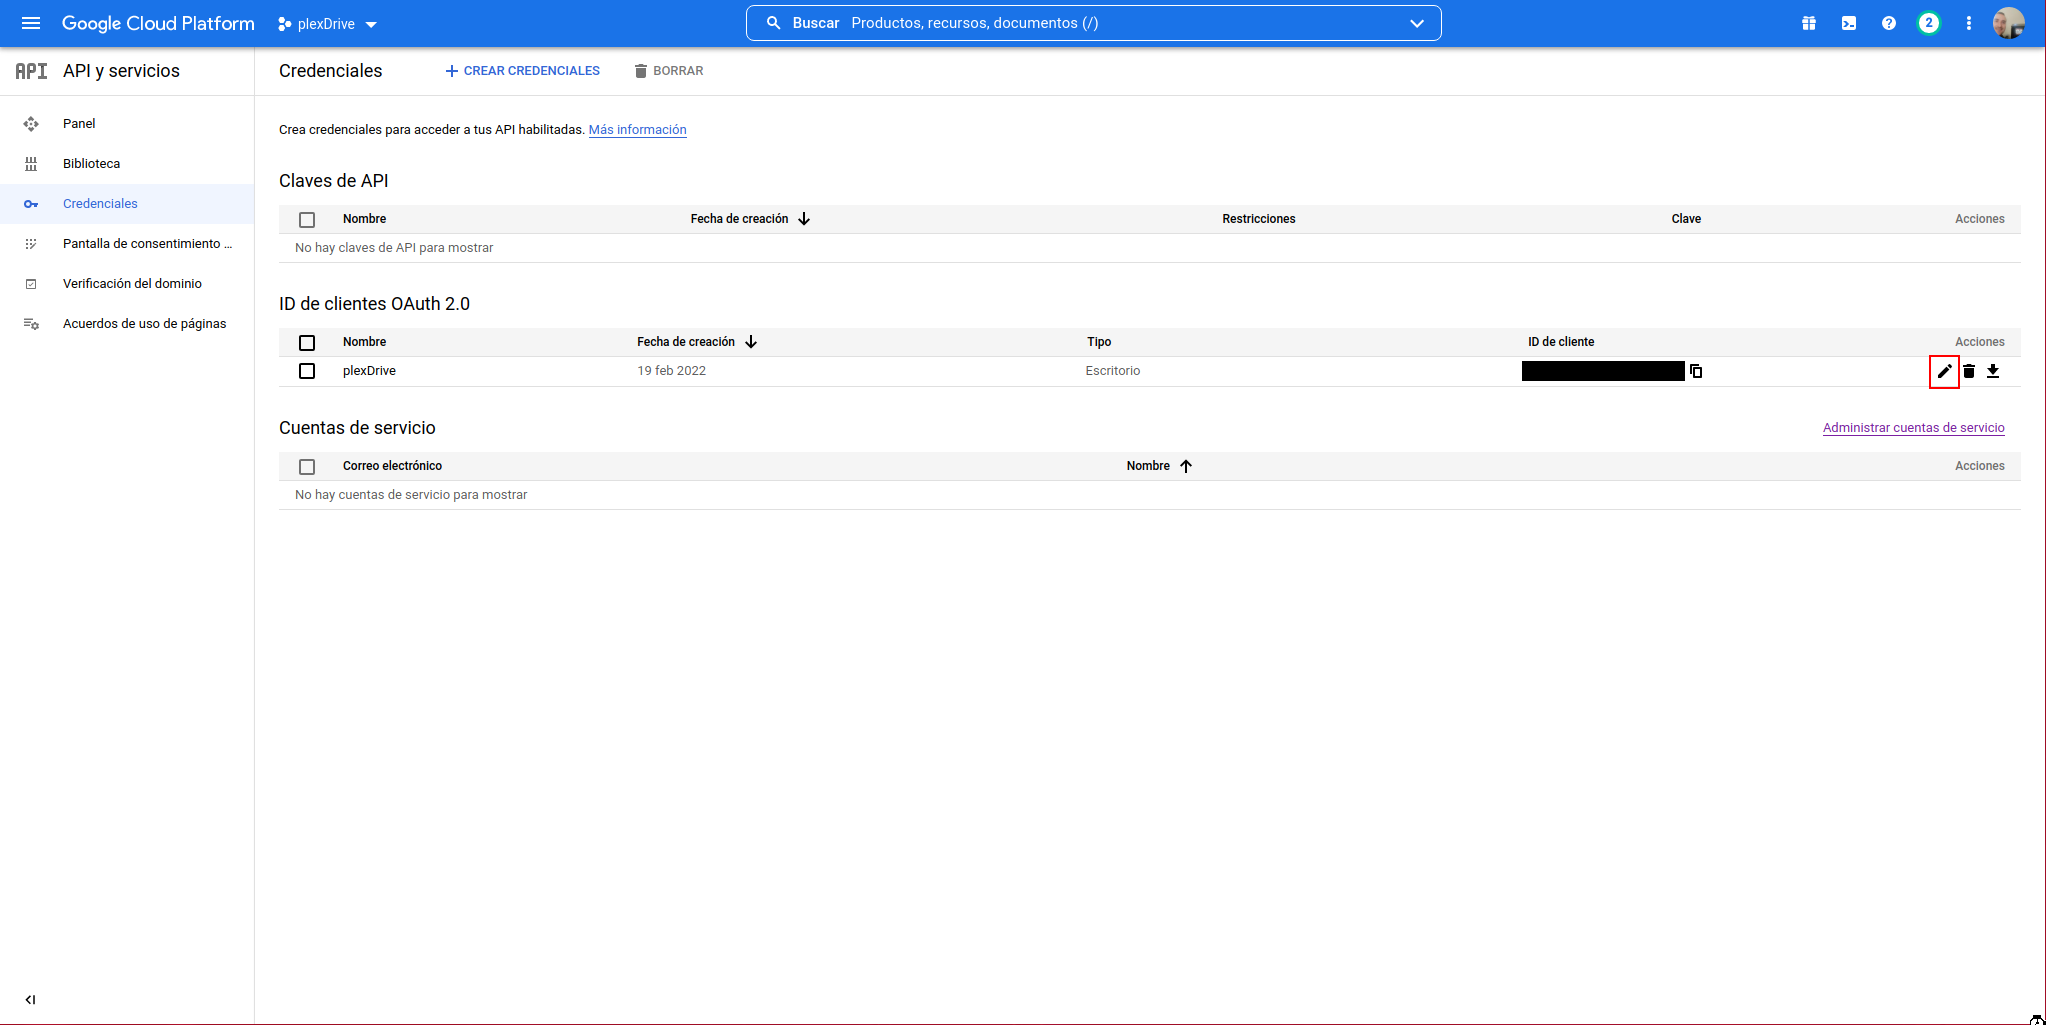
A simple but manual way to solve it is by accessing the credentials section of the project every week and regenerating the user token. To do this, we access the credentials section of the project:
https://console.developers.google.com/apis/credentials
We click on edit for the previously created client ID:
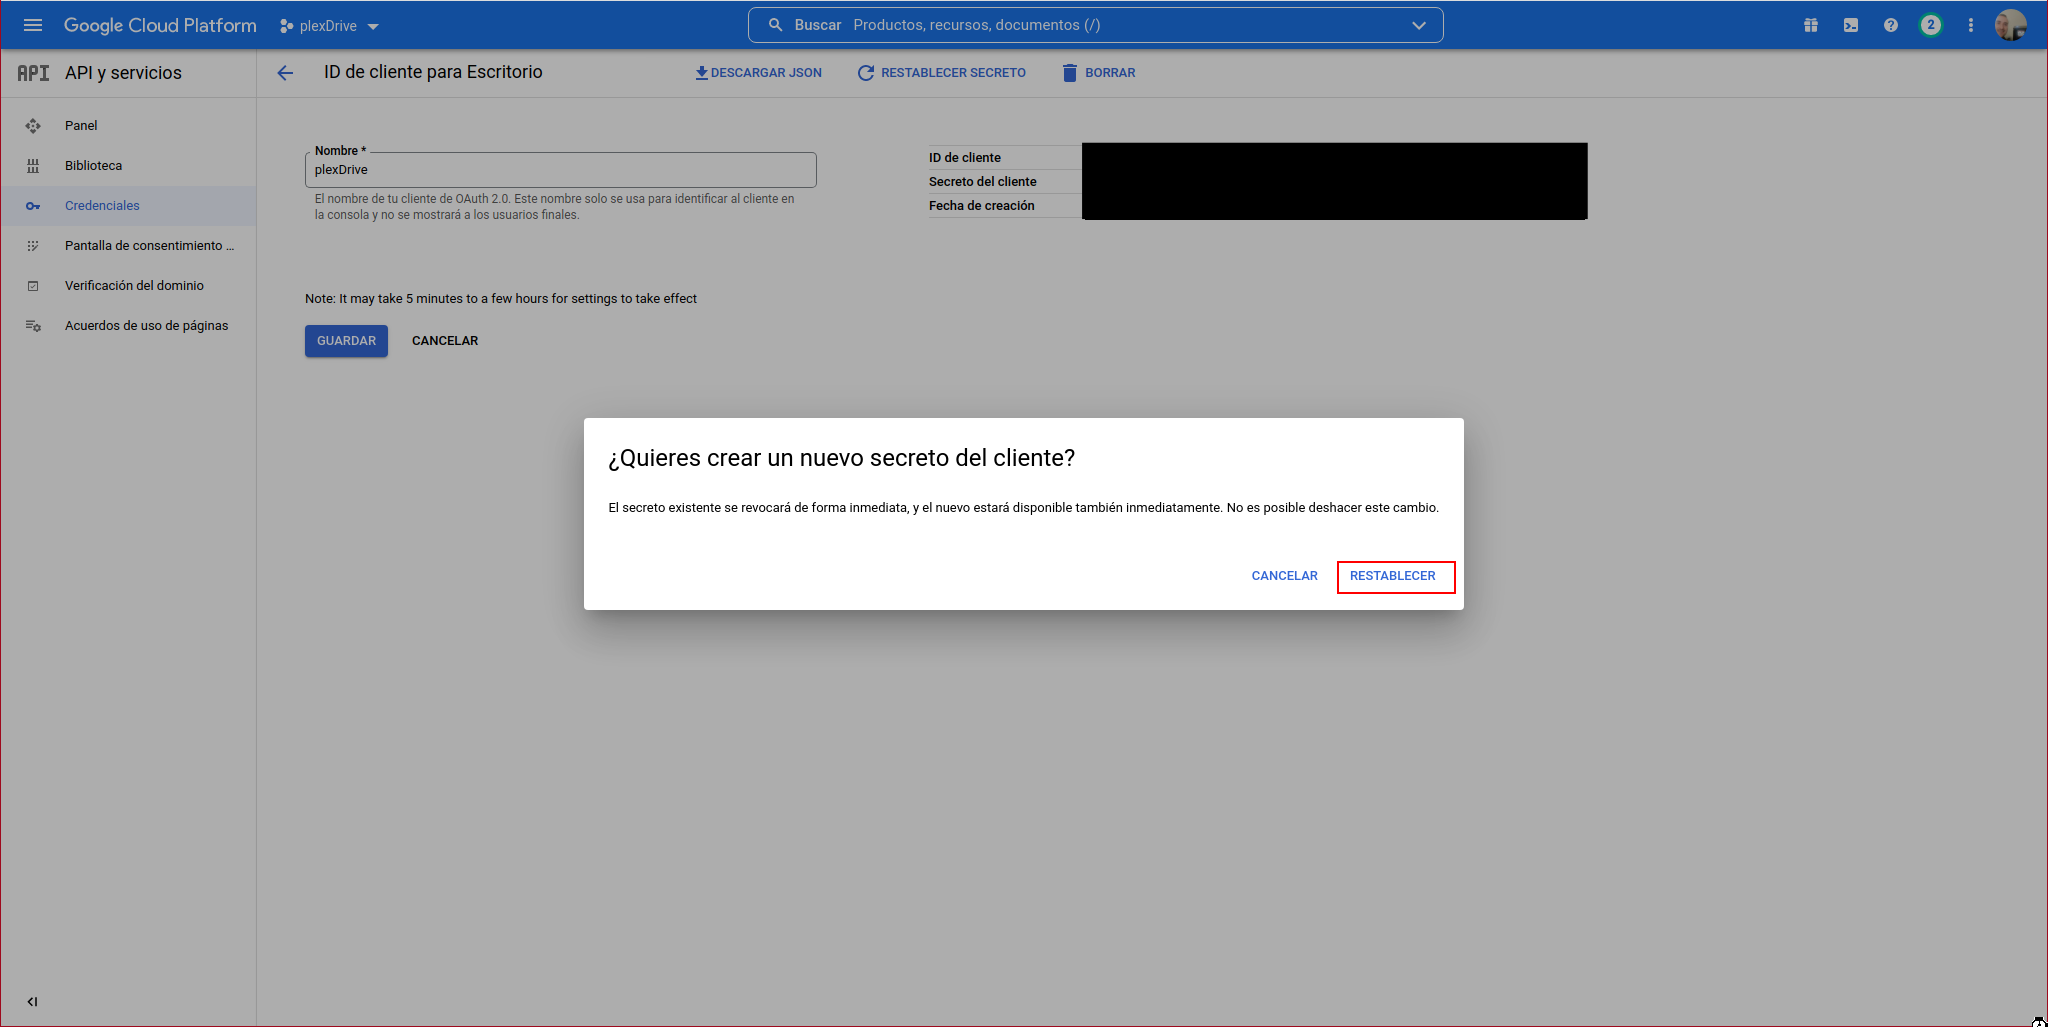
We click on “RESET SECRET”:
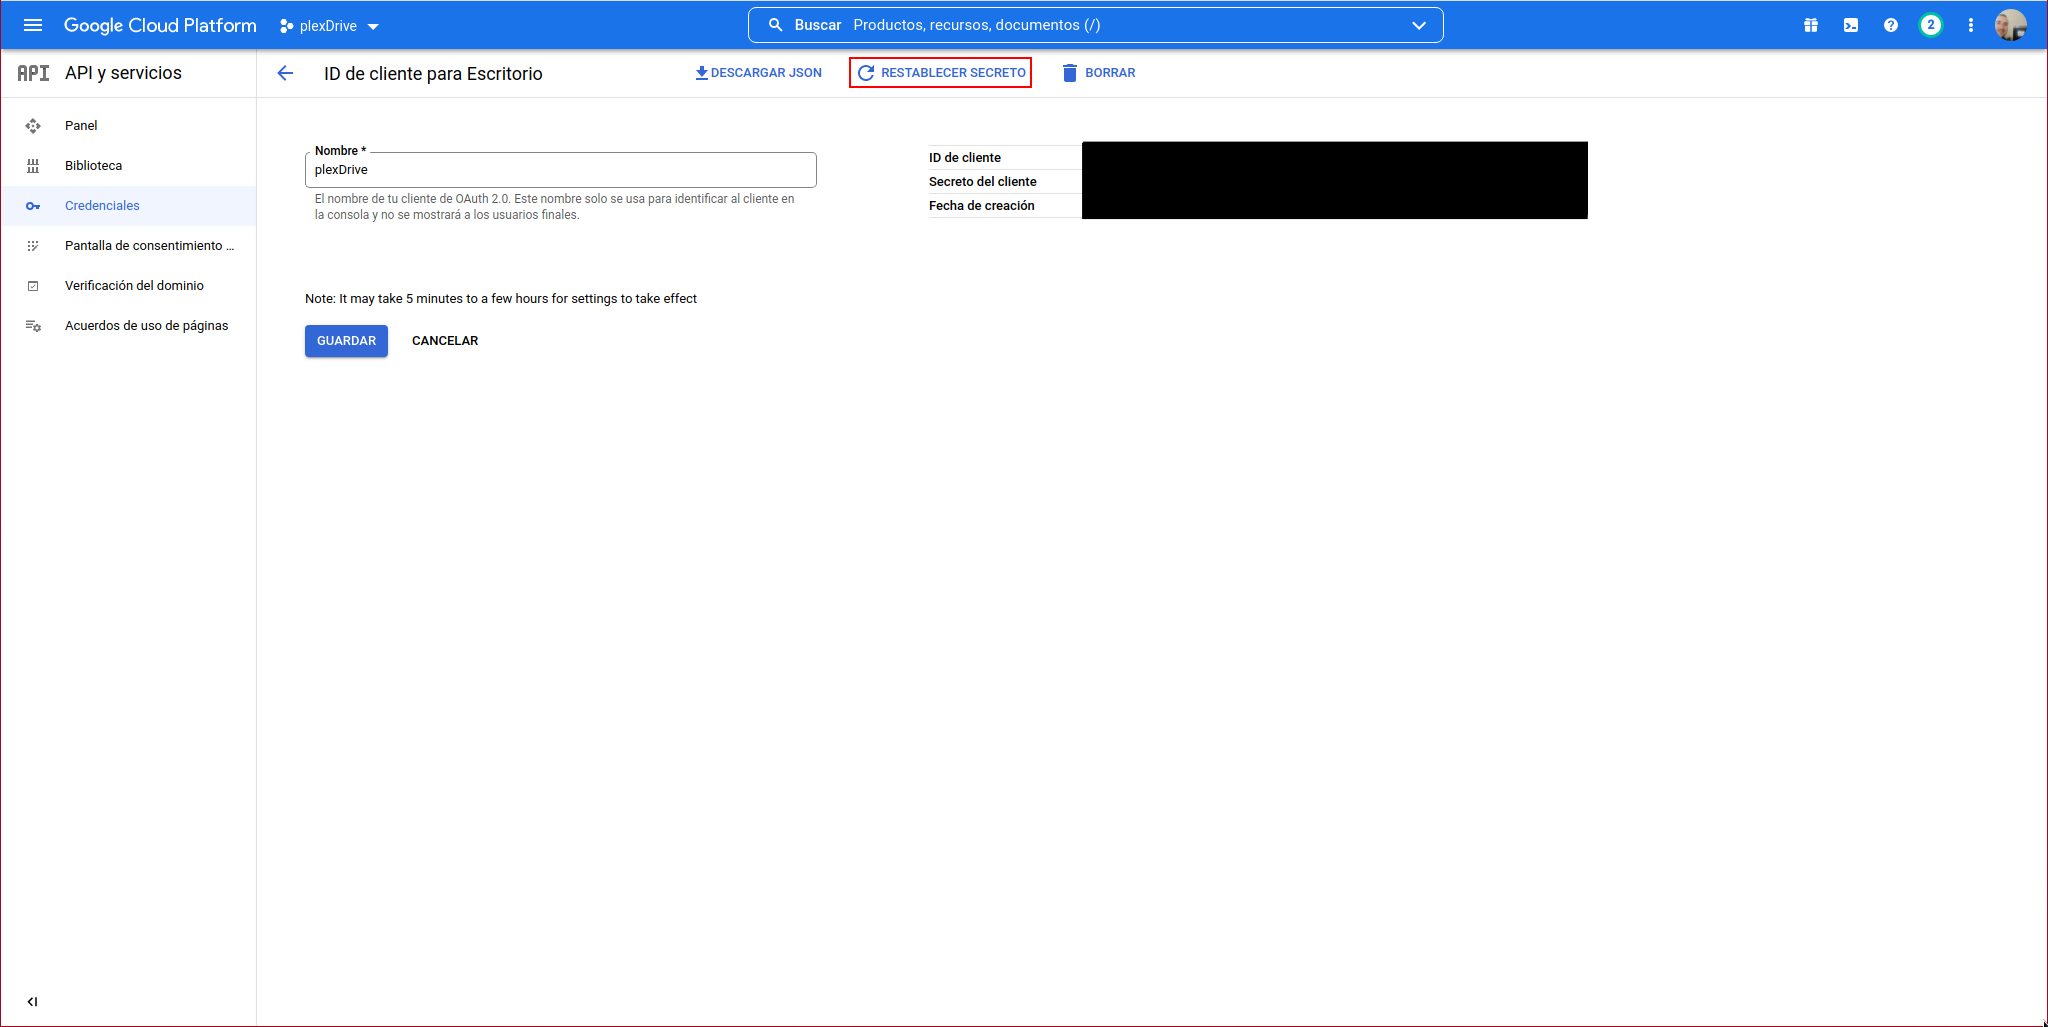
We confirm that we want to reset the secret:
Now we must reset PlexDrive from scratch. In my case, I first stop the jail that serves the content:
I stop the service:
I delete the PlexDrive configuration:
I manually start PlexDrive where it will ask us for the access data again:
1. Please go to https://console.developers.google.com/
2. Create a new project
3. Go to library and activate the Google Drive API
4. Go to credentials and create an OAuth client ID
5. Set the application type to 'other'
6. Specify some name and click create
7. Enter your generated client ID: XXXXXXXXXXXXXXXXXXXXX
8. Enter your generated client secret: YYYYYYYYYYYYYYYYYYYY

Go to the following link in your browser https://accounts.google.com/o/oauth2/auth?access_type=offline&client_id=ZZZZZZZZZZZZ-270hoqea0pinv0nc3sbpfkuja68alask.apps.googleusercontent.com&redirect_uri=urn%3Aietf%3Awg%3Aoauth%3A2.0%3Aoob&response_type=code&scope=https%3A%2F%2Fwww.googleapis.com%2Fauth%2Fdrive&state=state-token
Paste the authorization code: 4/1AX4XfWgwVi61FfxtHN0WpBUh_b3UvGhXfWscjb_B-oNQyl4zVniUtdqbQQg
When it has connected correctly, we stop it:
We start the service:
Finally, we start the jail: