The easiest and fastest way to set up a temporary FTP server is through the Python library
pyftpdlib
:
pyftpdlib sets up the FTP server in the directory where we are located when we run the command. This can be problematic if we are in our home directory since access is allowed without credentials by default, and we are exposing our ssh keys and other sensitive files.
To avoid problems, we create a directory with the content to be served and change to it:
cd ftp_content
We start the server:
[I 2021-12-23 15:41:07] concurrency model: async
[I 2021-12-23 15:41:07] masquerade (NAT) address: None
[I 2021-12-23 15:41:07] passive ports: None
[I 2021-12-23 15:41:07] >>> starting FTP server on 192.168.69.4:2121, pid=15021 <<<
If we want to delve into the options, we can list the supported parameters:
Usage: python -m pyftpdlib [options]

Start a stand alone anonymous FTP server.

Options:
  -h, --help
     show this help message and exit

  -i ADDRESS, --interface=ADDRESS
     specify the interface to run on (default all interfaces)

  -p PORT, --port=PORT
     specify port number to run on (default 2121)

  -w, --write
     grants write access for logged in user (default read-only)

  -d FOLDER, --directory=FOLDER
     specify the directory to share (default current directory)

  -n ADDRESS, --nat-address=ADDRESS
     the NAT address to use for passive connections

  -r FROM-TO, --range=FROM-TO
     the range of TCP ports to use for passive connections (e.g. -r 8000-9000)

  -D, --debug
     enable DEBUG logging evel

  -v, --version
     print pyftpdlib version and exit

  -V, --verbose
     activate a more verbose logging

  -u USERNAME, --username=USERNAME
     specify username to login with (anonymous login will be disabled and password required if supplied)

  -P PASSWORD, --password=PASSWORD
     specify a password to login with (username required to be useful)
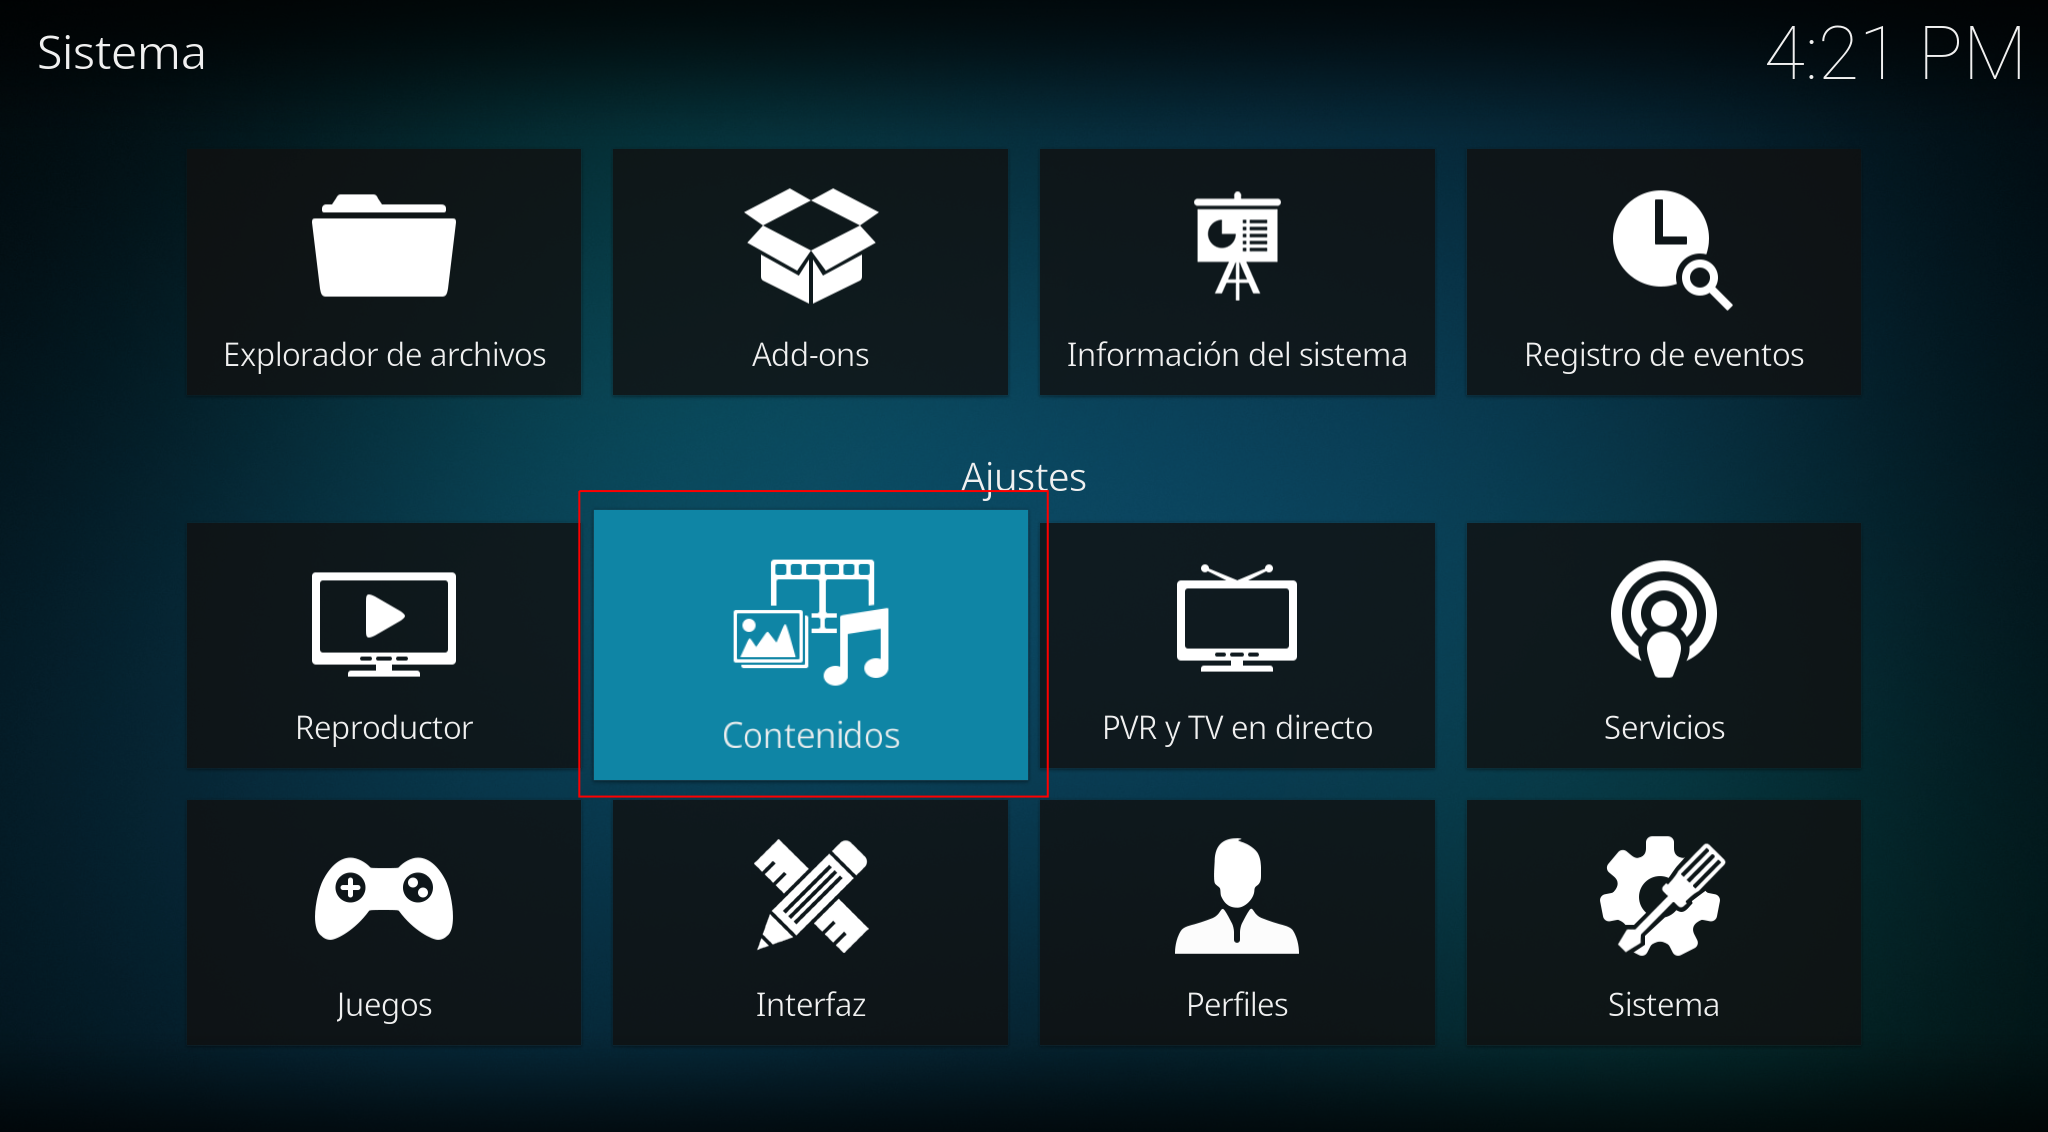
Now it’s time to add the source in KODI. We access the configuration parameters:
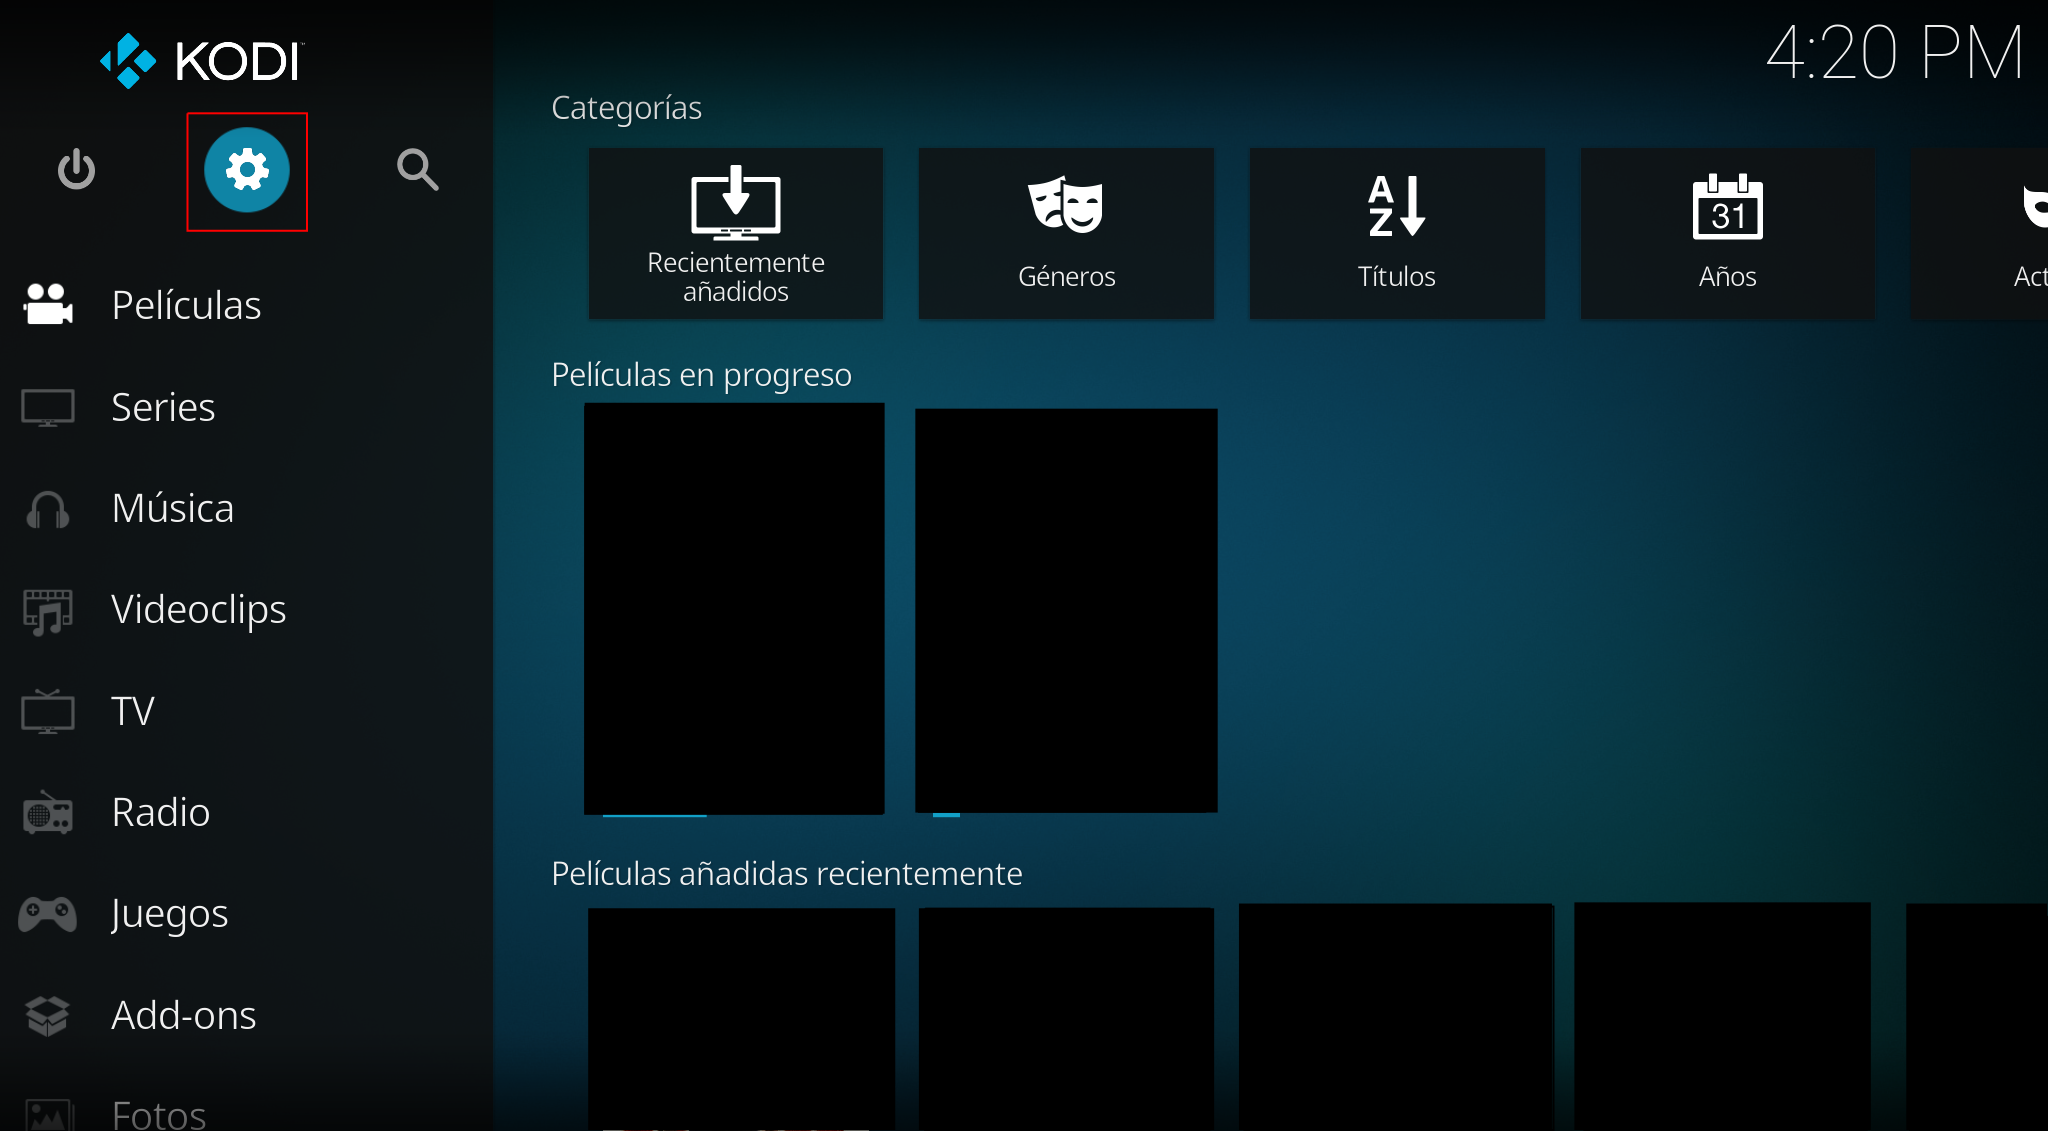
Contents:
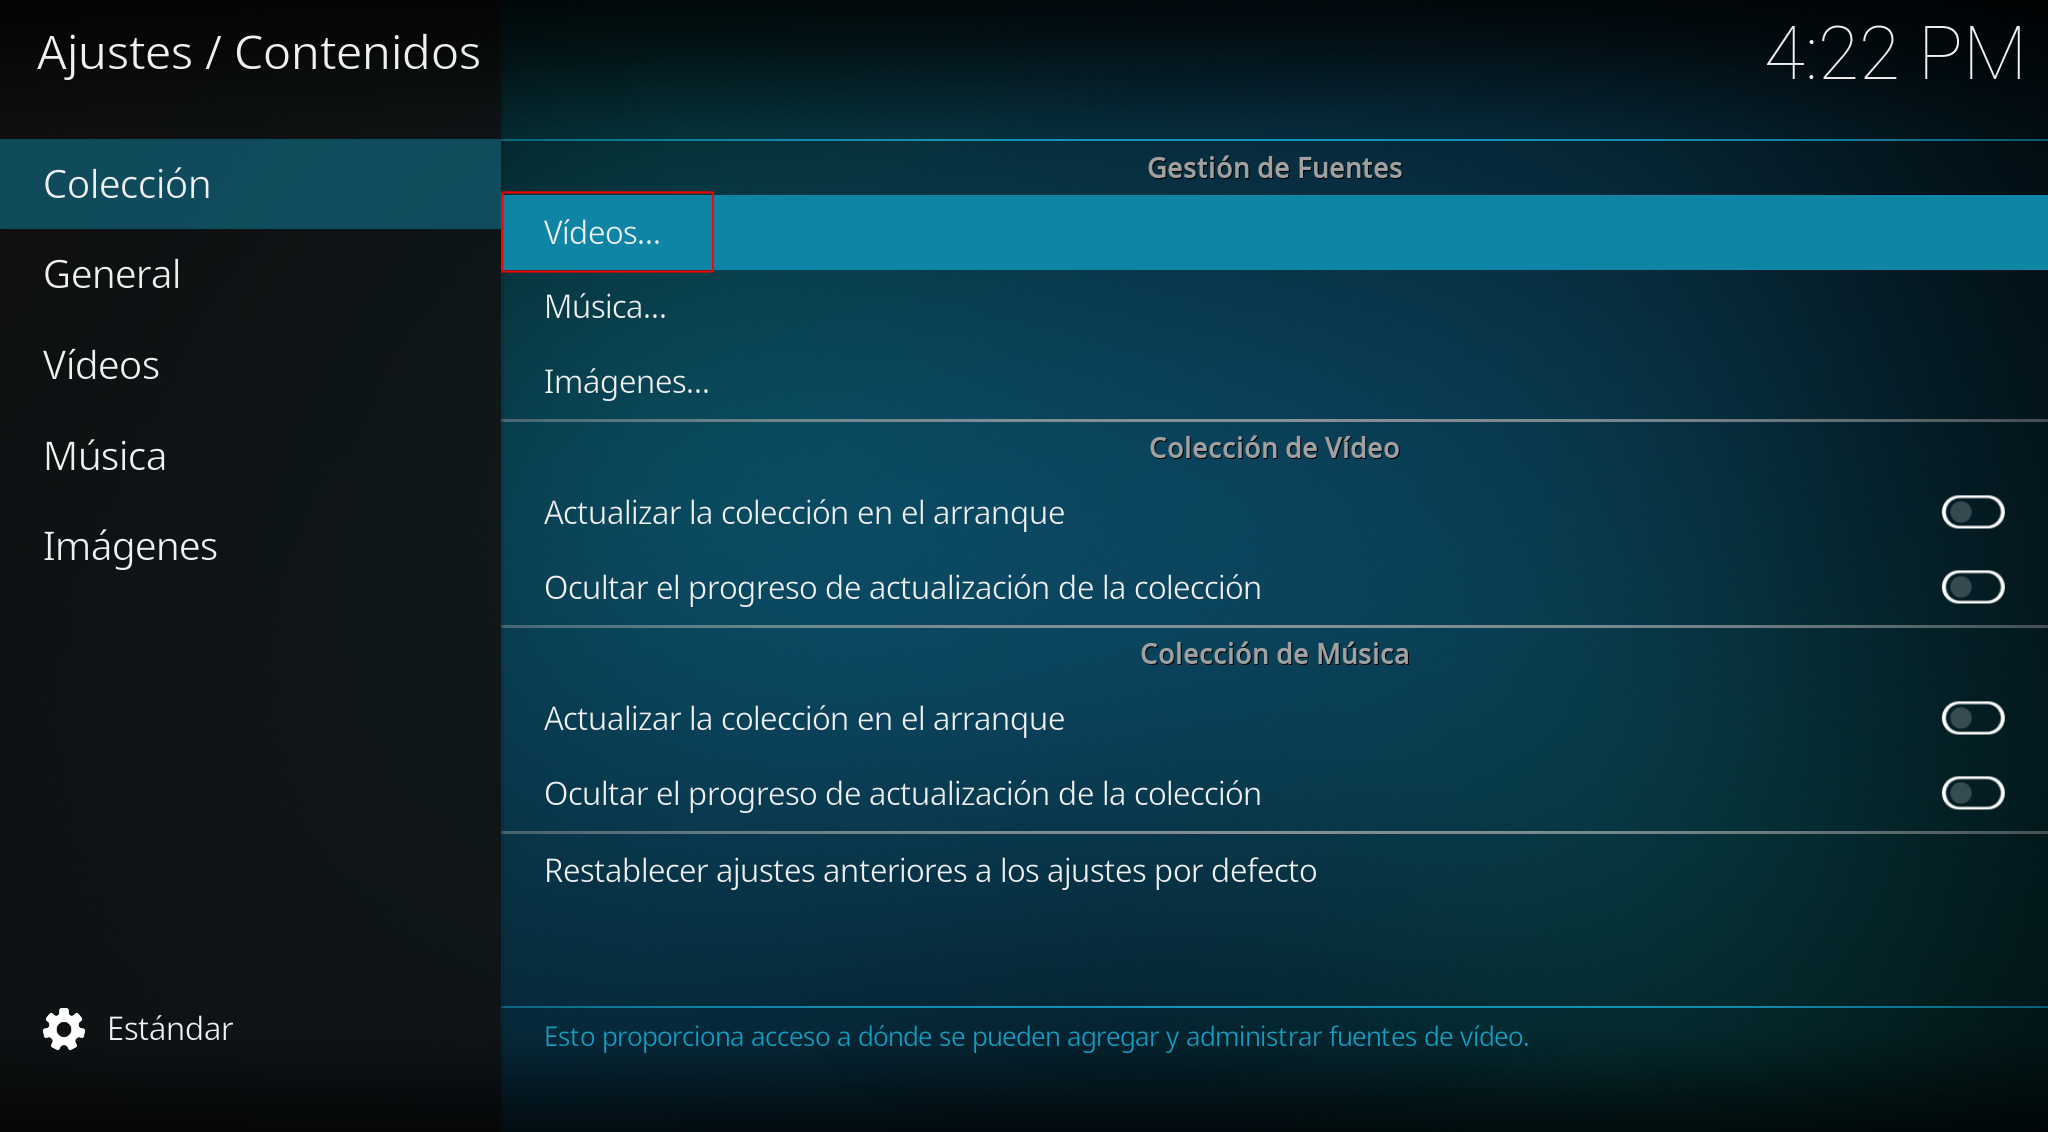
Videos:
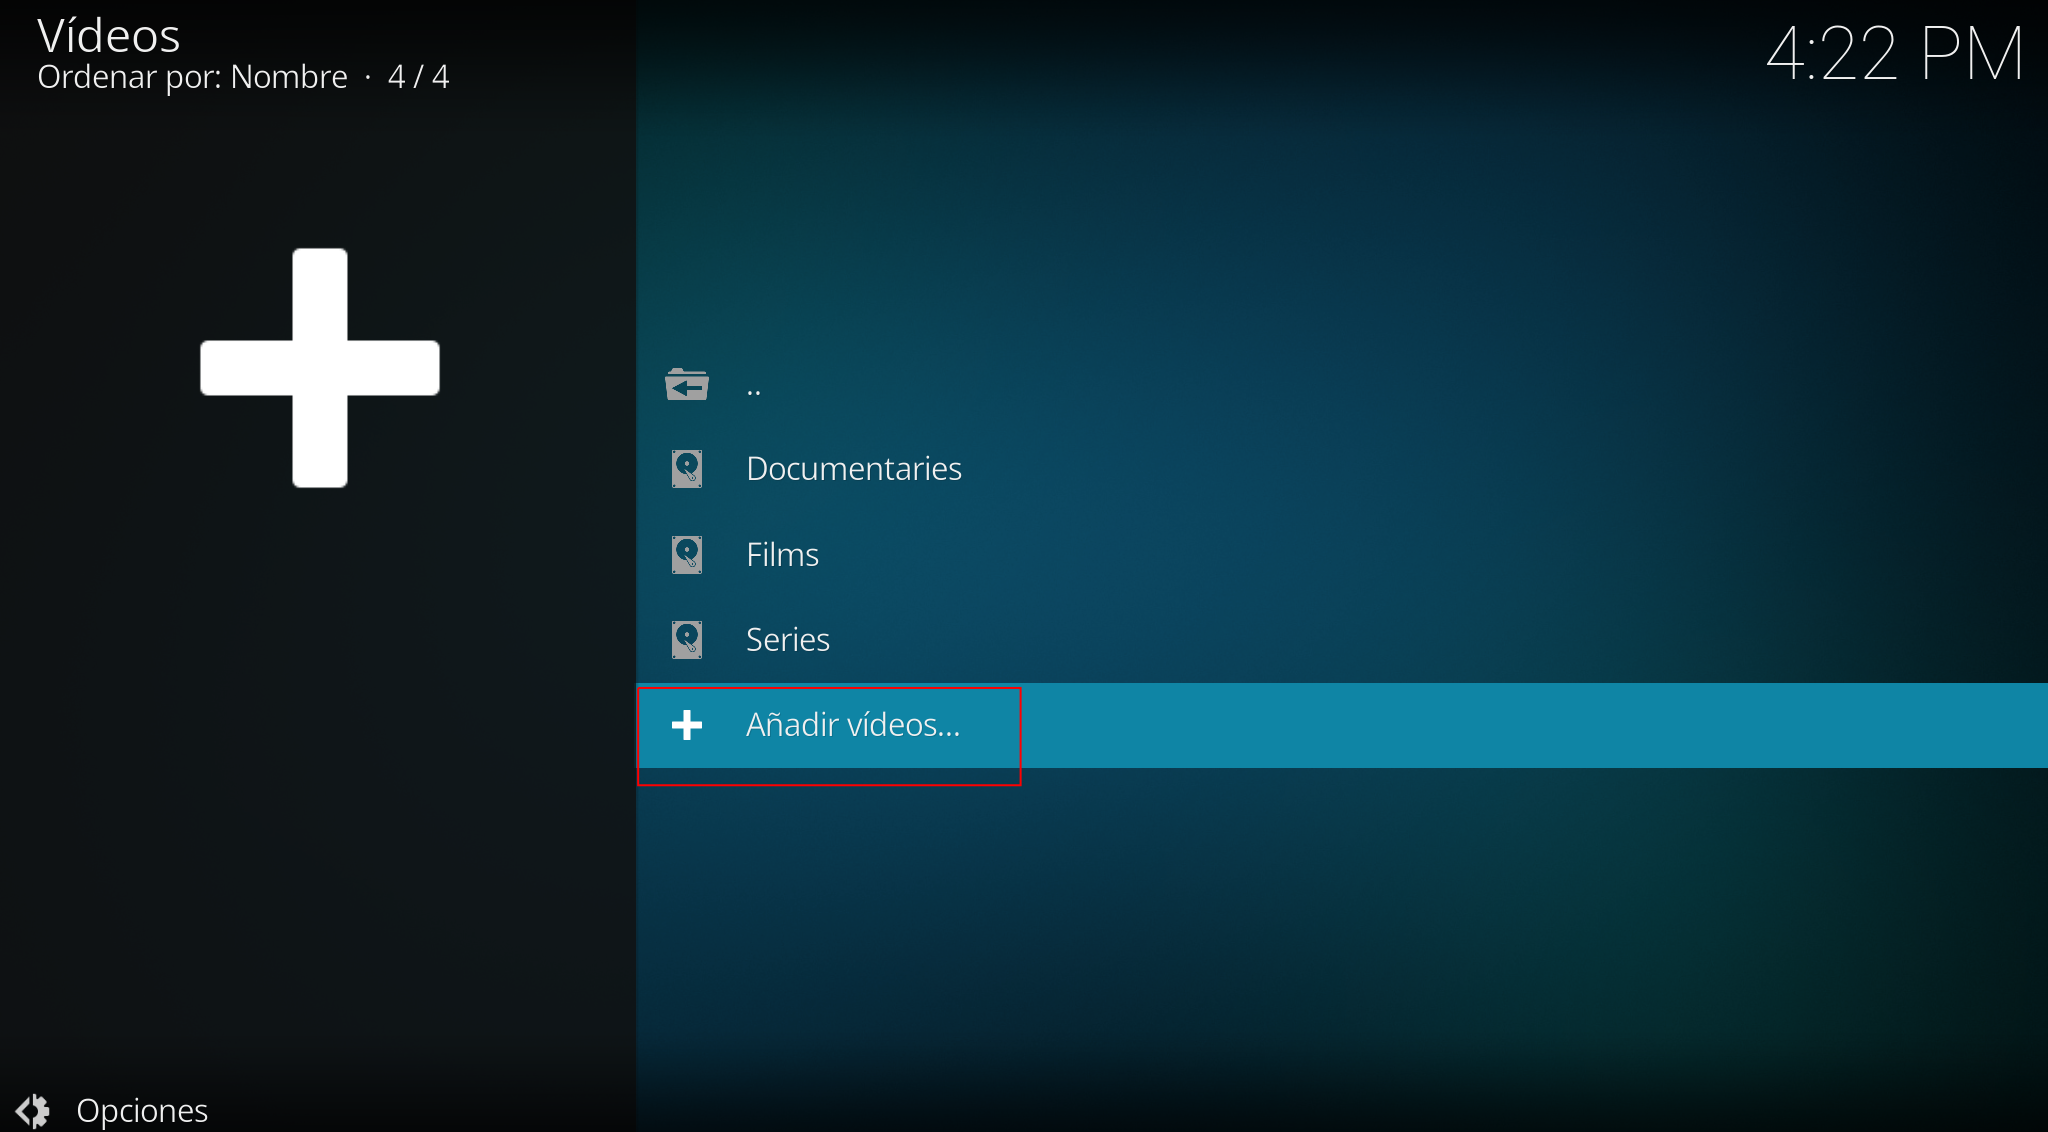
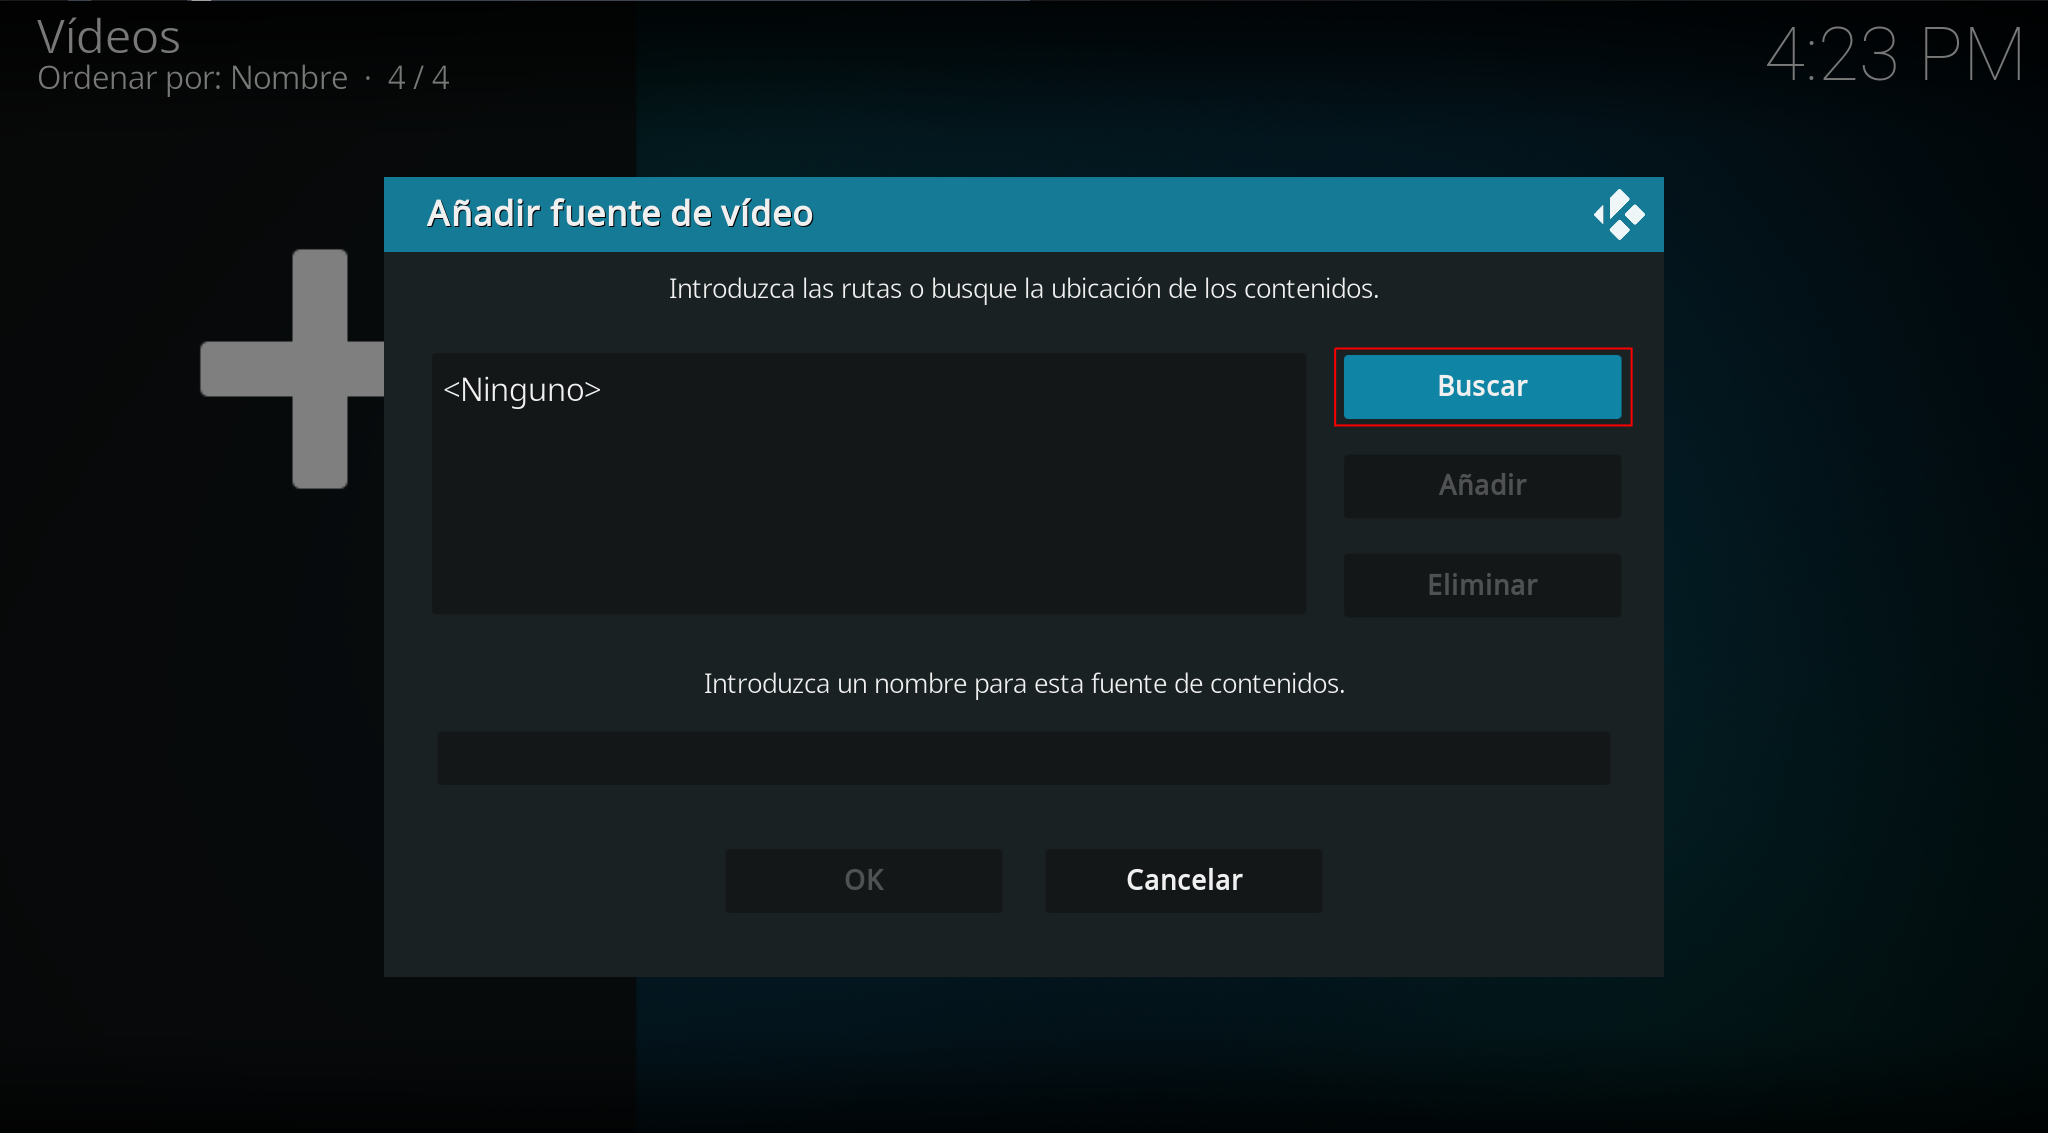
Add videos:
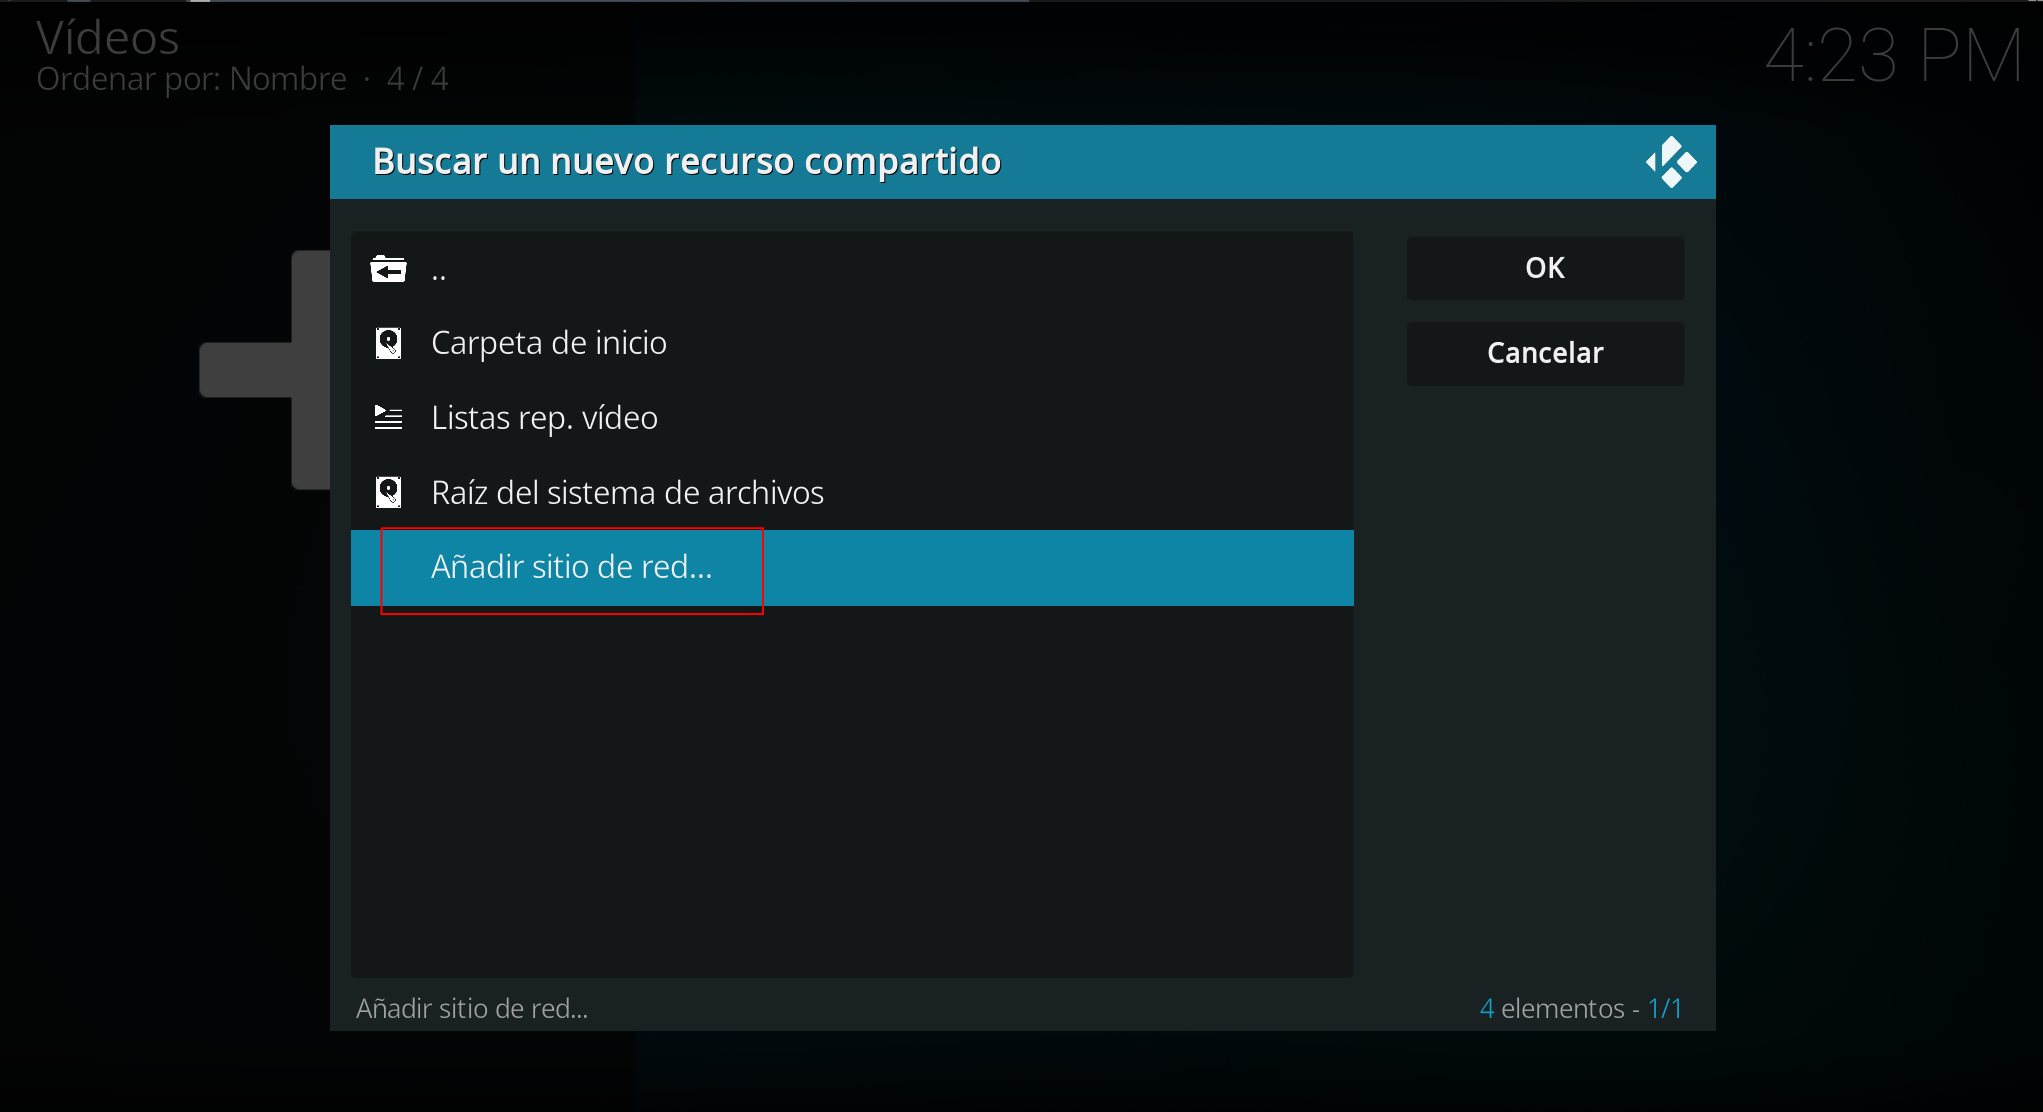
Search:
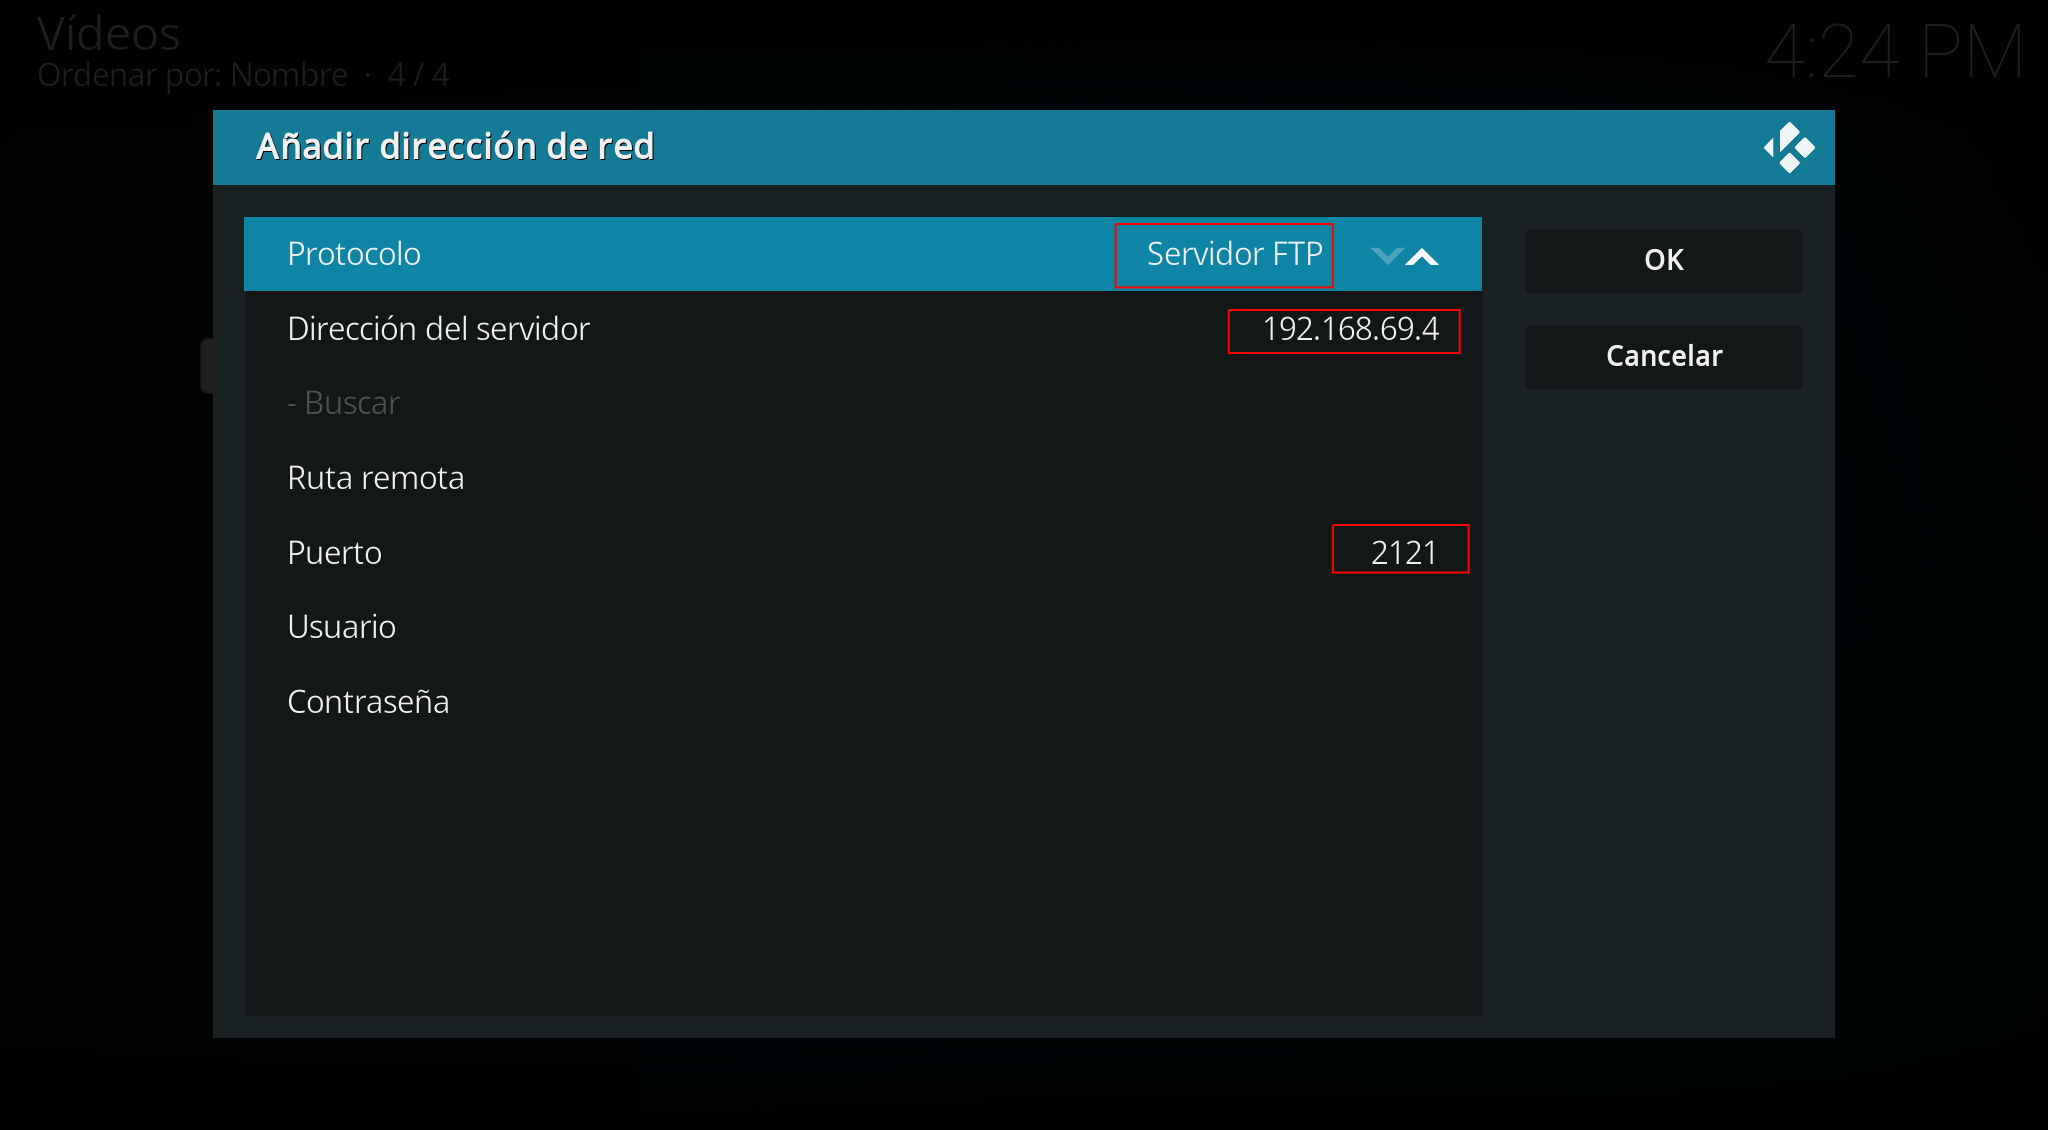
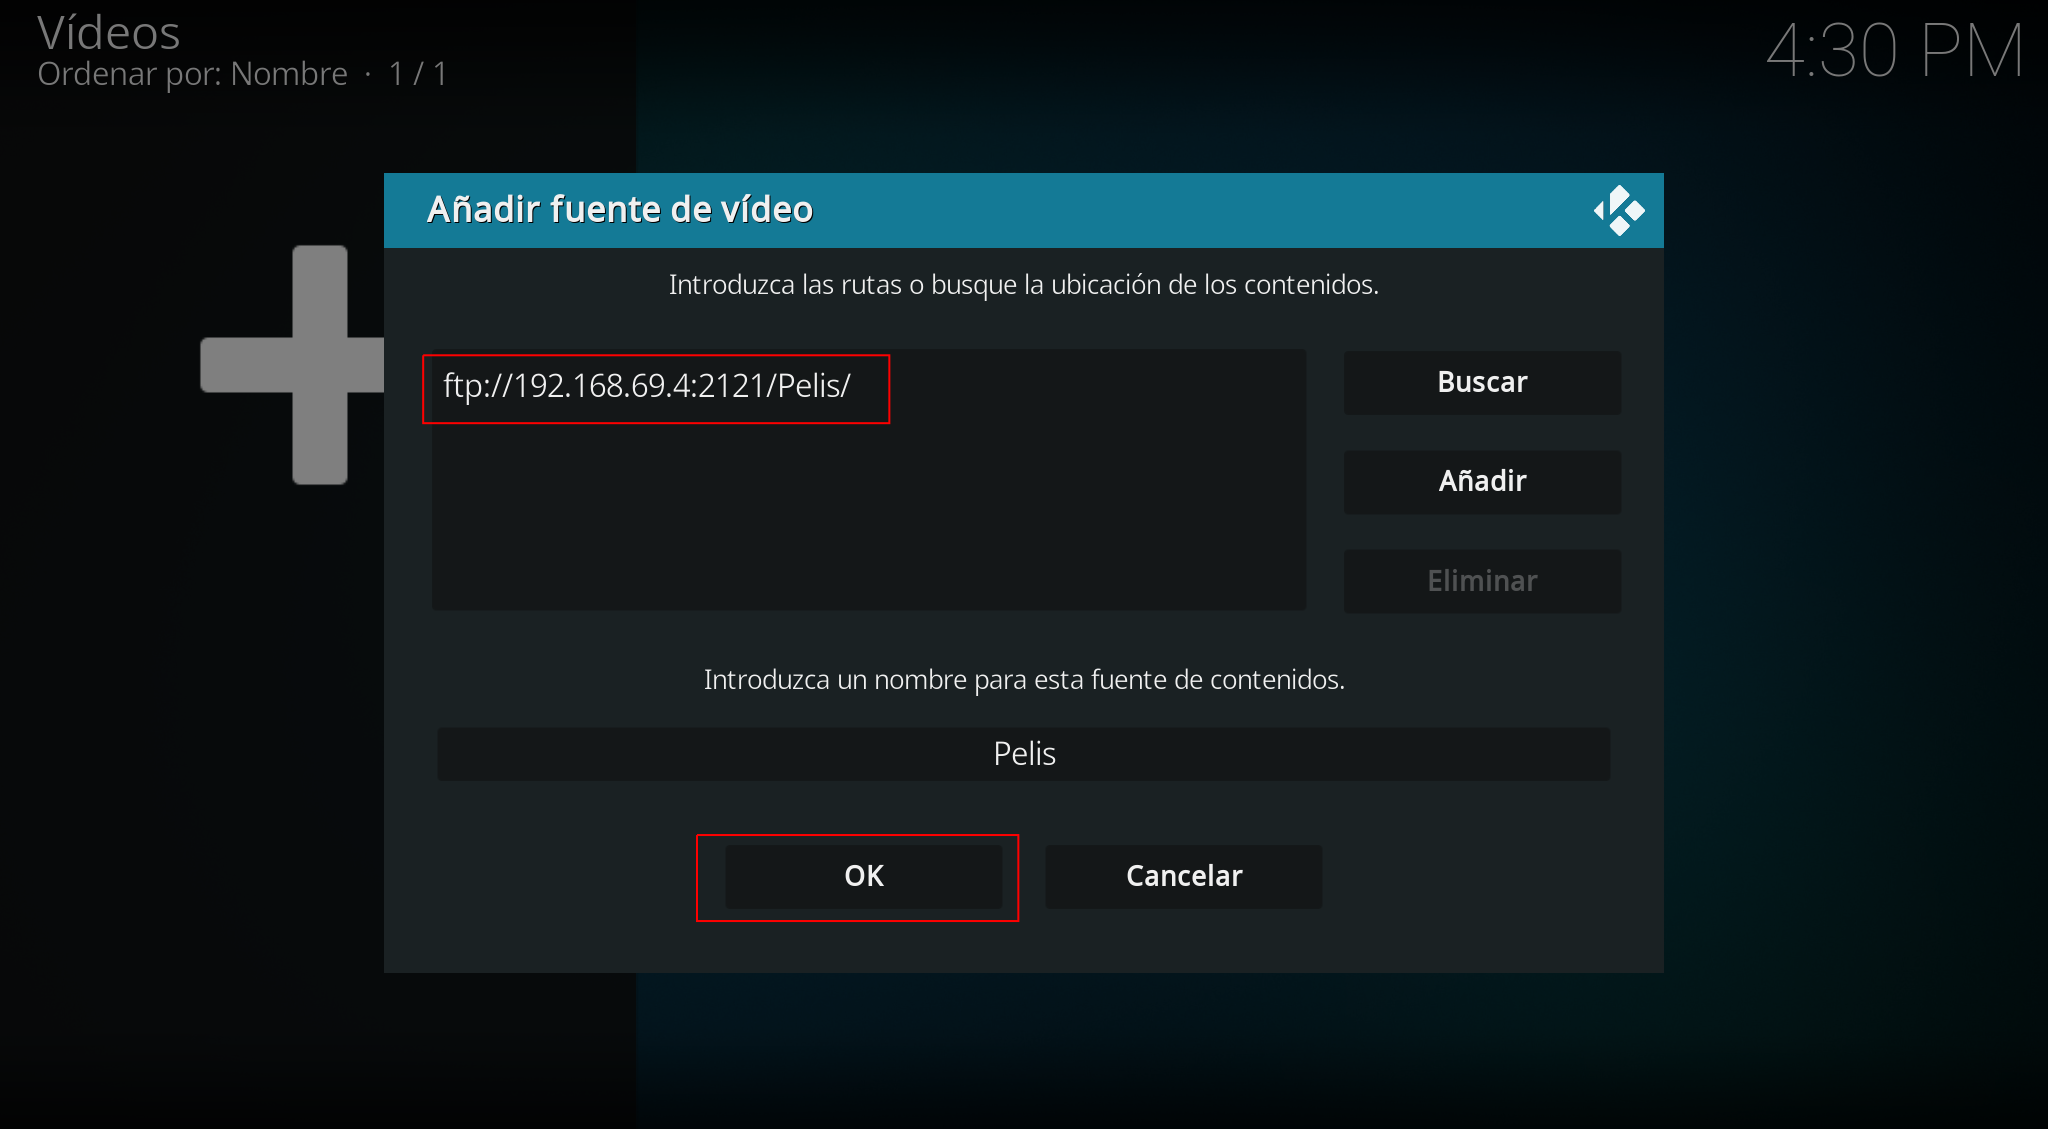
Add network location:
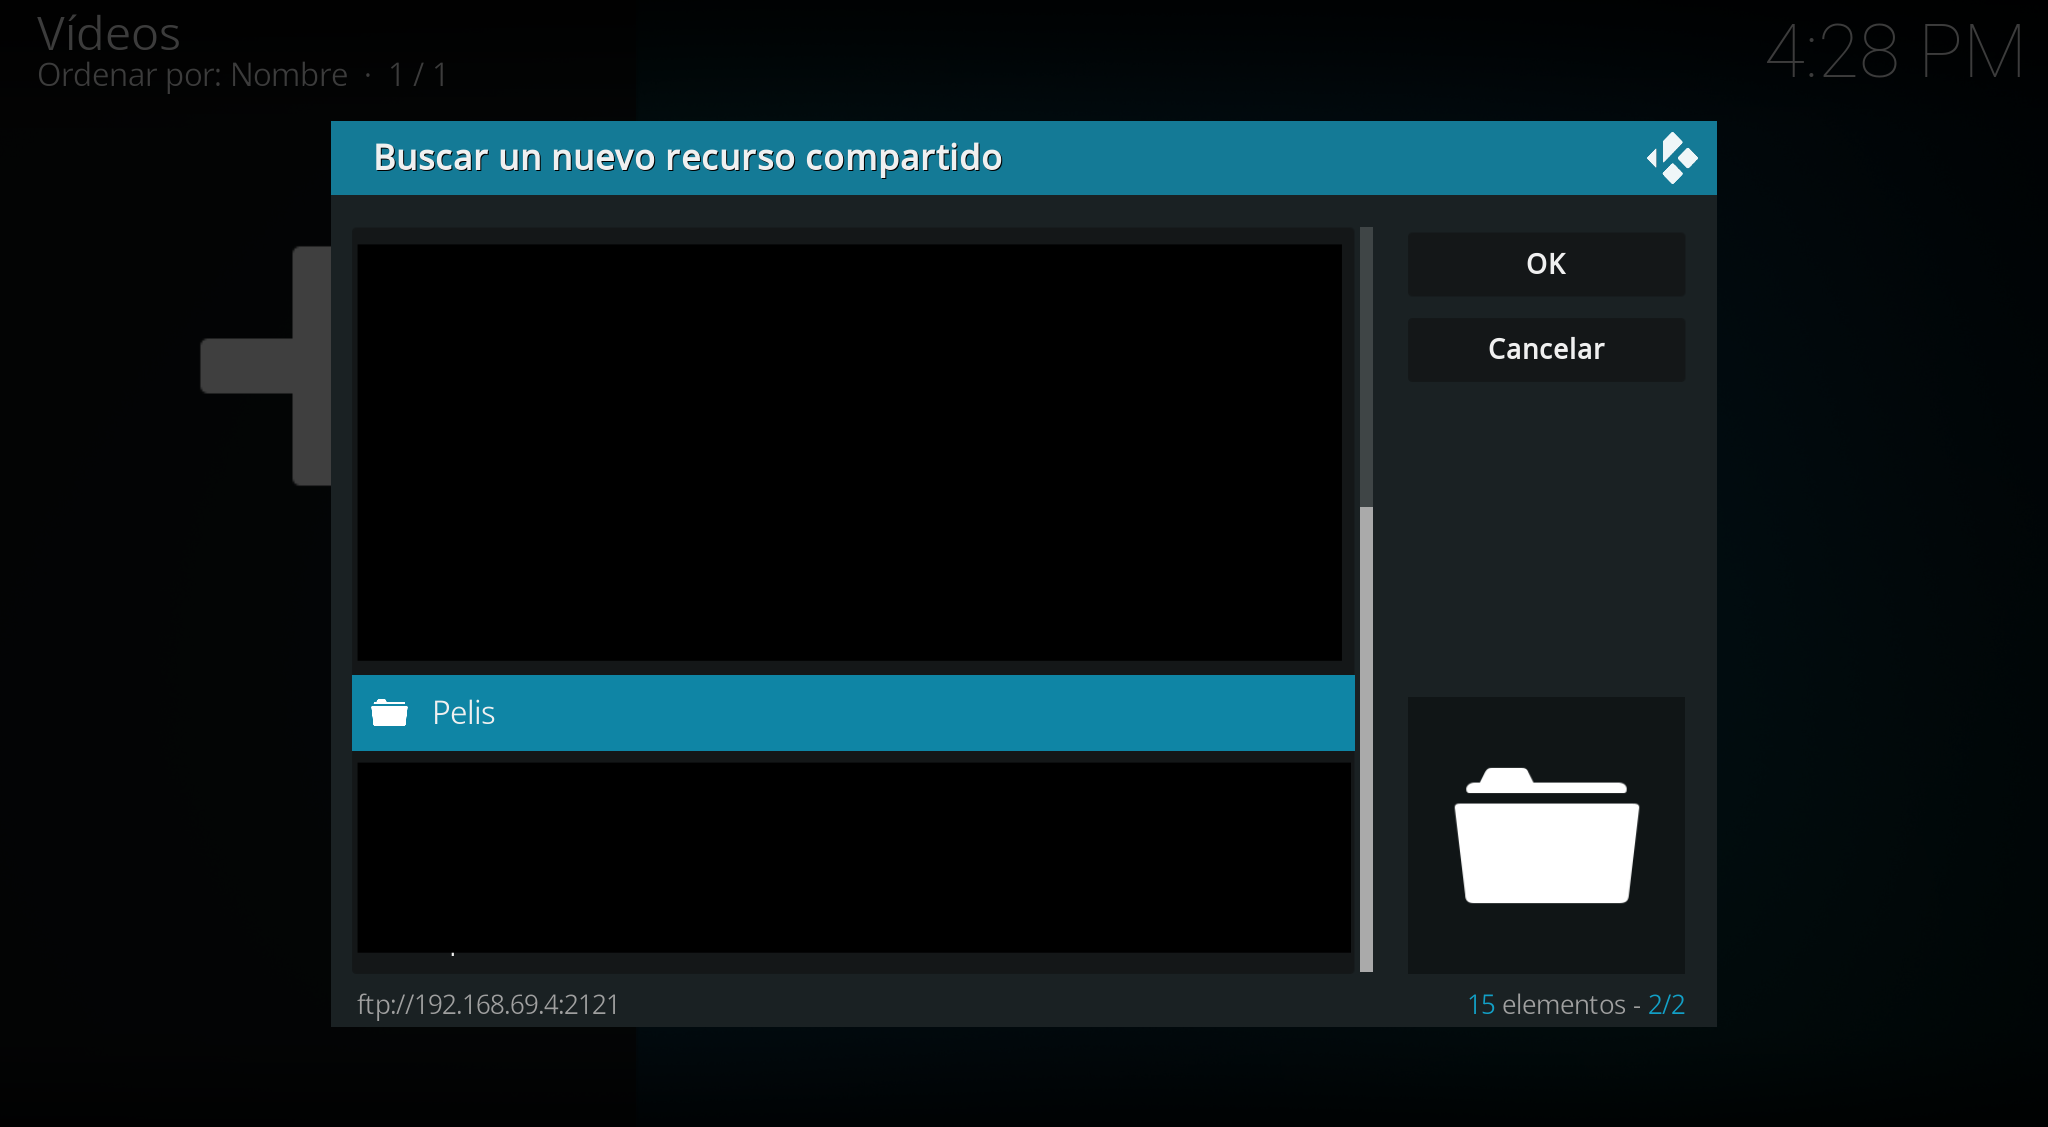
We add our FTP server:
Now it will appear in the list of resources:
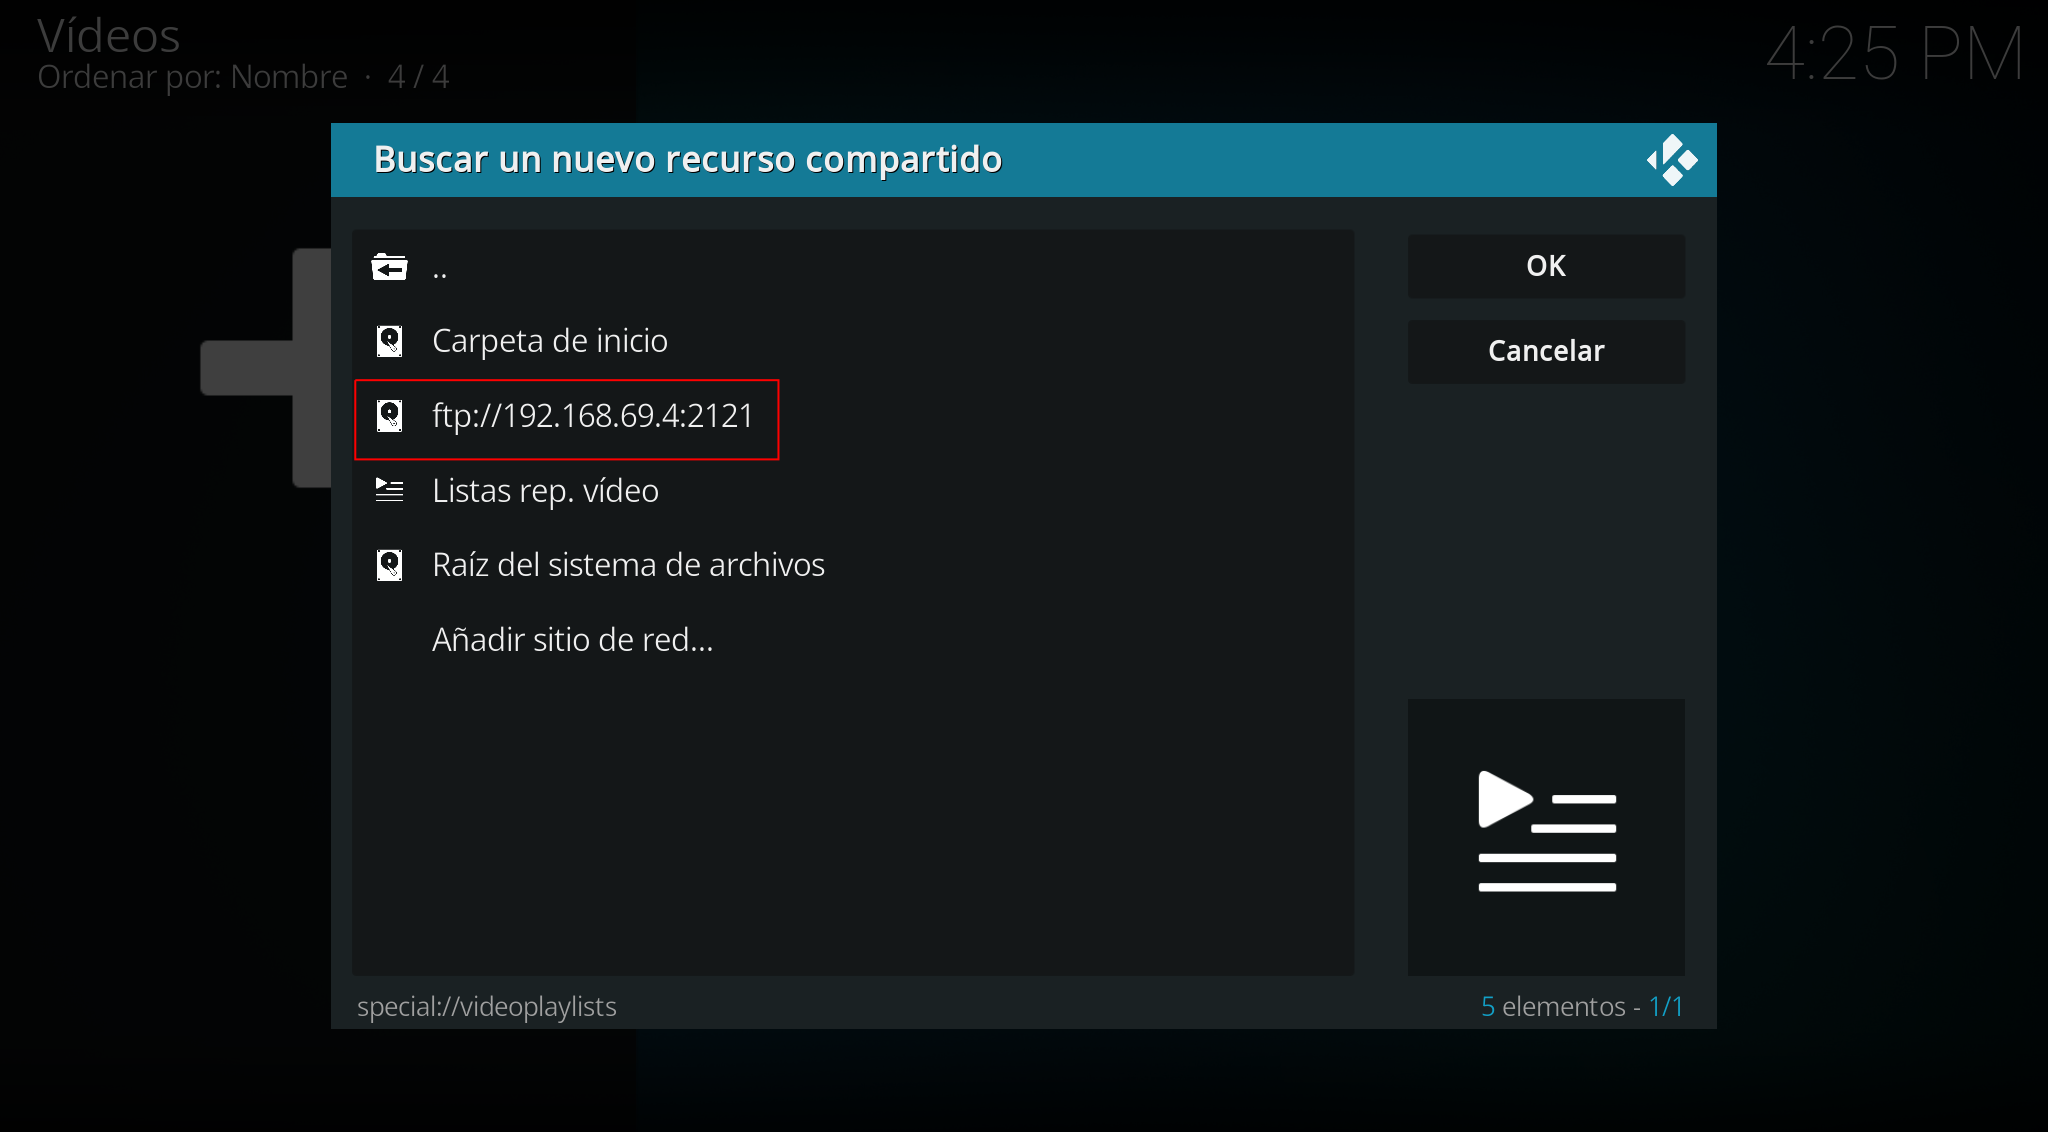
We navigate through the FTP and add the desired directory:
From here, we can watch movies in the corresponding section of KODI.