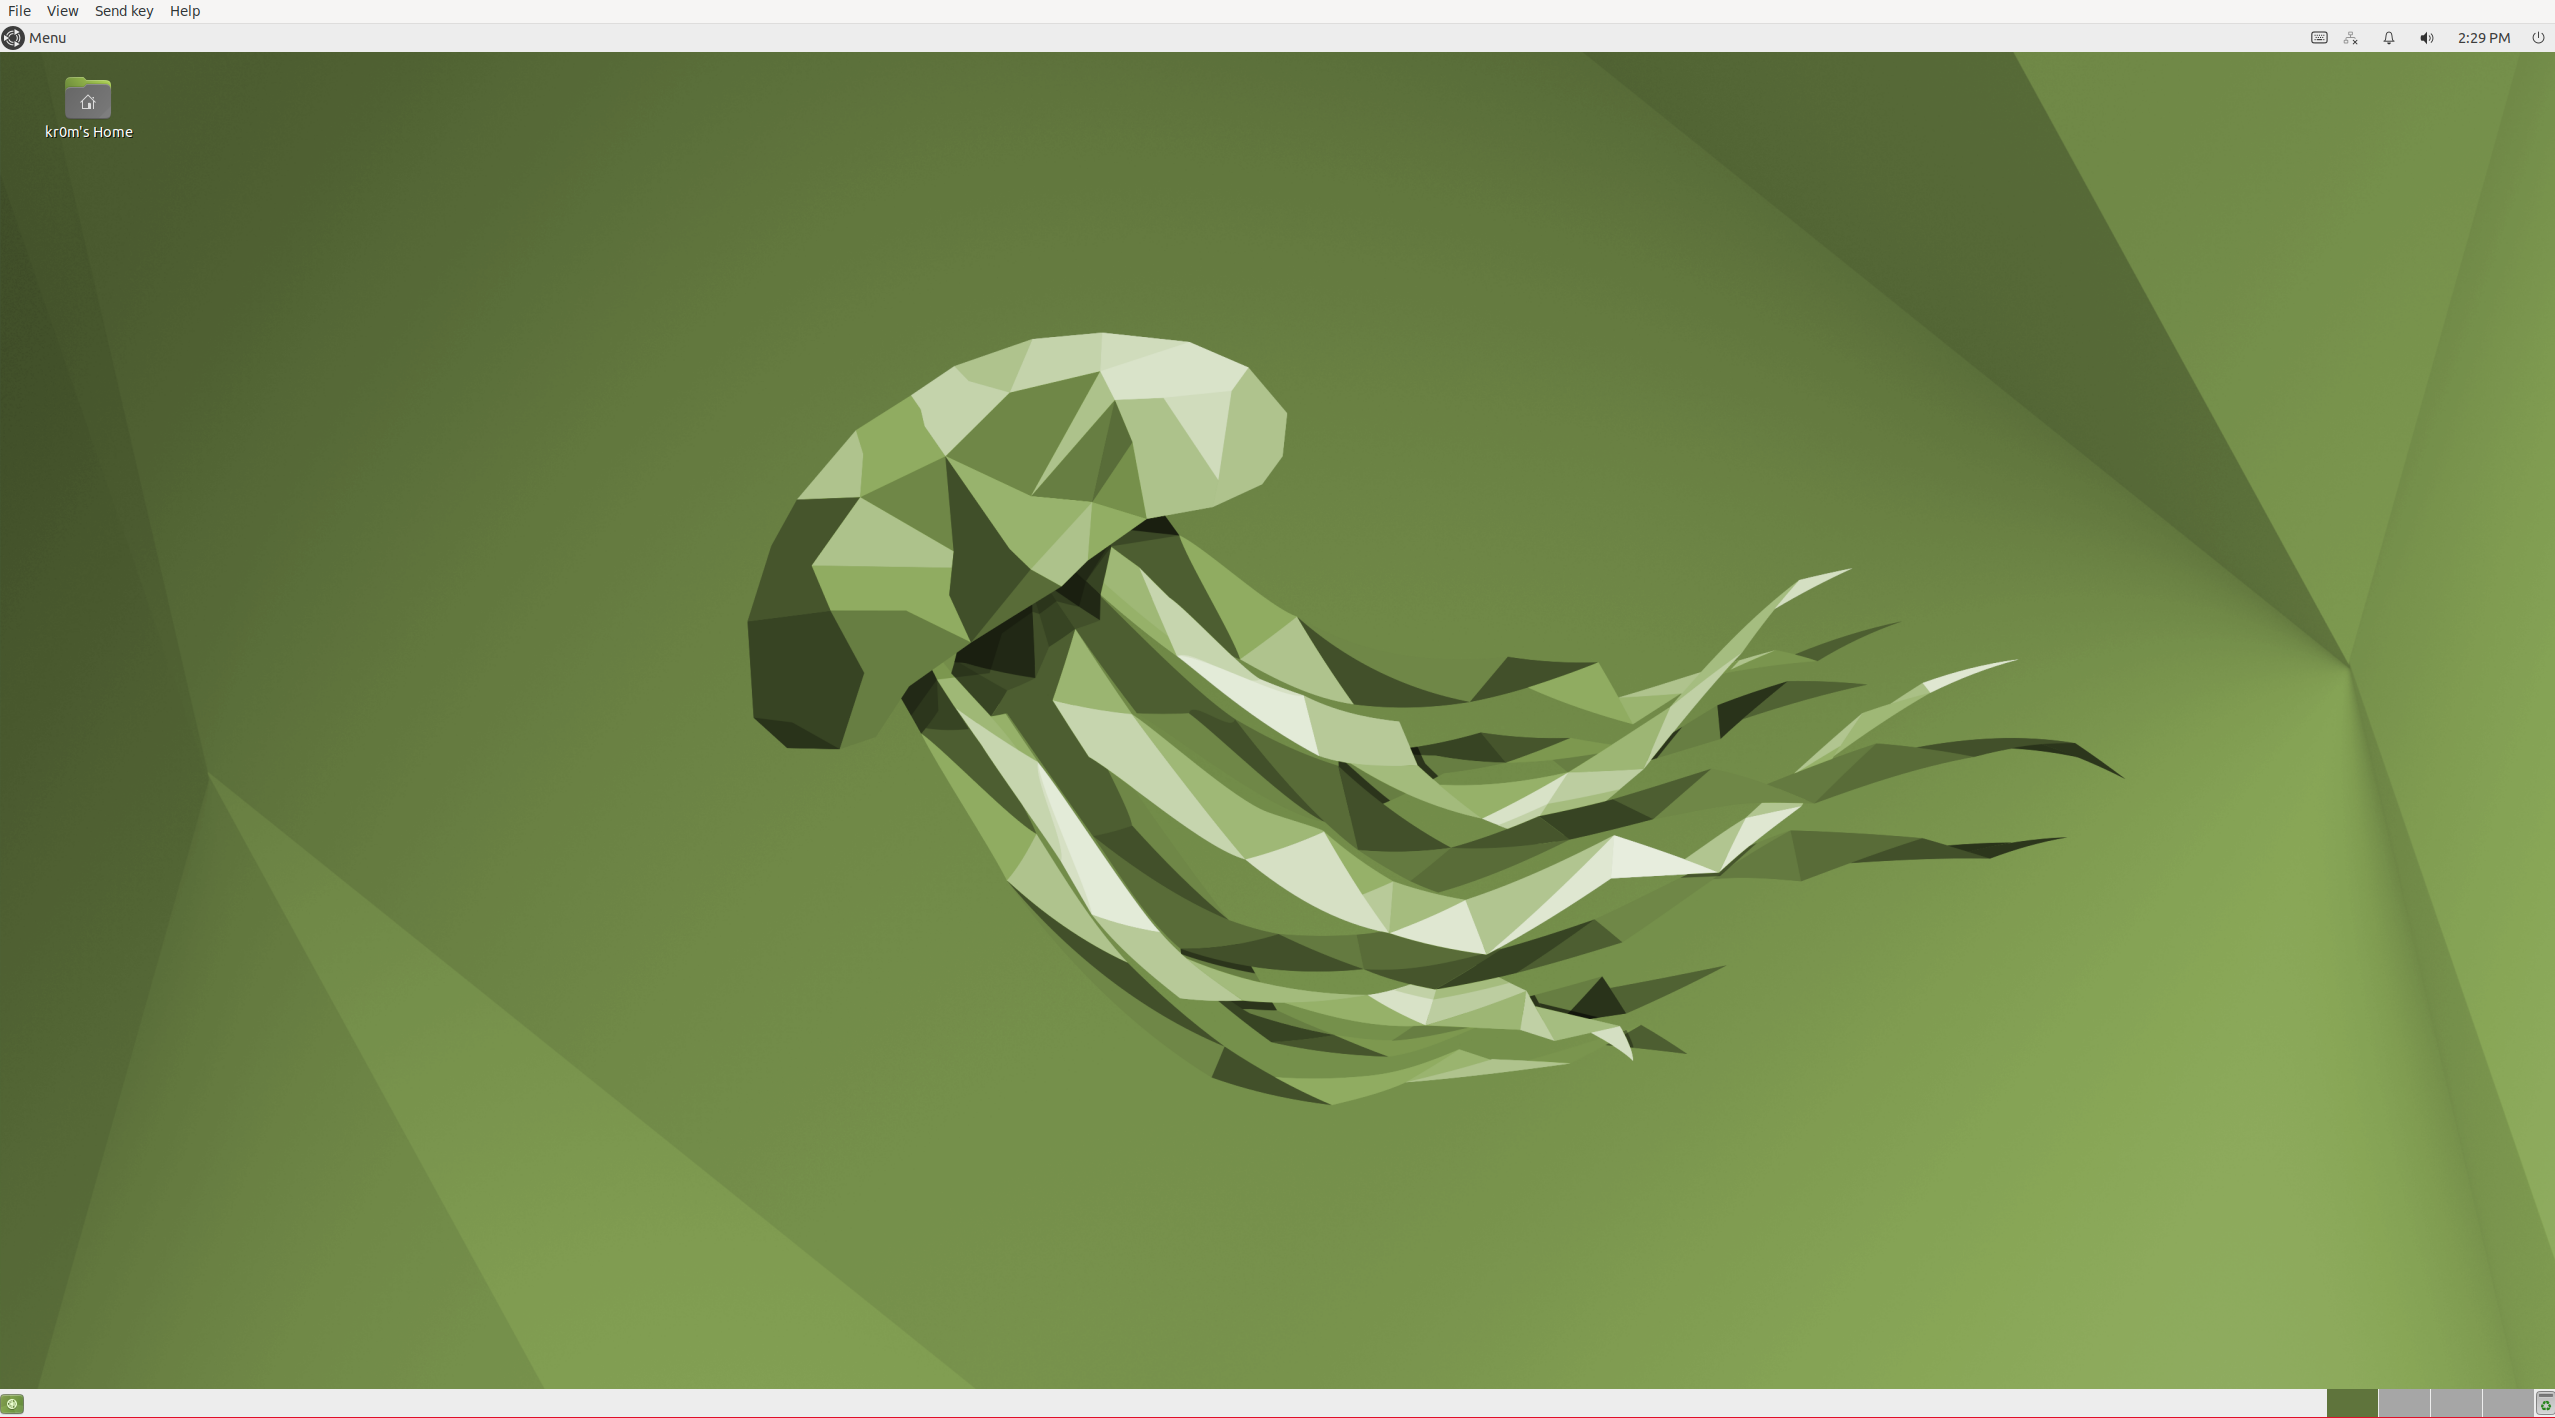
If we virtualize using Linux/LXD, we know that it supports both containers and KVM virtual machines. Access to the latter can be through serial port or VNC. The problem with the VNC option is that a client LXD server is required to launch the graphical session. In other words, we can’t access the VNC interface unless we have a Linux system with locally installed LXD acting as a VNC client.
In this tutorial, we will install an Ubuntu server under Bhyve , where we will install LXD, and using SSH forwarding, we will launch the graphical session on our FreeBSD system.
The tutorial is composed of the following sections:
VM-Bhyve:
The first step will be to install vm-bhyve, the virtual machine manager, as indicated in this [article earlier]](../vm_bhyve).
We download the Ubuntu server cloud image:
We can see the available images;
DATASTORE           FILENAME
default             ubuntu-22.04-server-cloudimg-amd64.img
We create the VM by importing my ours SSH key:
We start the VM and check that it has started correctly:
vm list
NAME          DATASTORE  LOADER  CPU  MEMORY  VNC  AUTO  STATE
ubuntu-cloud  default    grub    4    8G      -    No    Running (78823)
Cloud images do not allow assigning a static IP, so we need to determine the IP assigned by DHCP based on its MAC address:
fping -ag 192.168.69.0/24
arp -a |grep $MAC
? (192.168.69.209) at 58:9c:fc:07:fd:05 on em0 expires in 1200 seconds [ethernet]
We access the VM:
We assign a password to the root and ubuntu users:
passwd
passwd ubuntu
Now that the users have passwords, we can also access via console if desired:
We disable cloud networking configuration:
network: {config: disabled}
We assign a static IP and configure a bridge with the same MAC address as shown in the VM configuration. This way, if we need to debug problems and locate the VM by MAC, it will be easier:
network:
  version: 2
  ethernets:
    enp0s5:
      dhcp4: false
  bridges:
    br0:
      interfaces: [enp0s5]
      addresses: [192.168.69.5/24]
      routes:
      - to: default
        via: 192.168.69.200
      nameservers:
        search: [alfaexploit.com]
        addresses: [8.8.8.8, 1.1.1.1]
We reboot:
We access again:
sudo su -l
We install the base utilities and virt-viewer, x11-apps:
apt install net-tools bridge-utils virt-viewer x11-apps
LXD is installed by default in the cloud image.
Name    Version        Rev    Tracking       Publisher   Notes
core20  20230622       1974   latest/stable  canonical✓  base
lxd     5.0.2-838e1b2  24322  5.0/stable/…   canonical✓  -
snapd   2.59.5         19457  latest/stable  canonical✓  snapd
We perform the initial LXD configuration:
Would you like to use LXD clustering? (yes/no) [default=no]:
Do you want to configure a new storage pool? (yes/no) [default=yes]:
Name of the new storage pool [default=default]:
Name of the storage backend to use (ceph, cephobject, dir, lvm, zfs, btrfs) [default=zfs]: dir
Would you like to connect to a MAAS server? (yes/no) [default=no]:
Would you like to create a new local network bridge? (yes/no) [default=yes]: no
Would you like to configure LXD to use an existing bridge or host interface? (yes/no) [default=no]: yes
Name of the existing bridge or host interface: br0
Would you like the LXD server to be available over the network? (yes/no) [default=no]: no
Would you like stale cached images to be updated automatically? (yes/no) [default=yes]:
Would you like a YAML "lxd init" preseed to be printed? (yes/no) [default=no]:
We add the access user to some administrative groups:
exit
We add the LXD remote “hostkr0m” using the access user:
We check the list of remotes:
+-----------------+------------------------------------------+---------------+-------------+--------+--------+--------+
|      NAME       |                   URL                    |   PROTOCOL    |  AUTH TYPE  | PUBLIC | STATIC | GLOBAL |
+-----------------+------------------------------------------+---------------+-------------+--------+--------+--------+
| hostkr0m        | https://X.X.X.X:8443                     | lxd           | tls         | NO     | NO     | NO     |
+-----------------+------------------------------------------+---------------+-------------+--------+--------+--------+
| images          | https://images.linuxcontainers.org       | simplestreams | none        | YES    | NO     | NO     |
+-----------------+------------------------------------------+---------------+-------------+--------+--------+--------+
| local (current) | unix://                                  | lxd           | file access | NO     | YES    | NO     |
+-----------------+------------------------------------------+---------------+-------------+--------+--------+--------+
| ubuntu          | https://cloud-images.ubuntu.com/releases | simplestreams | none        | YES    | YES    | NO     |
+-----------------+------------------------------------------+---------------+-------------+--------+--------+--------+
| ubuntu-daily    | https://cloud-images.ubuntu.com/daily    | simplestreams | none        | YES    | YES    | NO     |
+-----------------+------------------------------------------+---------------+-------------+--------+--------+--------+
We verify that we can see the VMs from the remote:
+-------------------------+---------+-------------------------+------+-----------------+-----------+
|          NAME           |  STATE  |          IPV4           | IPV6 |      TYPE       | SNAPSHOTS |
+-------------------------+---------+-------------------------+------+-----------------+-----------+
| ubuntu-desktop-test     | RUNNING | 192.168.75.211 (enp5s0) |      | VIRTUAL-MACHINE | 0         |
+-------------------------+---------+-------------------------+------+-----------------+-----------+
Client:
On our PC, we need to authorize the VM’s IP address in order to receive forwarded X traffic:
We start xclock to verify that everything is working correctly:
We start the graphical session of the VM hosted on hostkr0m:

Troubleshooting:
If we are conducting tests and reinstallations, we must ensure that there are no conflicts in the SSH known hosts, or X11 forwarding will not work.