La mejor manera de dar soporte a un usuario remoto es a través de VNC, podríamos optar por soluciones como teamviewer pero estaríamos confiando completamente en que la gente de teamviewer no nos esté robando datos o registrando sesiones, ya sabéis que la paranoia nunca está de mas.
Este manual se divide en varias partes:
VNC Cliente
Instalamos el servidor VNC:
Desde la sesión del usuario que recibirá soporte remoto generamos un password de acceso:
Cada vez que el usuario necesite soporte deberá ejecutar el siguiente comando, de este modo arrancará el servidor de VNC para que accedan de forma remota:
NOTA: La opción loop hará que el servidor VNC se reinicie en caso de desconexión por parte del cliente, si no ponemos esta opción y el cliente se desconecta, el equipo quedará inaccesible hasta que el usuario vuelva a ejecutar el comando.
Por otro lado el técnico tendrá que acceder mediante un cliente VNC:
La conexión se realizará indicando los siguientes parámetros:
vncviewer IP:5900
VNC Jail
Si se trata de un servidor headless al que queremos acceder vía VNC debemos arrancar primero un servidor Xorg falso que será mostrado por VNC y donde arrancaremos nuestro WM.
Instalamos todo lo necesario:
Arrancamos dbus:
service dbus start
Añadimos el usuario al grupo video:
Generamos desde el usuario un password de acceso:
x11vnc -storepasswd
Desde el usuario kr0m arrancamos el servidor gráfico falso:
Le indicamos al servidor VNC que muestre vía red el display :0
Arrancamos el WM en el display :0
Ya podemos acceder al servidor VNC:
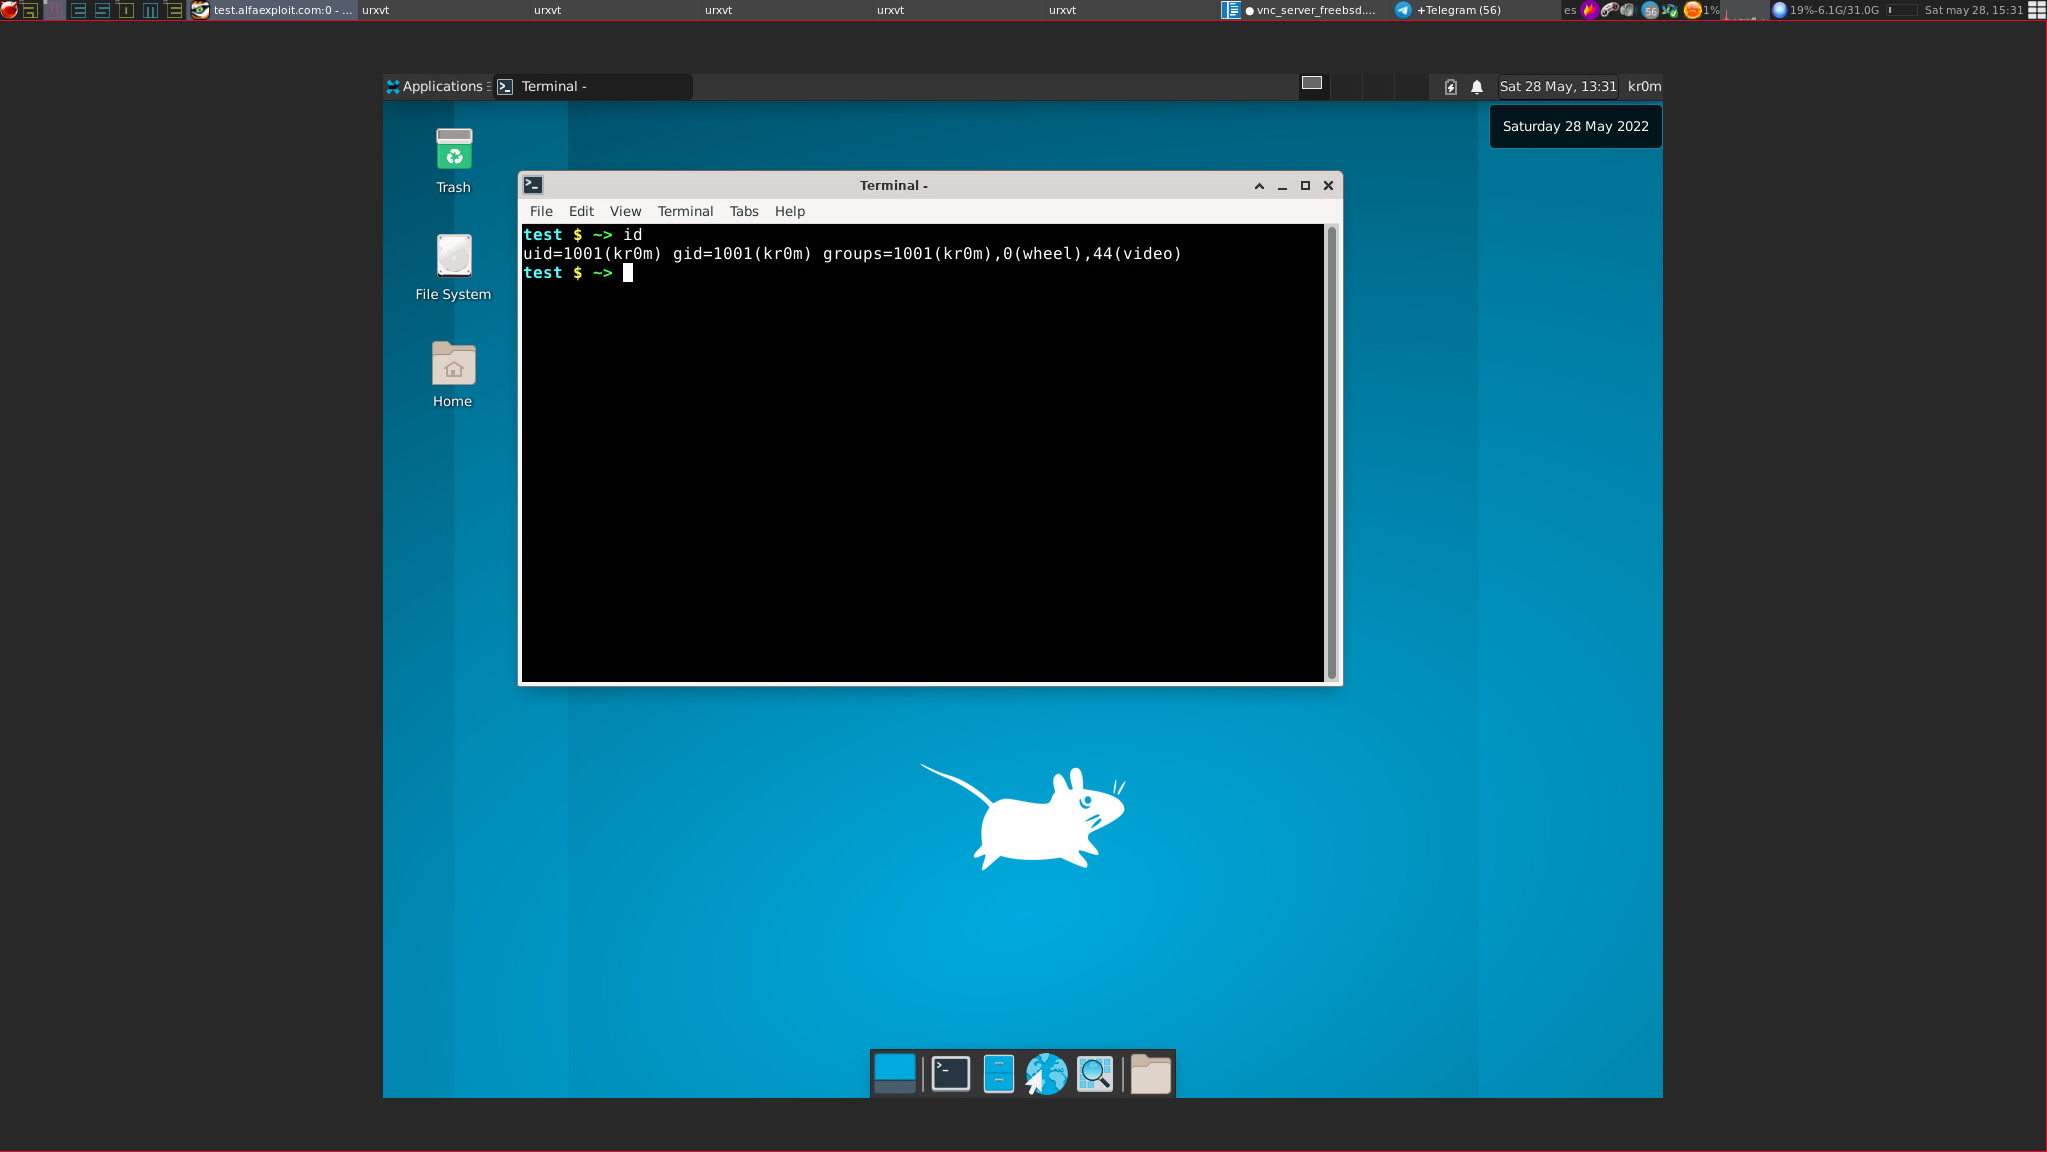
En ambos casos ya sea la conexión al cliente o a la jail con xvfb veremos que nos pide password y una vez autenticados accederemos al sistema:

VNC SSL
El servidor VNC soporta SSL de forma nativa pero en muchos casos da problemas de compatibilidad por algoritmos de cifrado incompatibles entre el cliente y el servidor, para evitar este tipo de problemas utilizaremos noVNC , de este modo tan solo nos preocuparemos de que la conexión del navegador al servidor noVNC vaya cifrada con un certificado SSL y del servidor noVNC en claro hasta el servidor final, además el acceso será mas universal ya que se hará a través de un navegador con HTML5 sin necesidad de un cliente VNC.
A fecha de 28/05/2022 si habilitamos el SSL está dando este problema:
28/05/2022 21:03:15 SSL: error:1417A0C1:SSL routines:tls_post_process_client_hello:no shared cipher
Debido a este bug .
Los pasos son iguales que en el anterior escenario pero además arrancaremos en servidor noVNC.
Arrancamos el servidor gráfico:
Arrancamos el servidor VNC:
Arrancamos el WM:
Instalamos git y noVNC:
El servidor noVNC precisa de numpy:
Asignamos los permisos necesarios
Consultamos los parámetros permitidos por el servidor:
./utils/novnc_proxy -h
Usage: novnc_proxy [--listen PORT] [--vnc VNC_HOST:PORT] [--cert CERT] [--ssl-only]

Starts the WebSockets proxy and a mini-webserver and
provides a cut-and-paste URL to go to.

    --listen PORT         Port for proxy/webserver to listen on
                          Default: 6080
    --vnc VNC_HOST:PORT   VNC server host:port proxy target
                          Default: localhost:5900
    --cert CERT           Path to combined cert/key file, or just
                          the cert file if used with --key
                          Default: self.pem
    --key KEY             Path to key file, when not combined with cert
    --web WEB             Path to web files (e.g. vnc.html)
                          Default: ./
    --ssl-only            Disable non-https connections.

    --record FILE         Record traffic to FILE.session.js

    --syslog SERVER       Can be local socket such as /dev/log, or a UDP host:port pair.

    --heartbeat SEC       send a ping to the client every SEC seconds
    --timeout SEC         after SEC seconds exit when not connected
    --idle-timeout SEC    server exits after SEC seconds if there are no
                          active connections
Probemos primero el acceso sin SSL, en el siguiente comando estamos enlazando el puerto 5900 con el servidor VNC arrancado en la jail 192.168.69.56:5901
Nos dará una URL como esta:
http://test.alfaexploit.com:5900/vnc.html?host=test.alfaexploit.com&port=5900
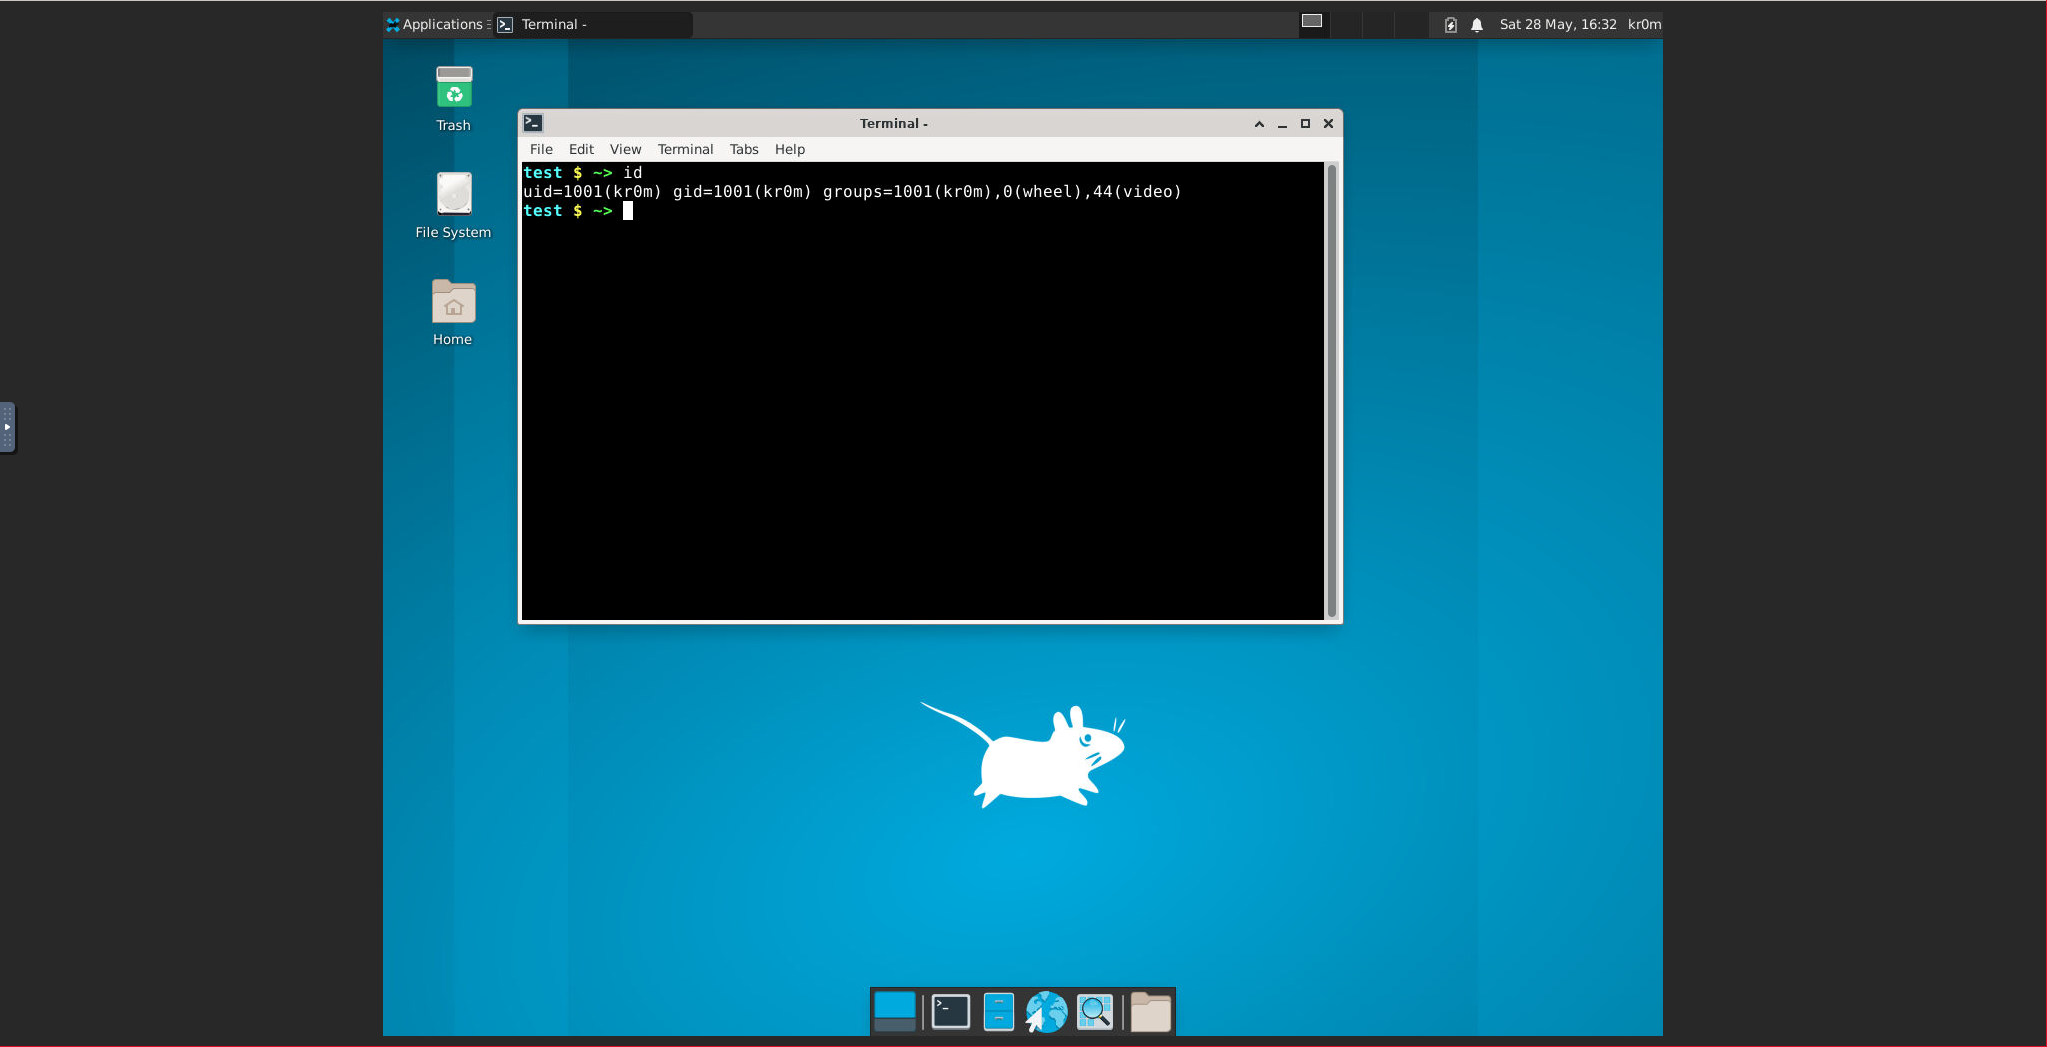
Si accedemos a esta veremos una ventana de autenticación que corresponde con el password asignado al servidor VNC:


Siguiente paso configurar el certificado SSL ya que hay un login y el password podría ser interceptado.
Emitimos la solicitud de certificado mediante
acme.sh
:
curl https://get.acme.sh | sh -s email=kr0m@alfaexploit.com
acme.sh --issue --standalone -d test.alfaexploit.com
[Sat May 28 18:56:17 CEST 2022] Your cert is in: /root/.acme.sh/test.alfaexploit.com/test.alfaexploit.com.cer
[Sat May 28 18:56:17 CEST 2022] Your cert key is in: /root/.acme.sh/test.alfaexploit.com/test.alfaexploit.com.key
[Sat May 28 18:56:17 CEST 2022] The intermediate CA cert is in: /root/.acme.sh/test.alfaexploit.com/ca.cer
[Sat May 28 18:56:17 CEST 2022] And the full chain certs is there: /root/.acme.sh/test.alfaexploit.com/fullchain.cer
Arrancamos el servidor noVNC con los parámetros SSL:
./utils/novnc_proxy --vnc 192.168.69.56:5901 --cert /root/.acme.sh/test.alfaexploit.com/fullchain.cer --key /root/.acme.sh/test.alfaexploit.com/test.alfaexploit.com.key --listen 5900 --ssl-only
Nos dará una URL como esta:
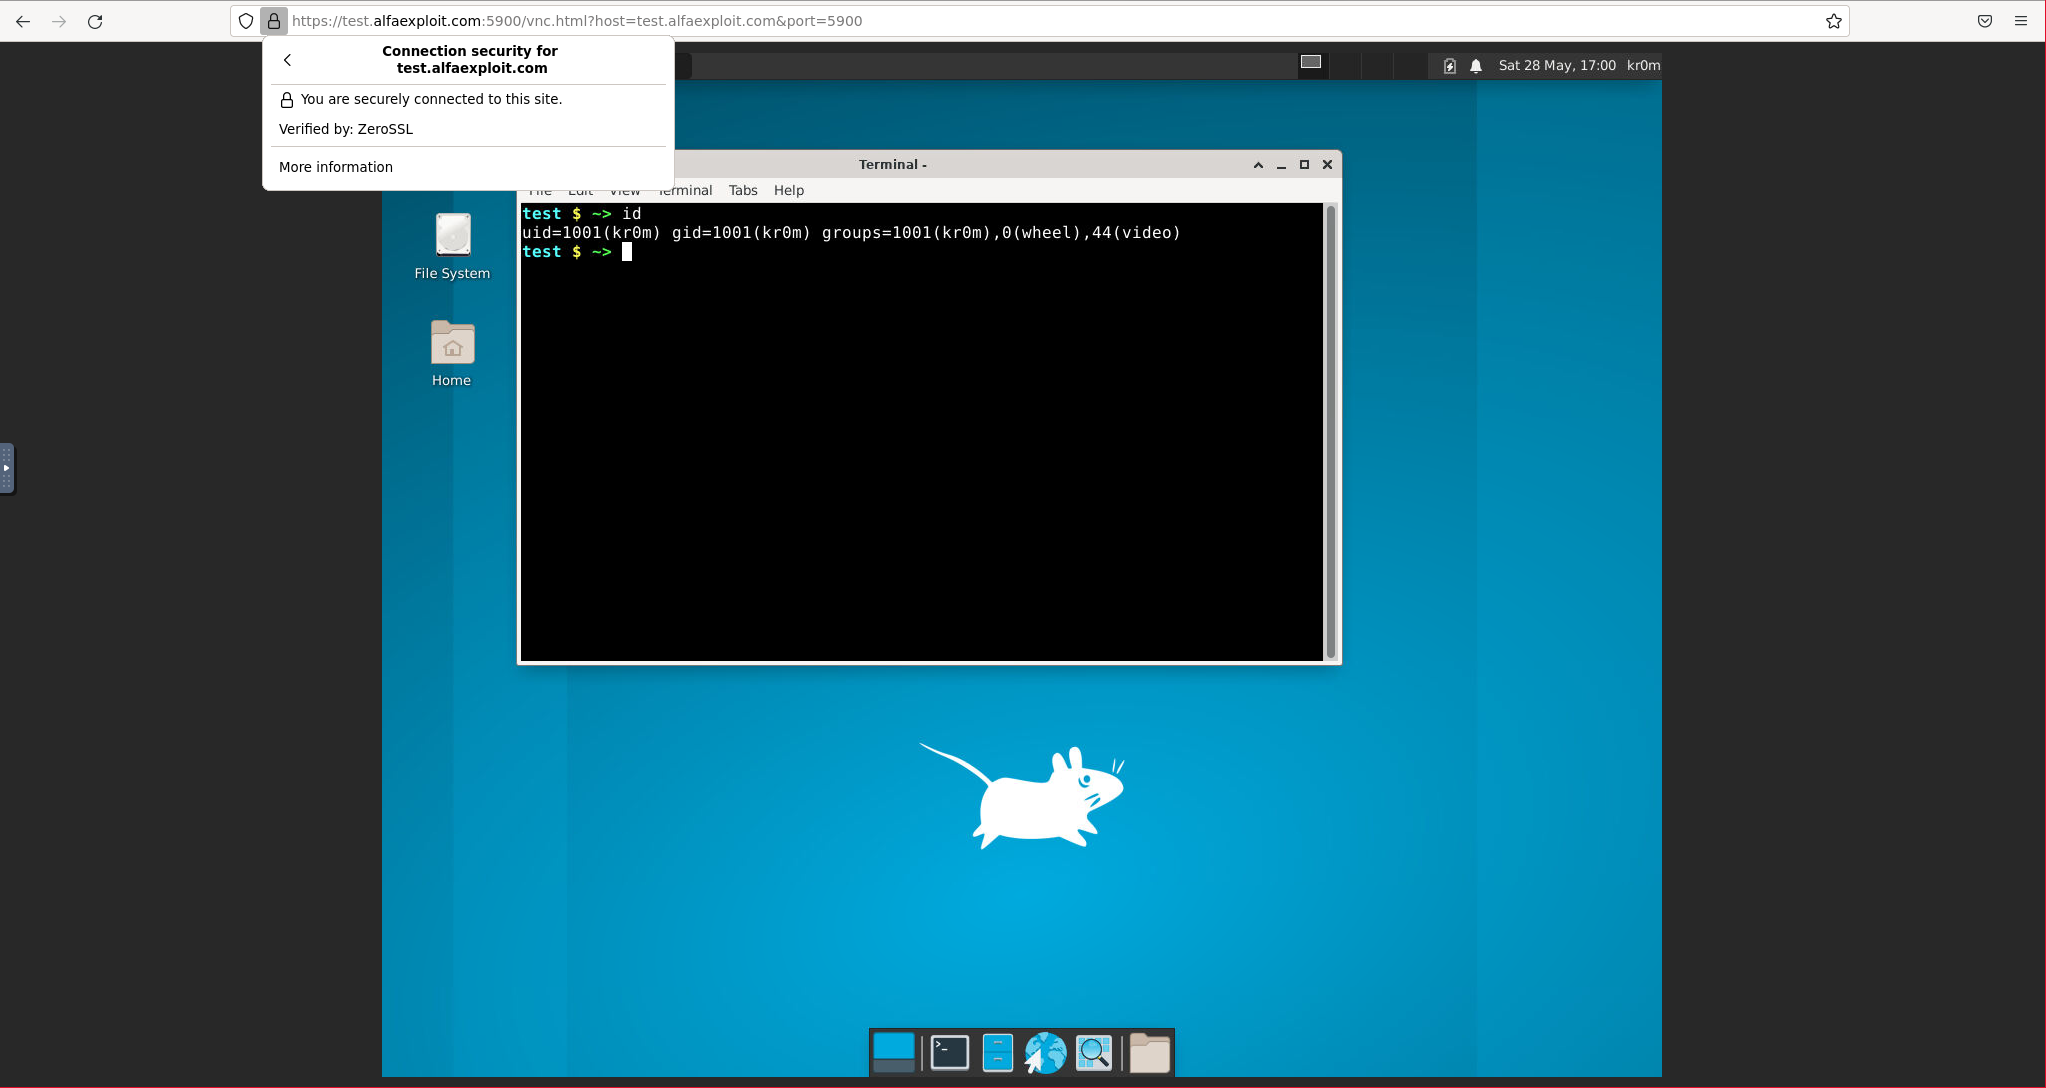
https://test.alfaexploit.com:5900/vnc.html?host=test.alfaexploit.com&port=5900
El contenido de la web será el mismo pero esta vez el tráfico irá cifrado:
VNC SSL Daemon
Para que todo esto arranque de forma automática vamos a crear un script RC:
#! /bin/sh
#
# $FreeBSD$
#

# PROVIDE: vnc
# REQUIRE: DAEMON
# KEYWORD: shutdown

. /etc/rc.subr

name="vnc"
extra_commands="status"
username="kr0m"

start_cmd="${name}_start"
stop_cmd="${name}_stop"
status_cmd="${name}_status"

vnc_start(){
    PID=$(ps -U ${username}|grep Xvfb|grep -v grep|awk '{print$1}')
    if [ -z $PID ]; then
        echo "Starting service: Xvfb"
        /bin/rm /tmp/.X*-lock 2>/dev/null
        /usr/bin/su -l ${username} -c '/usr/bin/nohup /usr/local/bin/Xvfb :0 > /dev/null 2>&1 &' 1>/dev/null
    else
        echo "Service: Xvfb already started"
    fi

    PID=$(ps -U ${username}|grep x11vnc|grep -v grep|awk '{print$1}')
    if [ -z $PID ]; then
        echo "Starting service: X11vnc"
        /usr/bin/su -l ${username} -c '/usr/bin/nohup /usr/local/bin/x11vnc -usepw -rfbport 5901 -display :0 -noshm -forever -shared > /dev/null 2>&1 &' 1>/dev/null
    else
        echo "Service: x11vnc already started"
    fi

    PID=$(ps -U ${username}|grep xfce4-session|grep -v grep|awk '{print$1}'|sort|head -n 1)
    if [ -z $PID ]; then
        echo "Starting service: XFCE"
        /usr/bin/su -l ${username} -c 'export DISPLAY=:0 && /usr/bin/nohup /usr/local/bin/startxfce4 > /dev/null 2>&1 &' 1>/dev/null
    else
        echo "Service: x11vnc already started"
    fi

    # WEBSOCKIFY launches more than one thread in that way we have to check the number of running threads
    WEBSOCKIFY_N=$(ps -U root|grep websockify|grep -v grep|wc -l|awk '{print$1}')
    if [ $WEBSOCKIFY_N -eq 0 ]; then
        echo "Starting service: Websockify"
        PATH=/sbin:/bin:/usr/sbin:/usr/bin:/usr/local/sbin:/usr/local/bin:/root/bin
        /usr/bin/nohup /usr/local/bin/bash /usr/local/libexec/novnc/utils/novnc_proxy --vnc 192.168.69.56:5901 --cert /root/.acme.sh/test.alfaexploit.com/fullchain.cer --key /root/.acme.sh/test.alfaexploit.com/test.alfaexploit.com.key --listen 5900 --ssl-only > /dev/null 2>&1 & 1>/dev/null
    else
        echo "Service: Websockify already started"
    fi

    /bin/rm /home/${username}/nohup.out 2>/dev/null
    /bin/rm /root/nohup.out 2>/dev/null
}

vnc_stop(){
    PID=$(ps -U ${username}|grep Xvfb|grep -v grep|awk '{print$1}')
    if [ -z $PID ]; then
        echo "It appears Xvfb is not running."
    else
        echo "Stopping service: Xvfb/X11vnc/XFCE"
        kill -s INT $PID
        sleep 3
    fi

    # WEBSOCKIFY launches more than one thread in that way we have to check the number of running threads
    WEBSOCKIFY_N=$(ps -U root|grep websockify|grep -v grep|wc -l|awk '{print$1}')
    if [ $WEBSOCKIFY_N -eq 0 ]; then
        echo "It appears Websockify is not running."
    else
        echo "Stopping service: Websockify"
        for PID in $(ps -U root|grep websockify|grep -v grep|awk '{print$1}'); do
                kill -s INT $PID
        done
        sleep 3
    fi
}

vnc_status(){
    PID=$(ps -U ${username}|grep Xvfb|grep -v grep|awk '{print$1}')
    if [ -z $PID ]; then
        echo "Xvfb is not running."
    else
        echo "Xvfb running with PID: $PID"
    fi

    PID=$(ps -U ${username}|grep x11vnc|grep -v grep|awk '{print$1}')
    if [ -z $PID ]; then
        echo "x11vnc is not running."
    else
        echo "X11vnc running with PID: $PID"
    fi

    PID=$(ps -U ${username}|grep xfce4-session|grep -v grep|awk '{print$1}'|sort|head -n 1)
    if [ -z $PID ]; then
        echo "XFCE is not running."
    else
        echo "XFCE running with PID: $PID"
    fi

    # WEBSOCKIFY launches more than one thread in that way we have to check the number of running threads
    WEBSOCKIFY_N=$(ps -U root|grep websockify|grep -v grep|wc -l|awk '{print$1}')
    if [ $WEBSOCKIFY_N -eq 0 ]; then
        echo "Websockify is not running."
    else
        echo "Websockify running with PIDS:"
        for PID in $(ps -U root|grep websockify|grep -v grep|awk '{print$1}'); do
                echo "PID: $PID"
        done
        sleep 3
    fi
}

load_rc_config ${name}
run_rc_command "$1"
Asignamos los permisos necesarios:
chown root:wheel /usr/local/etc/rc.d/vnc
Habilitamos y arrancamos el servicio:
service vnc start
Con este script todos los procesos arrancarán de forma automática en cada reinicio.