Iohyve is a Bhyve virtual machine manager that uses ZFS functionalities to offer a simpler and more intuitive user experience. Its features include the ability to take snapshots, manage ISOs, integrated VNC server, cloning, and VM backup. It could be said that it is the equivalent of Iocage / Bastille but for Bhyve VMs. On the other hand, if we prefer a unified interface, we can always use CBSD .
This manual is composed of different parts:
- Installation
- Downloading ISO images
- Creating VMs
- Installation via serial port
- Installation by VNC
- VNC-Loopback
- VNC-Ip
- Xorg Bug
- Running graphical applications without X via Ssh
- Listing VMs
- VMs Information
- Parameters
- Snapshots
- Cloning VMs
- Templates
- Force stop
- Backup through exports
- Difference between VMM and Running
- Troubleshooting
Installation
We install everything we need:
If we have more than one zpool, we must tell Iohyve which one to use:
NAME    SIZE  ALLOC   FREE  CKPOINT  EXPANDSZ   FRAG    CAP  DEDUP  HEALTH  ALTROOT
zroot   109G  78.5G  30.5G        -         -    44%    71%  1.00x  ONLINE  -
The Iohyve network works through bridging, we must indicate the network interface that we want to put inside the bridge, so when we create a VM, the tap interface of that VM will be attached to the existing bridge:
We allow Iohyve to load the kernel modules it needs:
To make it permanent at server startup, we can use the following RC parameters:
sysrc iohyve_flags="kmod=1 net=em0"
We restart to make sure everything loads automatically:
Downloading ISO images
To perform the OS installation, we need the installation ISO image, which we download using the fetchiso command:
We rename it to make it easier to write:
We list the available ISOs:
Listing ISO's...
kali2020.3.iso
Creating VMs
We create the VM with a 15G disk:
NOTE: The virtual disk space reservation is NOT dynamic, which means that we must have the indicated space available at the time of creating the VM.
Installation via serial port:
We assign the VM parameters:
The os parameter does not indicate the OS to install, but only some adjustments that grub-bhyve will take into account to boot the VM, for example, debian is any Linux without LVM.
The possible options are: openbsd57, openbsd58, openbsd59, openbsd60, openbsd61, netbsd, debian (non-LVM), d8lvm (LVM installs), centos6, centos7 (non-XFS), ubuntu (LVM installs, non-LVM use debian), arch, and custom.
The custom option means that the files /iohyve/VM_NAME/device.map and /iohyve/VM_NAME/grub.cfg will be read at boot.
NOTE: If we are going to install a FreeBSD system, it is not necessary to specify the loader/os parameters.
Before installing the OS, we leave a console ready and waiting:
In a second terminal, we start the installation:
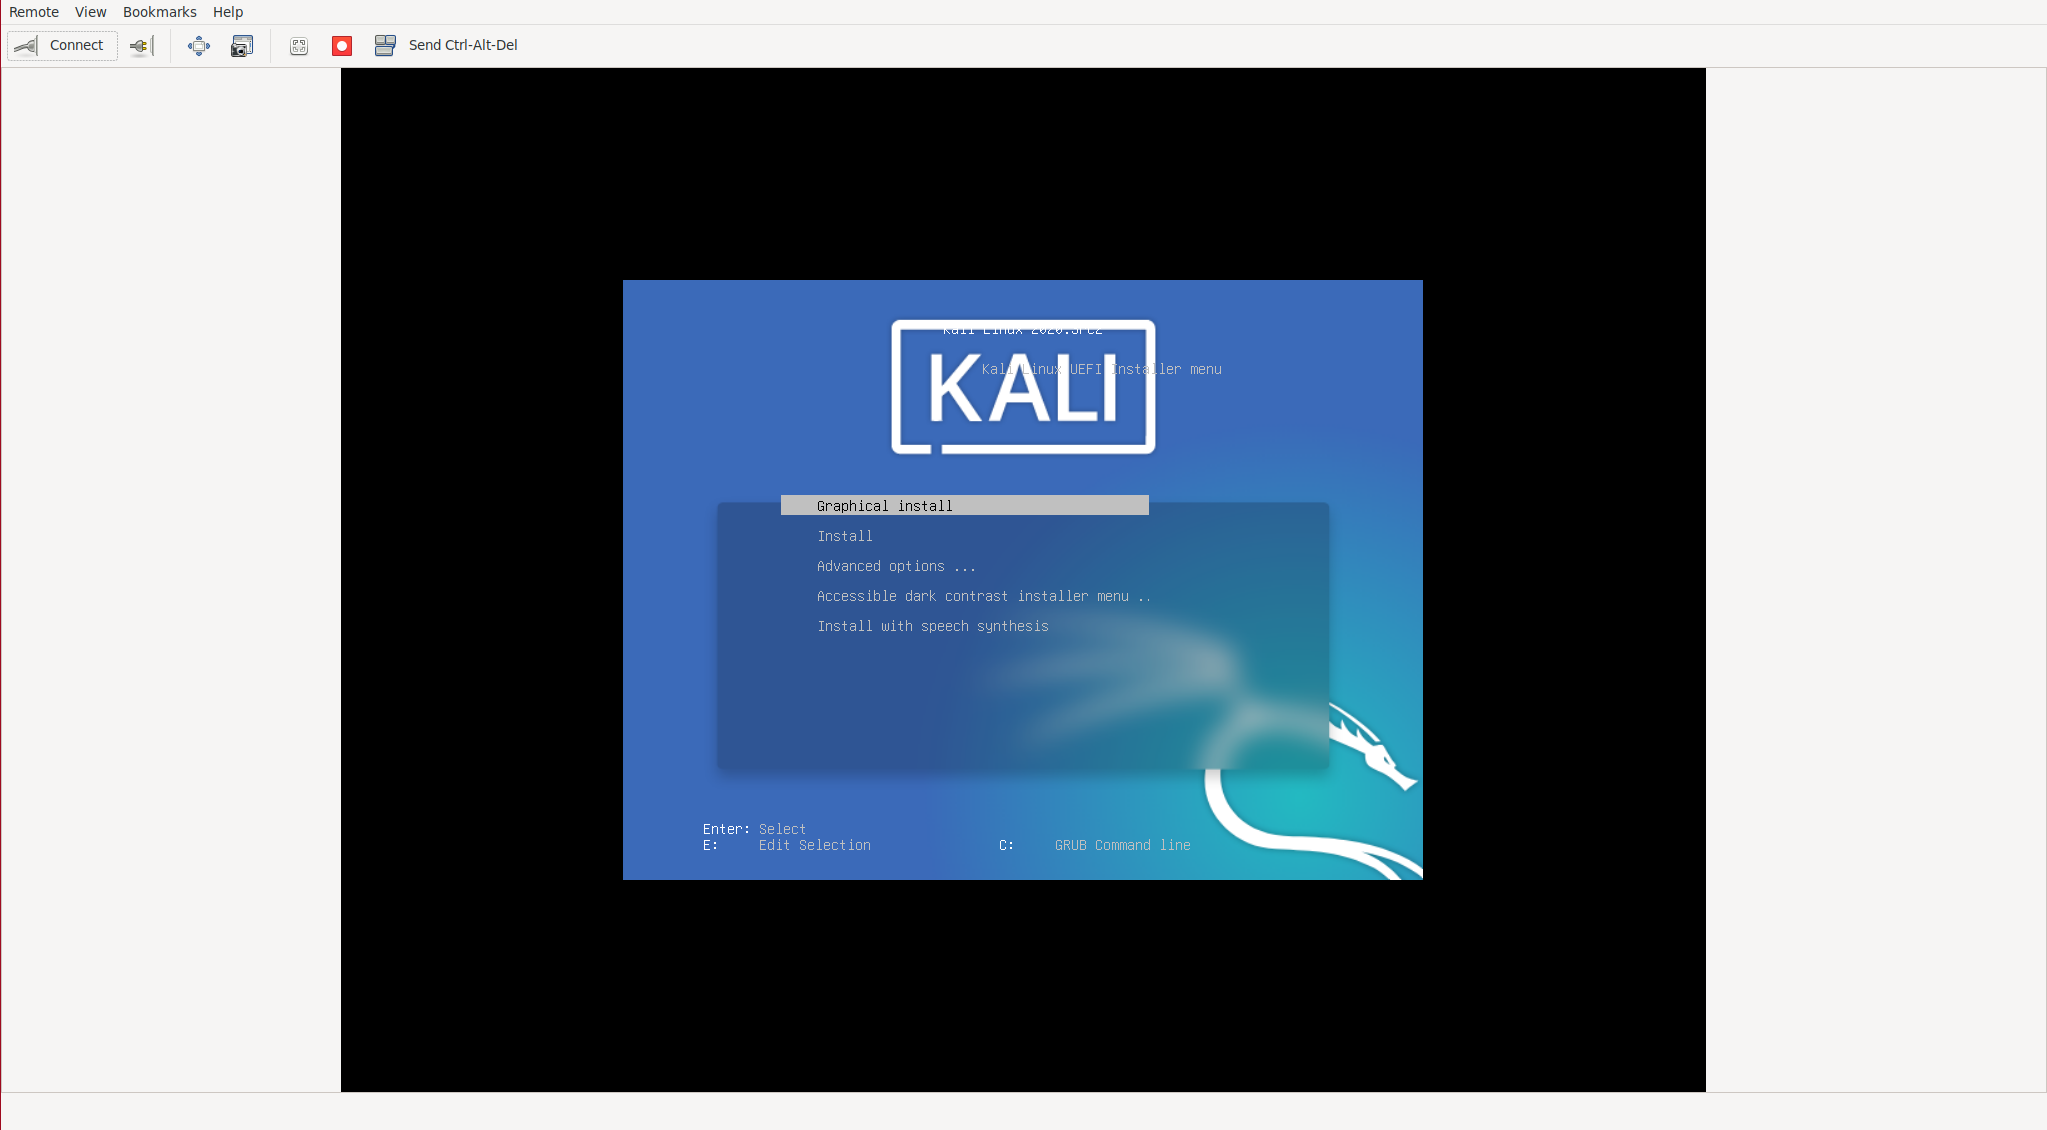
We will see that the OS installation wizard appears in the first terminal, we select the second option:
GNU GRUB version 2.00

+--------------------------------------------------------------------------+
|Graphical install                                                         |
|Install                                                                   |
|Advanced options ...                                                      |
|Accessible dark contrast installer menu ...                               |
|Install with speech synthesis                                             |
|                                                                          |
|                                                                          |
|                                                                          |
|                                                                          |
|                                                                          |
|                                                                          |
|                                                                          |
+--------------------------------------------------------------------------+

 Use the ^ and v keys to select which entry is highlighted.
 Press enter to boot the selected OS, `e' to edit the commands
 before booting or `c' for a command-line.
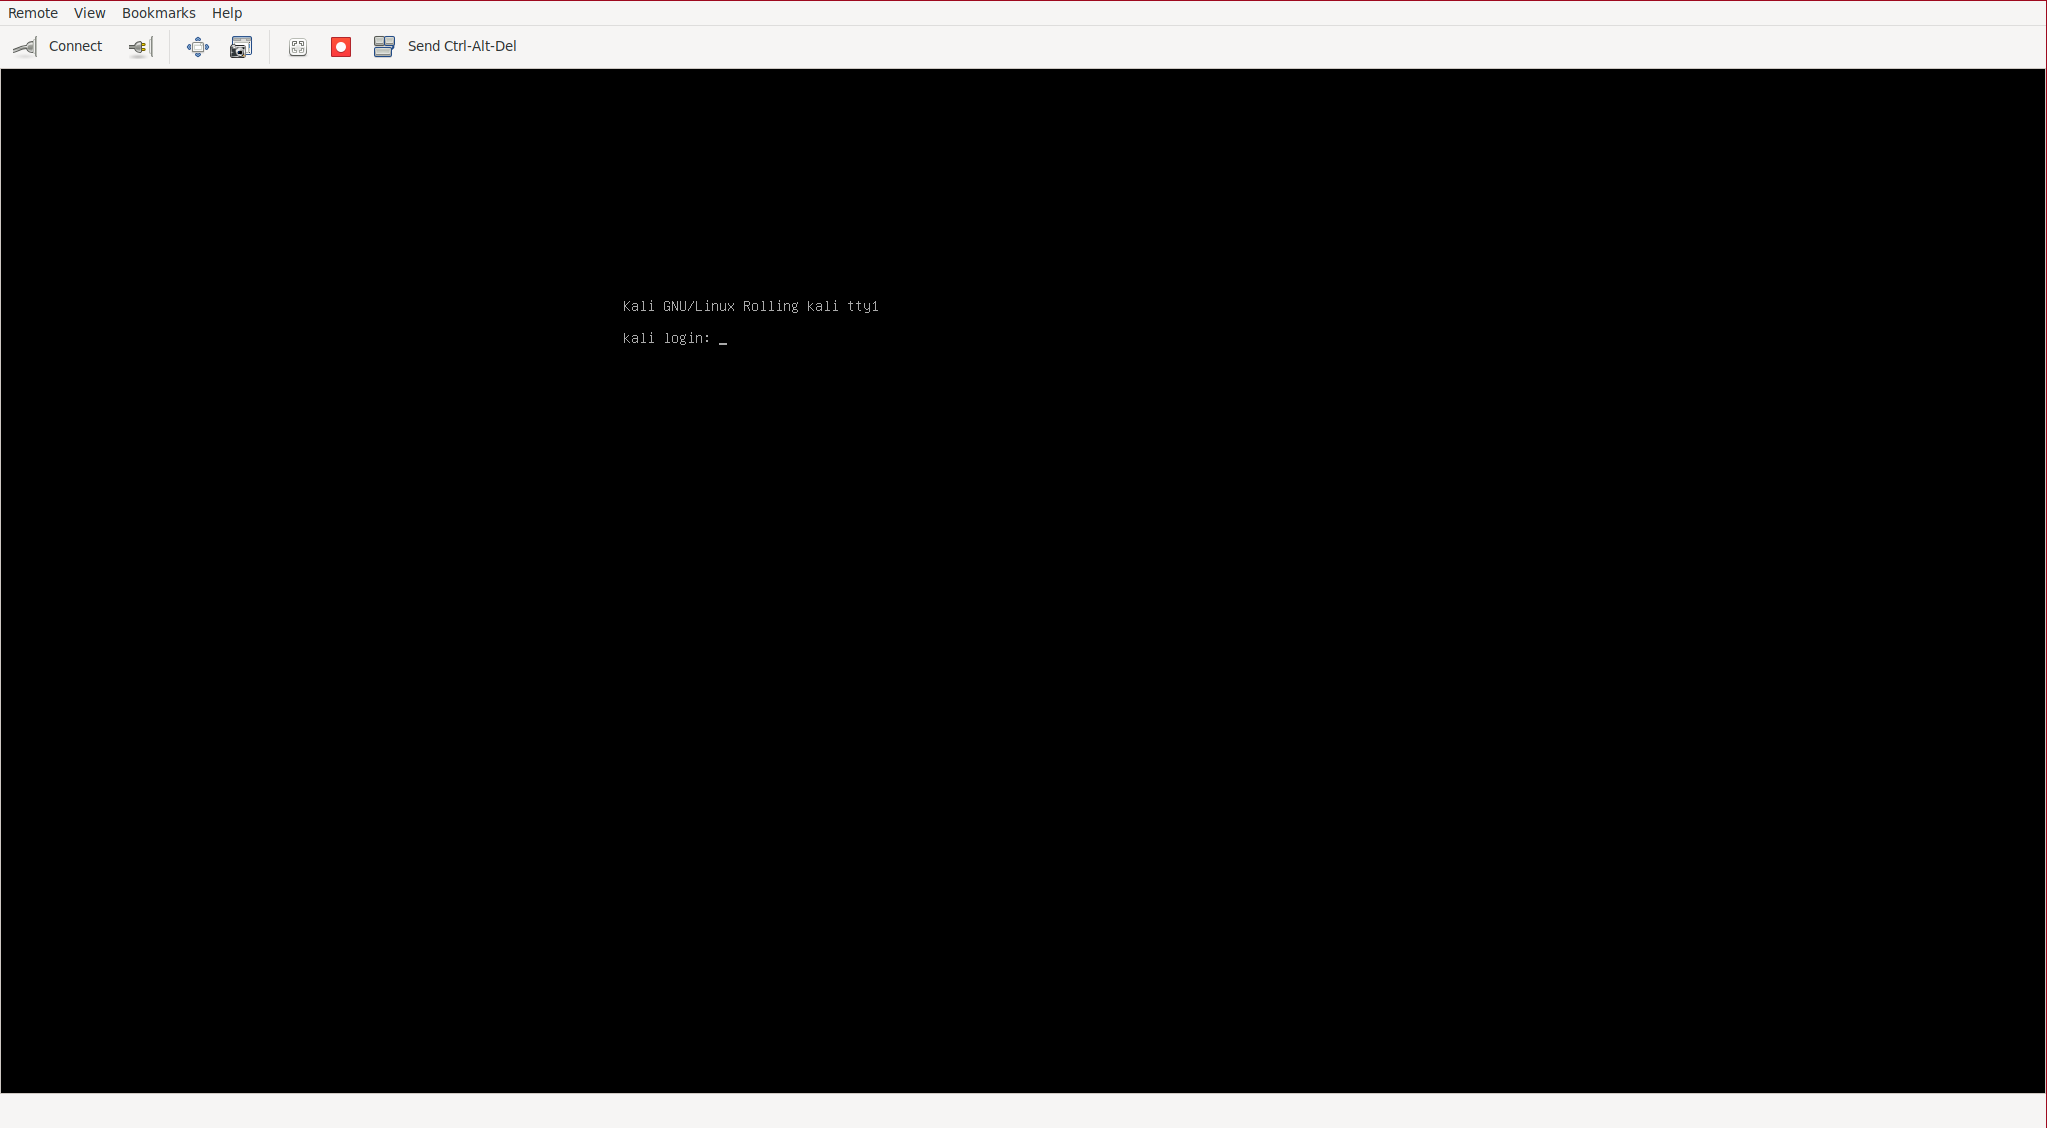
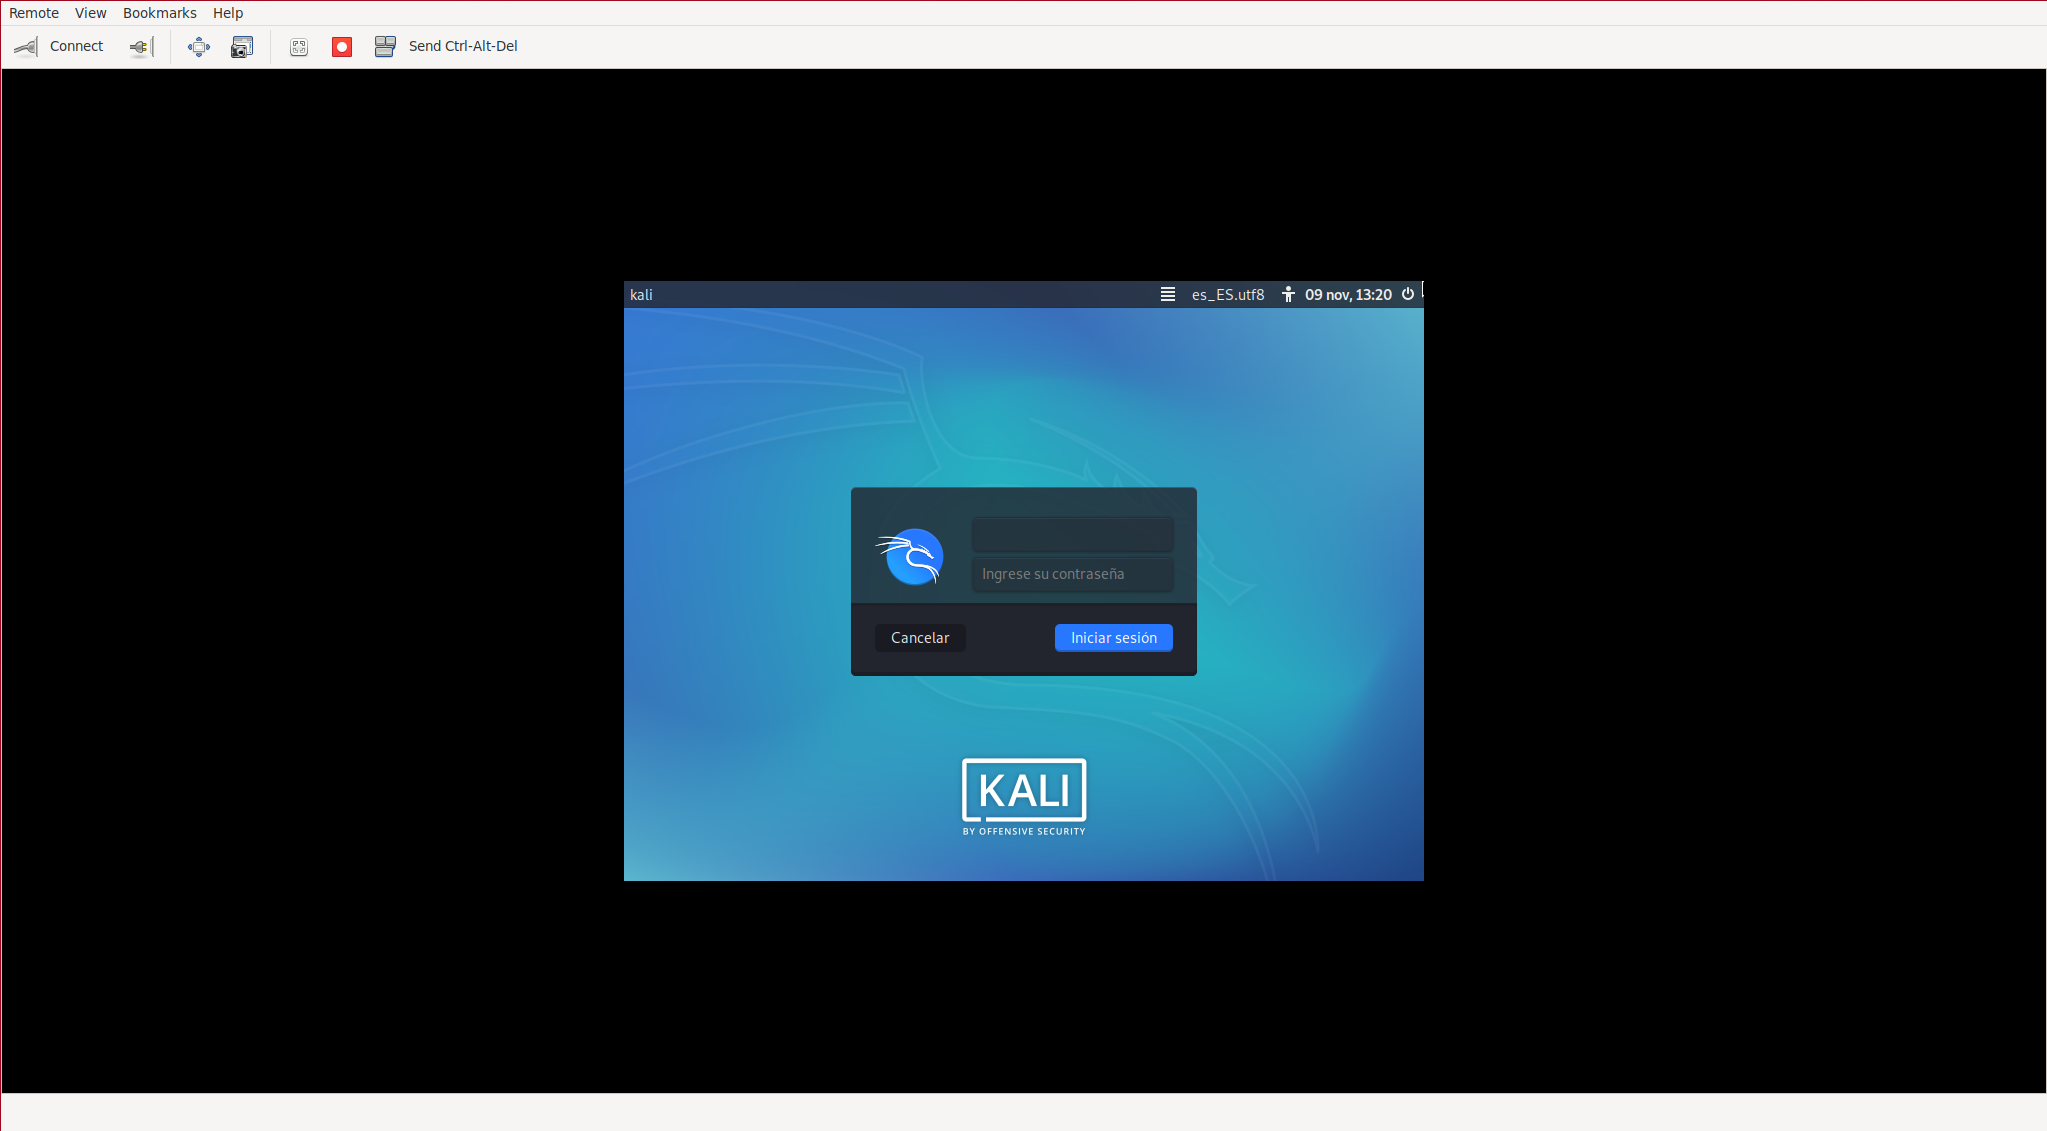
After finishing the installation, we will have the VM turned off, we start it and access the console:
iohyve start kali
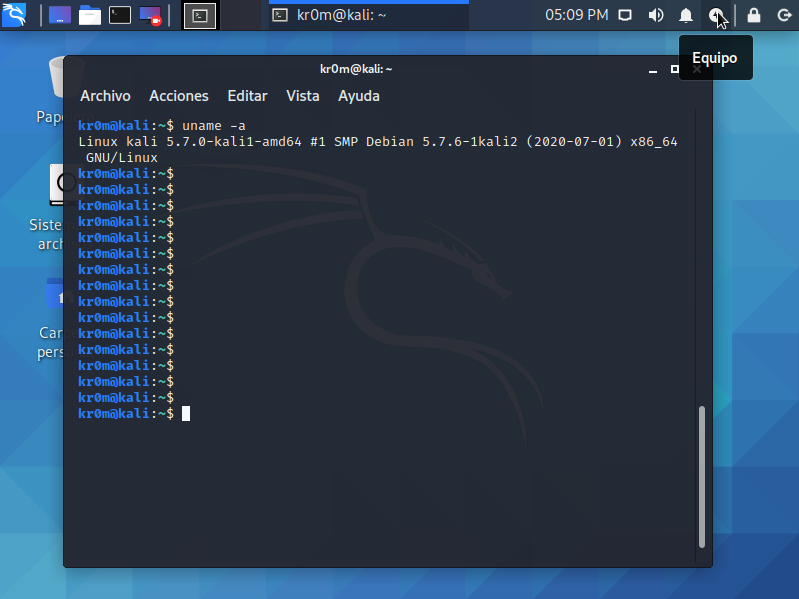
kali login: kr0m
Password:

Linux kali 5.7.0-kali1-amd64 #1 SMP Debian 5.7.6-1kali2 (2020-07-01) x86_64
The programs included with the Kali GNU/Linux system are free software;
the exact distribution terms for each program are described in the
individual files in /usr/share/doc/*/copyright.

Kali GNU/Linux comes with ABSOLUTELY NO WARRANTY, to the extent
permitted by applicable law.
Last login: Sun Nov 8 10:59:10 CET 2020 on ttyS0

kr0m@kali:~$
To exit the console, we write Alt+4.: ~.
Installation via VNC
By default, Iohyve uses the serial console to access the OS, in most cases it will be more than enough since if we need to start any graphical application through ssh-Xforward we can do it without having to start the X.
Another way to get access to the X is by installing a VNC server in the VM itself, this way we would no longer depend on Iohyve’s VNC.
But if we need graphical access in the OS installation as with Windows, we will have to enable access by VNC through the uefi loader, so that it is available we must install the bhyve-firmware package as done at the beginning of the manual and import the firmware file with the cpfw command.
iohyve fwlist
Listing Firmware...
BHYVE_UEFI.fd
Now we must decide whether we want to sacrifice an IP address from the network for VNC access or if we bind the service to the loopback and access via Ssh tunnel, through loopback access will be safer since it will only be exposed when we mount the tunnel and we will not waste IP addresses but we will have to configure a different VNC port for each VM.
VNC-Loopback
We create the VM:
We set the necessary parameters:
We start the installation:
We see that there is a service on the loopback on port 5900:
root bhyve 9029 7 tcp4 127.0.0.1:5900 *:* LISTEN
We set up the Ssh tunnel to access the VNC from outside:
We start our VNC client attacking our PC which will take us via the tunnel to the VM’s VNC:
If we create a second VM we will have to choose a different VNC port:
iohyve set kaliVNC2 ram=2048M loader=uefi vnc=YES vnc_port=5901 fw=BHYVE_UEFI.fd
iohyve install kaliVNC2 kali2020.3.iso
We see that there are two services bound to the loopback but on different ports:
root bhyve 4166 7 tcp4 127.0.0.1:5901 *:* LISTEN
root bhyve 9029 7 tcp4 127.0.0.1:5900 *:* LISTEN
We set up the Ssh tunnel to give access to the VM’s VNC:
We access the installer via VNC:
VNC-Ip
If we choose to assign an IP address, the VM will have an IP address for VNC access and that of the VM itself.
We will have to configure the VNC-IP as an alias in the parent and indicate it in the VM configuration.
We are going to leave it configured in the rc.conf and manually, in this way in case of a restart no configuration will be lost:
ifconfig INTERFACE IP_VM netmask NETMASK alias
We create the VM:
We set the necessary parameters:
We start the installation:
We can see that there is a VNC bound to the indicated IP address:
root bhyve 14438 7 tcp4 192.168.69.254:5900 *:* LISTEN
root bhyve 4166 7 tcp4 127.0.0.1:5901 *:* LISTEN
root bhyve 9029 7 tcp4 127.0.0.1:5900 *:* LISTEN
We connect directly to the VM’s VNC without the need for any tunnel:
Actually, for a Unix system administrator, VNC access doesn’t make sense since VMs are usually accessed via SSH. If we needed any graphical application, it would be sufficient to start it using ssh-Xforward, and if we needed urgent access, we would access it via the serial port with the Iohyve console command.
Xorg Bug
If X has been installed, it is buggy ( 1 , 2 ). The bug in question presents the following output when trying to start X:

To fix it, we have to enter via SSH and uninstall the xserver-xorg-video-vesa package. The problem is that when we start the graphical environment, it hangs due to the bug, and when we press Ctrl+Alt+F1, we are sending the keystrokes to our FreeBSD. To be able to do this within the VNC client, we must first disable the keys in our OS.
Now we can log in from the non-graphical tty and start the SSH service to uninstall the conflicting package:
We access the VM via SSH:
We uninstall the package and shut down the VM:
halt
We enable Ctrl+Alt+FX in our OS:
We start the VM:
As we can see, Kali now starts X normally. If we log in, we will see that the graphical environment works without problems:
Running graphical applications without X via SSH
One way to run graphical applications without the need to start X is through ssh-xforward. To do this, we configure ssh access and find out the VM’s IP address:
Starting console on kali...
~~. to escape console [uses cu(1) for console]
Connected

kali login: kr0m
Password:

Linux kali 5.7.0-kali1-amd64 #1 SMP Debian 5.7.6-1kali2 (2020-07-01) x86_64
The programs included with the Kali GNU/Linux system are free software;
the exact distribution terms for each program are described in the
individual files in /usr/share/doc/*/copyright.

Kali GNU/Linux comes with ABSOLUTELY NO WARRANTY, to the extent
permitted by applicable law.
Last login: Sun Nov 8 11:50:53 CET 2020 on ttyS0
Habilitamos el servico Ssh:
root@kali:/home/kr0m# systemctl enable ssh.service
root@kali:/home/kr0m# systemctl start ssh.service
We check the VM’s IP address:
eth0: flags=4163<UP,BROADCAST,RUNNING,MULTICAST> mtu 1500
 inet 192.168.69.205 netmask 255.255.255.0 broadcast 192.168.69.255
We allow displaying graphical applications that come from the indicated IP on our PC using xhost:
We run burpsuite as a test:
Listing VMs
Guest     VMM?  Running  rcboot?  Description
kali      NO    NO       NO       Sun Nov  8 20:28:35 CET 2020
kaliVNC3  NO    NO       NO       Mon Nov  9 12:19:21 CET 2020
VMs Information
We can check information about the VMs in the following way:
Guest           Size  CPU  RAM    Pool   OS       Loader      Tap   Con    VMM?  Running  rcboot?
kali            -     1    2048M  zroot  debian   grub-bhyve  tap0  nmdm0  NO    NO       NO
kali/disk0      15G   -    -      zroot  -        -           -     -      -     -        -
kaliVNC3        -     1    2048M  zroot  default  uefi        tap1  nmdm1  NO    NO       NO
kaliVNC3/disk0  15G   -    -      zroot  -        -           -     -      -     -        -
Getting kali iohyve properties...
bargs            -A_-H_-P
bhyve_path       /usr/sbin/bhyve
boot             0
con              nmdm0
cpu              1
description      Sun Nov  8 20:28:35 CET 2020
install          no
loader           grub-bhyve
name             kali
os               debian
persist          1
ram              2048M
size             15G
tap              tap0
template         NO
utc              YES
vnc              NO
vnc_h            600
vnc_ip           127.0.0.1
vnc_tablet       NO
vnc_w            800
vnc_wait         NO
Parameters
We can assign values to the VM’s parameters. Some examples can be:
iohyve set kali cpu=1
iohyve set kali description=“This is my Kali box”
We can even do device passthrough:
To get parameter values:
iohyve getall kali
Snapshots
Create a snapshot:
Taking snapshot kali@beforeupdate
List available snapshots:
kali@beforeupdate
Revert to a snapshot:
iohyve roll kali@beforeupdate
Rolling back to kali@beforeupdate
Delete snapshots:
Cloning VMs
By cloning, we are making a copy of the VM, not a clone at the ZFS level. This can result in considerable space consumption since in addition to the space that the two VMs will occupy, Iohyve needs additional space while cloning.
iohyve list
Guest  VMM?  Running  rcboot?  Description
dolly  NO    NO       NO       Tue_Nov__8_21:04:05_CET_2020
kali   NO    NO       NO       Sun Nov  8 20:28:35 CET 2020
Templates
If we don’t want anyone to accidentally start a VM or make any modifications to this VM by starting it, reinstalling it, renaming it, or deleting it, we will have to set the template parameter to YES.
Let’s take the following example where kali is stopped:
Guest  VMM?  Running  rcboot?  Description
kali   NO    NO       NO       Sun Nov  8 20:28:35 CET 2020
We assign the template=YES parameter:
We try to start the VM:
kali is a template. Cannot start
We try to delete it:
kali is a template. Cannot delete
Force stop
In some extreme cases, the stop command will not be able to stop the VM. We can force stop it, but this command should be used as a last resort:
Backup through exports
Through the export command we can generate a tarball with all the data of the VM, including its Iohyve configuration, this tarball will be stored in the path: /iohyve/VM_NAME/VM_NAME.tar.gz the only drawback is that it requires us to shut down the VM. But we can always clone the VM, make the export of the clone, copy the backup and delete the clone.
iohyve list
Guest  VMM?  Running  rcboot?  Description
backup NO    NO       NO       Tue_Nov__8_21:14:05_CET_2020
kali   NO    NO       NO       Sun Nov  8 20:28:35 CET 2020
Exporting backup. Note this may take some time depending on the size.
Creating temp directory...
Exporting properties...
Exporting disks...
15360+0 records in
15360+0 records out
16106127360 bytes transferred in 170.564576 secs (94428326 bytes/sec)
Compressing to archive...
Removing temp directory...
We check the size of the export:
3.2G /iohyve/backup/backup.tar.gz
We move the tarball to a safe place, it would be advisable to move it to a remote server in another physical location, as a proof of concept I will move it to /root:
We delete the cloned VM:
[WARNING] Are you sure you want to permanently delete backup and all child datasets?
Location: zroot/iohyve/backup [Y/N]? Y
Deleting backup at zroot/iohyve/backup...
We delete the original VM:
iohyve delete kali
[WARNING] Are you sure you want to permanently delete kali and all child datasets?
Location: zroot/iohyve/kali [Y/N]? Y
Deleting kali at zroot/iohyve/kali...
To restore it we just have to decompress it, create a VM with the parameters of the configuration file and dump the contents of the disk image:
tar xvzf backup.tar.gz
x ./
x ./disk0.img
x ./properties.ucl
cat ./properties.ucl
bargs=-A_-H_-P
bhyve_path=/usr/sbin/bhyve
boot=0
con=nmdm0
cpu=1
description=Sun_Nov__8_20:08:03_CET_2020
install=no
loader=grub-bhyve
name=backup
os=debian
persist=1
ram=2048M
size=15G
tap=tap0
template=NO
utc=YES
vnc=NO
vnc_h=600
vnc_ip=127.0.0.1
vnc_tablet=NO
vnc_w=800
vnc_wait=NO
We create the VM with the disk size indicated in the ucl file:
We assign the VM parameters as they appear in the ucl file:
We check that it has been created correctly:
Guest  VMM?  Running  rcboot?  Description
kali   NO    NO       NO       Sun Nov  8 20:28:35 CET 2020
We dump the contents of the disk image:
31457280+0 records in
31457280+0 records out
16106127360 bytes transferred in 397.031970 secs (40566324 bytes/sec)
We start the VM and access it:
iohyve console kali
Difference between VMM and Running
When we start a VM, it goes through the bootloader where the kernel has not yet been loaded. This phase is VMM. If the kernel starts to load, it appears as Running.
If we stop a VM but VMM does not stop, resources may remain occupied by this VM. In this case, we must execute the destroy command:
Troubleshooting
Sometimes the console displays incorrect characters. Resetting it solves the problem:
iohyve console kali
If we are testing Iohyve on a desktop computer, it is very likely that we have the gvfs process running. This can cause problems when we delete VMs since the gvfs Trash process may be accessing the filesystem. In this case, the error shown when trying to delete the VM is as follows:
[WARNING] Are you sure you want to permanently delete kaliVNC and all child datasets?
Location: zroot/iohyve/kaliVNC [Y/N]? Y
Deleting kaliVNC at zroot/iohyve/kaliVNC...
cannot unmount '/iohyve/kaliVNC': Device busy
We locate the process that keeps the device occupied:
COMMAND   PID USER   FD   TYPE                DEVICE SIZE/OFF NODE NAME
gvfsd-tra 68671 kr0m   29r  VDIR 2635944363,1737022982      512   34 /iohyve/kaliVNC
We kill the process:
Now we can delete the VM without problems:
If the error message we get is the following:
[WARNING] Are you sure you want to permanently delete kali and all child datasets?
Location: zroot/iohyve/kali [Y/N]? Y
Deleting kali at zroot/iohyve/kali...
cannot destroy 'zroot/iohyve/kali/disk0': dataset is busy
We will have to restart the service. The drawback of this is that it will stop all VMs:
iohyve delete kaliVNC
service iohyve start
If we have any network problems, we can quickly identify the tap interfaces of the VMs with the following command:
Listing all network taps:
zroot/iohyve/kali......tap0
We can manually check how the bridge has both the parent host and the VM’s tap network interfaces:
em0: flags=8943<UP,BROADCAST,RUNNING,PROMISC,SIMPLEX,MULTICAST> metric 0 mtu 1500
 options=812099<RXCSUM,VLAN_MTU,VLAN_HWTAGGING,VLAN_HWCSUM,WOL_MAGIC,VLAN_HWFILTER>
 ether 34:97:f6:36:bf:45
 inet 192.168.69.4 netmask 0xffffff00 broadcast 192.168.69.255
 media: Ethernet autoselect (1000baseT <full-duplex>)
 status: active
 nd6 options=29<PERFORMNUD,IFDISABLED,AUTO_LINKLOCAL>
lo0: flags=8049<UP,LOOPBACK,RUNNING,MULTICAST> metric 0 mtu 16384
 options=680003<RXCSUM,TXCSUM,LINKSTATE,RXCSUM_IPV6,TXCSUM_IPV6>
 inet6 ::1 prefixlen 128
 inet6 fe80::1%lo0 prefixlen 64 scopeid 0x2
 inet 127.0.0.1 netmask 0xff000000
 groups: lo
 nd6 options=21<PERFORMNUD,AUTO_LINKLOCAL>
bridge0: flags=8843<UP,BROADCAST,RUNNING,SIMPLEX,MULTICAST> metric 0 mtu 1500
 description: iohyve-bridge-em0
 ether 02:89:af:f3:c6:00
 id 00:00:00:00:00:00 priority 32768 hellotime 2 fwddelay 15
 maxage 20 holdcnt 6 proto stp-rstp maxaddr 2000 timeout 1200
 root id 00:00:00:00:00:00 priority 32768 ifcost 0 port 0
 member: tap0 flags=143<LEARNING,DISCOVER,AUTOEDGE,AUTOPTP>
        ifmaxaddr 0 port 5 priority 128 path cost 2000000
 member: em0 flags=143<LEARNING,DISCOVER,AUTOEDGE,AUTOPTP>
         ifmaxaddr 0 port 1 priority 128 path cost 20000
 groups: bridge
 nd6 options=9<PERFORMNUD,IFDISABLED>
tap0: flags=8943<UP,BROADCAST,RUNNING,PROMISC,SIMPLEX,MULTICAST> metric 0 mtu 1500
 description: iohyve-kali--
 options=80000<LINKSTATE>
 ether 58:9c:fc:10:ff:fd
 groups: tap
 media: Ethernet autoselect
 status: active
 nd6 options=29<PERFORMNUD,IFDISABLED,AUTO_LINKLOCAL>
 Opened by PID 30627
I must warn you that disk management seems to work well in most of the tested cases, but deleting disk0 from a VM is problematic. There seems to be some bug, and it becomes impossible to boot the VM with disk1 afterwards.