Mounting the OS on a RAID-Z will provide redundancy in case of failure of one or more disks depending on the chosen Raid-Z. This article will show how to install the OS using RAID-Z2 and how to replace a failed hard drive.
Before continuing with the article, it is advisable to review this previous one so that all concepts are clear.
We must bear in mind that it is not recommended to mount a RAID-Z1 because when a failed disk is replaced, the resilvering process begins. At this point, the other disks (which will surely have the same age as the failed disk) start to be stressed with an approximate probability of 8% of failure. If a failure occurs, the data will be irretrievably lost. Therefore, we must always choose a raid with a fault tolerance of one or more disks. In addition, a degraded RAID-Z penalizes performance since the missing disk data is calculated from the parity information of the remaining disks.
If only the OS is going to be hosted and space is not a problem, I recommend using 3-disk mirroring, since a degraded mirror does not affect the RAID performance.
We must also be clear that a RAID-Z cannot be converted to another type of RAID, which is why it is so important to choose its type well from the beginning.
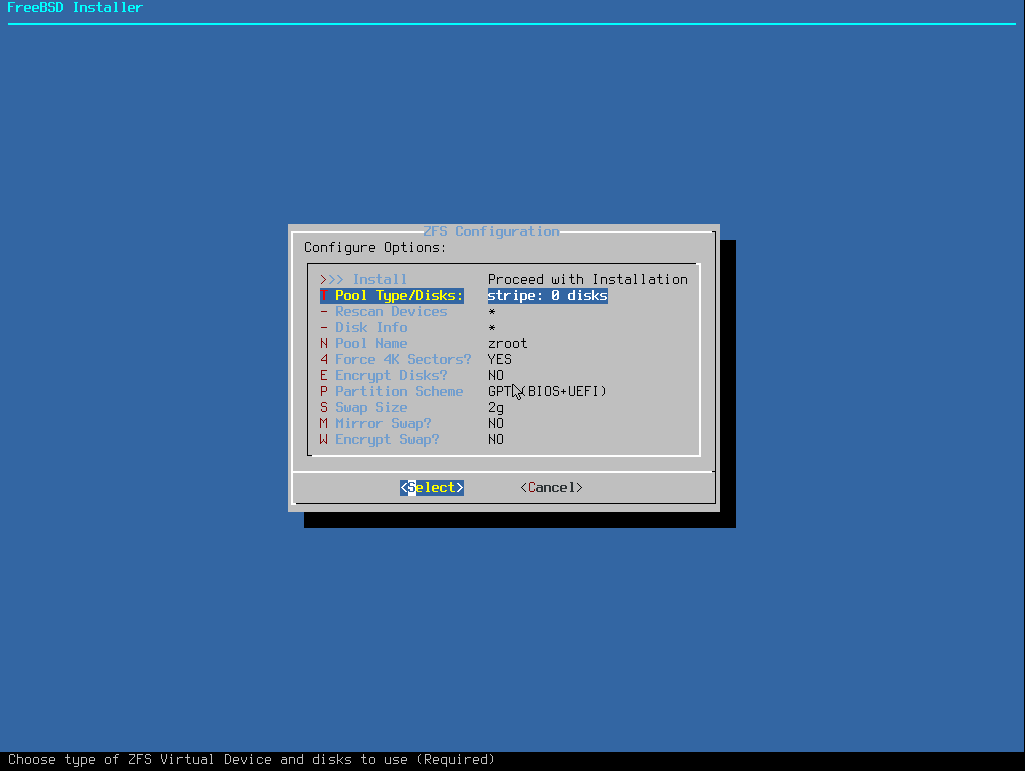
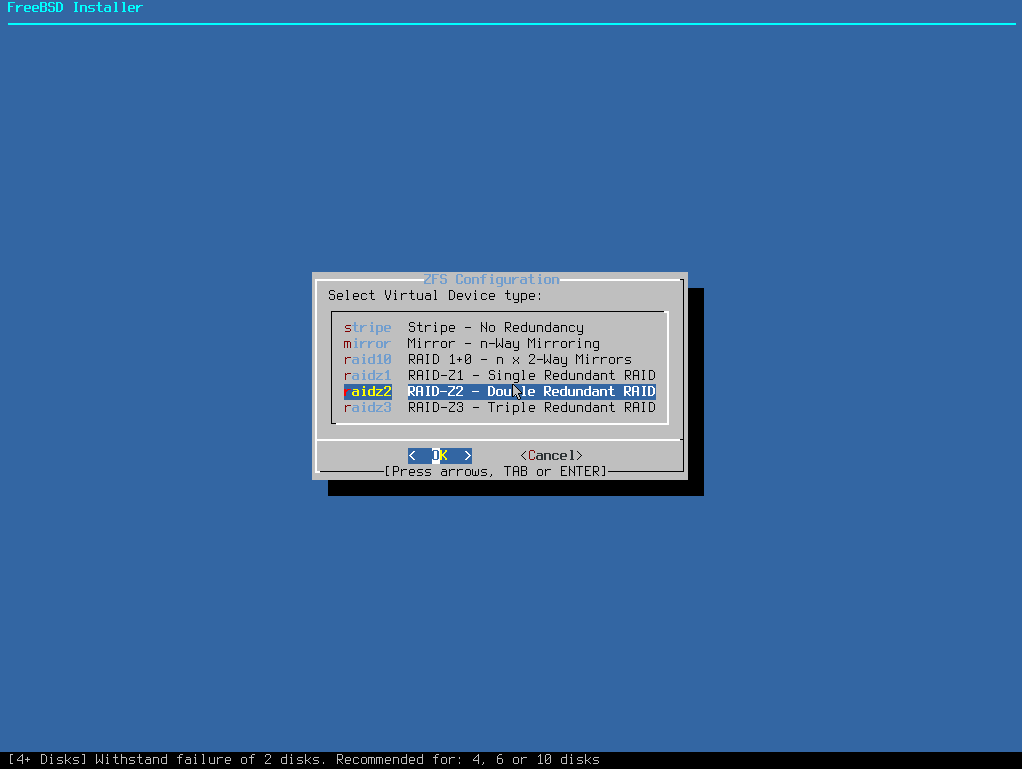
In the installation wizard, we will have to indicate RAID-Z2 in Pool Type/Disks:


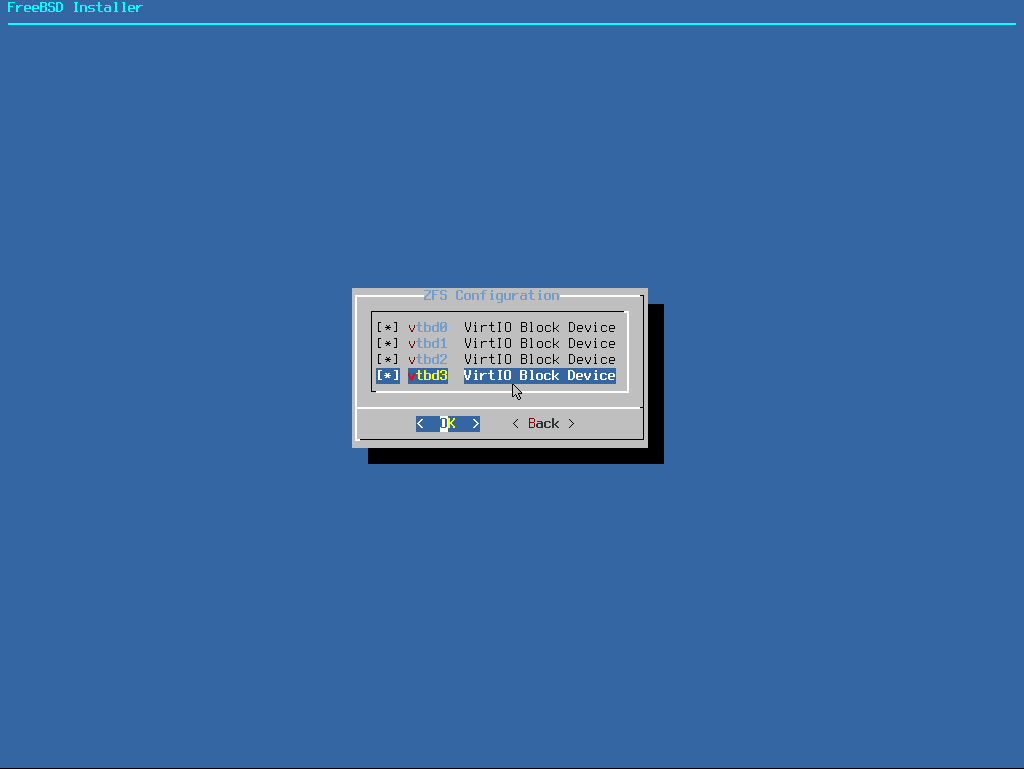
We select the disks to use:

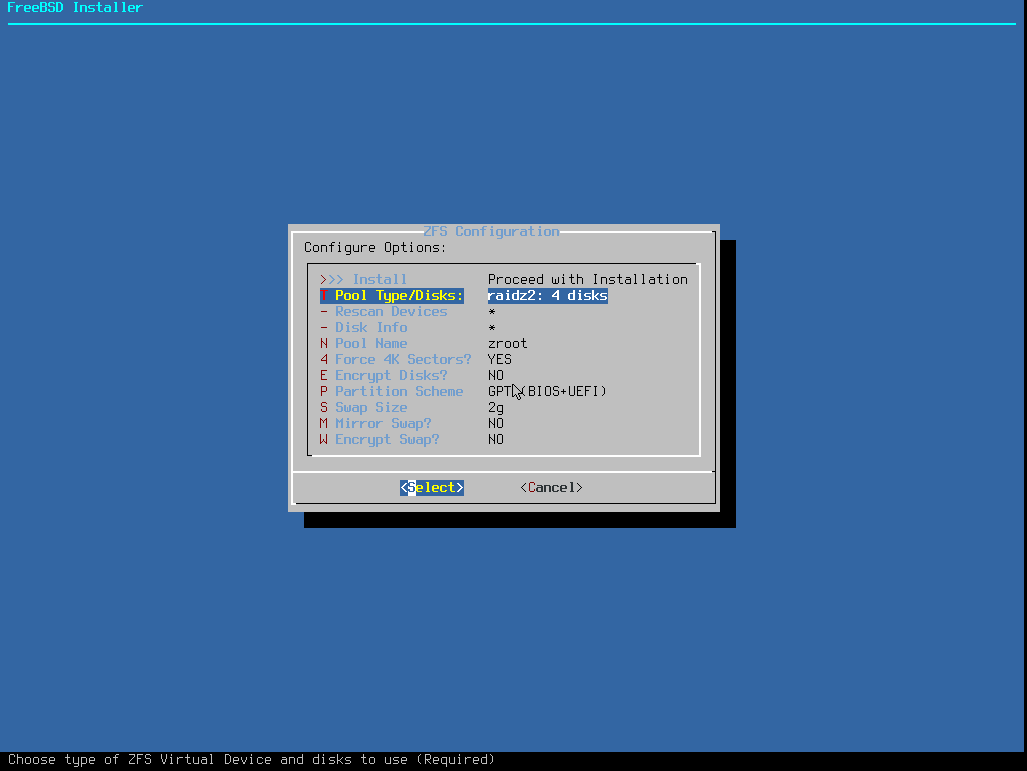
It will look like this:

Once the OS is installed, check the pool status:
pool: zroot
state: ONLINE
 scan: none requested
config:

   NAME         STATE     READ WRITE CKSUM
   zroot        ONLINE       0     0     0
  raidz2-0   ONLINE       0     0     0
    vtbd0p4  ONLINE       0     0     0
    vtbd1p4  ONLINE       0     0     0
    vtbd2p4  ONLINE       0     0     0
    vtbd3p4  ONLINE       0     0     0

errors: No known data errors
Remove a disk and check the pool status again:
pool: zroot
state: DEGRADED
status: One or more devices could not be used because the label is missing or
   invalid.  Sufficient replicas exist for the pool to continue
   functioning in a degraded state.
action: Replace the device using 'zpool replace'.
  see: http://illumos.org/msg/ZFS-8000-4J
 scan: none requested
config:

   NAME                     STATE     READ WRITE CKSUM
   zroot                    DEGRADED     0     0     0
  raidz2-0               DEGRADED     0     0     0
    vtbd0p4              ONLINE       0     0     0
    1398730568925353312  FAULTED      0     0     0  was /dev/vtbd1p4
    vtbd1p4              ONLINE       0     0     0
    vtbd2p4              ONLINE       0     0     0

errors: No known data errors
Add a disk to replace the damaged one, which is easily recognizable as the only one without partitions:
crw-r-----  1 root  operator  0x60 Nov 24 22:21 /dev/vtbd0
crw-r-----  1 root  operator  0x64 Nov 24 22:21 /dev/vtbd0p1
crw-r-----  1 root  operator  0x65 Nov 24 22:21 /dev/vtbd0p2
crw-r-----  1 root  operator  0x66 Nov 24 23:21 /dev/vtbd0p3
crw-r-----  1 root  operator  0x67 Nov 24 22:21 /dev/vtbd0p4
crw-r-----  1 root  operator  0x61 Nov 24 22:21 /dev/vtbd1
crw-r-----  1 root  operator  0x68 Nov 24 22:21 /dev/vtbd1p1
crw-r-----  1 root  operator  0x69 Nov 24 22:21 /dev/vtbd1p2
crw-r-----  1 root  operator  0x6a Nov 24 22:21 /dev/vtbd1p3
crw-r-----  1 root  operator  0x6b Nov 24 22:21 /dev/vtbd1p4
crw-r-----  1 root  operator  0x62 Nov 24 22:21 /dev/vtbd2
crw-r-----  1 root  operator  0x6c Nov 24 22:21 /dev/vtbd2p1
crw-r-----  1 root  operator  0x6d Nov 24 22:21 /dev/vtbd2p2
crw-r-----  1 root  operator  0x6e Nov 24 22:21 /dev/vtbd2p3
crw-r-----  1 root  operator  0x6f Nov 24 22:21 /dev/vtbd2p4
crw-r-----  1 root  operator  0x63 Nov 24 22:21 /dev/vtbd3
Replicate the partition scheme on the new disk, which must be the same size or larger than the others:
Check that both disks have the same scheme:
=>      40  20971696  vtbd0  GPT  (10G)
        40    409600      1  efi  (200M)
    409640      1024      2  freebsd-boot  (512K)
    410664       984         - free -  (492K)
    411648   4194304      3  freebsd-swap  (2.0G)
   4605952  16365568      4  freebsd-zfs  (7.8G)
  20971520       216         - free -  (108K)
Check that they have been created correctly:
=>      40  20971696  vtbd3  GPT  (10G)
        40    409600      1  efi  (200M)
    409640      1024      2  freebsd-boot  (512K)
    410664       984         - free -  (492K)
    411648   4194304      3  freebsd-swap  (2.0G)
   4605952  16365568      4  freebsd-zfs  (7.8G)
  20971520       216         - free -  (108K)
Since it is a disk used in the OS boot, we must copy the bootstrap code to the EFI/BIOS partition vtbd3, so there will be no problems regardless of which disk it boots from. Remember the partition scheme we have:
=>      40  20971696  vtbd3  GPT  (10G)
        40    409600      1  efi  (200M)
    409640      1024      2  freebsd-boot  (512K)
It can be seen that both the EFI partition and the traditional boot partition used by the BIOS exist, this is because when the OS was installed, GPT(BIOS+UEFI) was chosen. This is the most compatible mode since the disk can be booted by both systems. Depending on the type of boot we are using, we will install the bootloader in one way or another.
UEFI:
BIOS: In addition to copying the data to the partition, this system also writes the MBR of the indicated disk.
Now that we have the prepared disk, we can replace the damaged one:
We can see that it is performing the resilver of the disk:
pool: zroot
state: DEGRADED
status: One or more devices is currently being resilvered.  The pool will
   continue to function, possibly in a degraded state.
action: Wait for the resilver to complete.
 scan: resilver in progress since Tue Nov 24 22:25:43 2020
   1.76G scanned at 258M/s, 979M issued at 140M/s, 1.76G total
   222M resilvered, 54.19% done, 0 days 00:00:05 to go
config:

   NAME                       STATE     READ WRITE CKSUM
   zroot                      DEGRADED     0     0     0
  raidz2-0                 DEGRADED     0     0     0
    vtbd0p4                ONLINE       0     0     0
    replacing-1            UNAVAIL      0     0     0
   1398730568925353312  FAULTED      0     0     0  was /dev/vtbd1p4
   vtbd3p4              ONLINE       0     0     0
    vtbd1p4                ONLINE       0     0     0
    vtbd2p4                ONLINE       0     0     0

errors: No known data errors
When it finishes, the status will appear as ONLINE and we can all sleep peacefully again:
pool: zroot
state: ONLINE
 scan: resilvered 432M in 0 days 00:00:14 with 0 errors on Tue Nov 24 22:25:57 2020
config:

   NAME         STATE     READ WRITE CKSUM
   zroot        ONLINE       0     0     0
  raidz2-0   ONLINE       0     0     0
    vtbd0p4  ONLINE       0     0     0
    vtbd3p4  ONLINE       0     0     0
    vtbd1p4  ONLINE       0     0     0
    vtbd2p4  ONLINE       0     0     0

errors: No known data errors