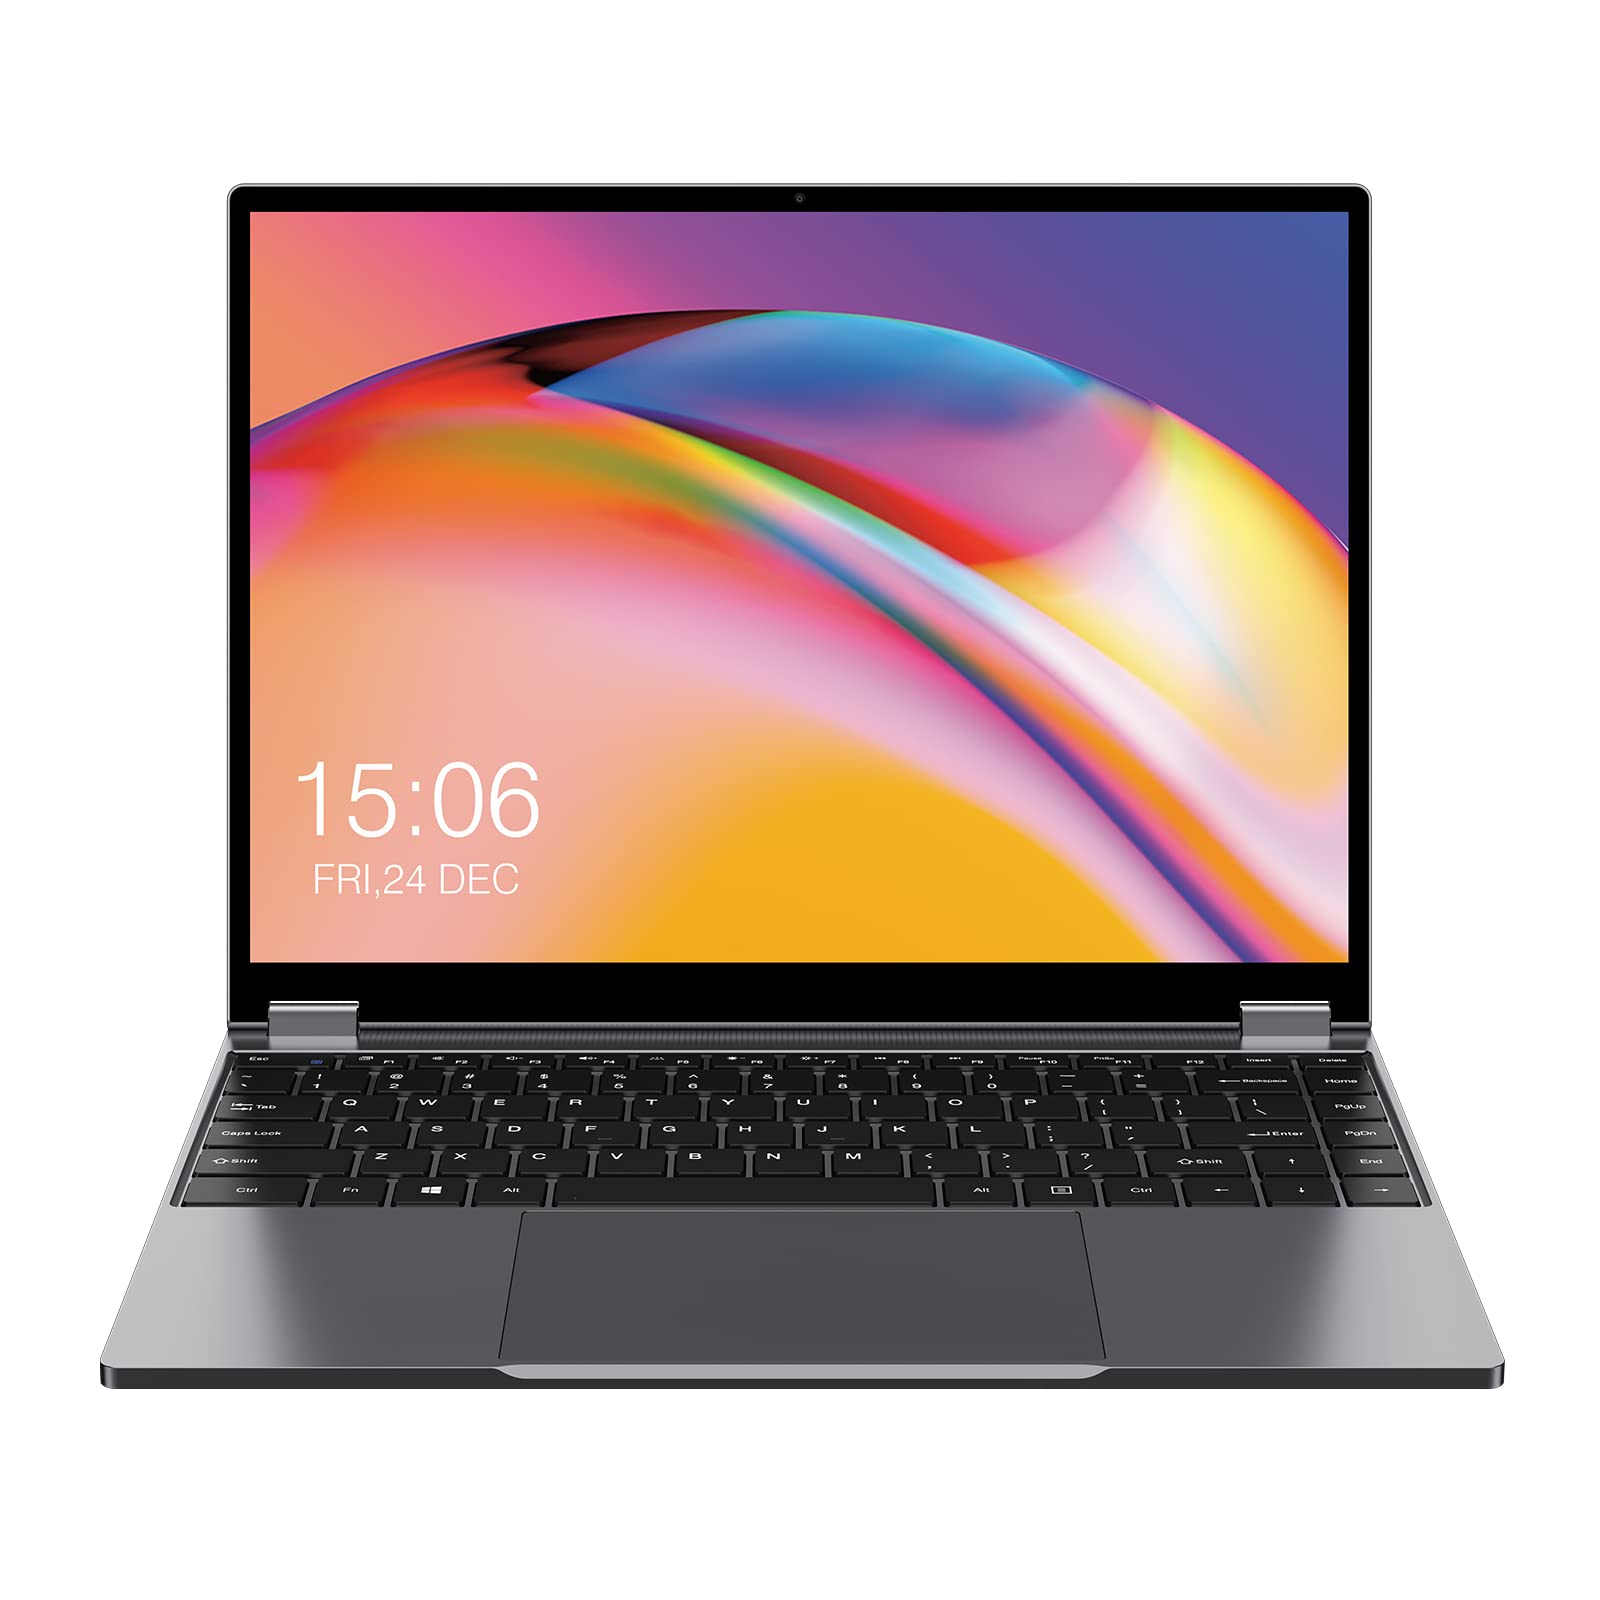
El fabricante chino Chuwi ofrece productos interesantes a precios muy competitivos, yo personalmente he adquirido el
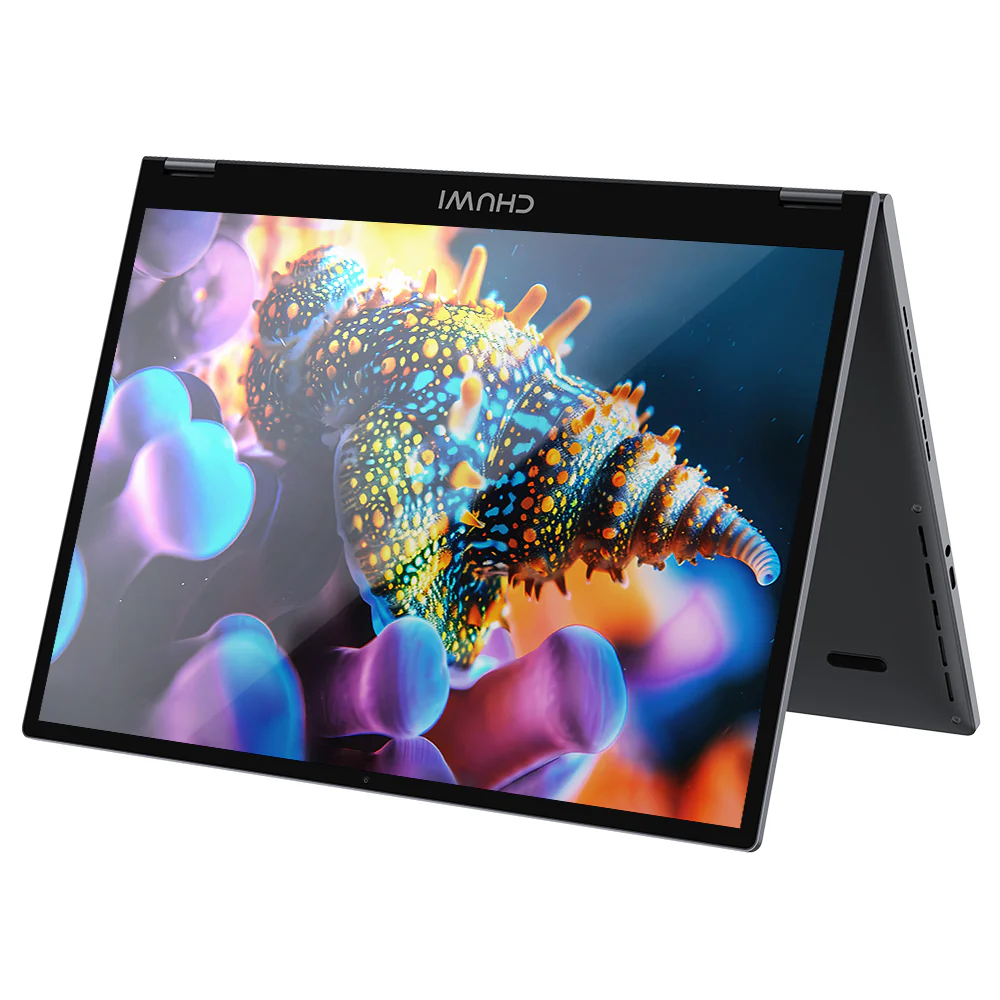
modelo FreeBook
de 16Gb, este permite un uso tanto como PC tradicional como tablet.
Portátil:
 |
 |
 |
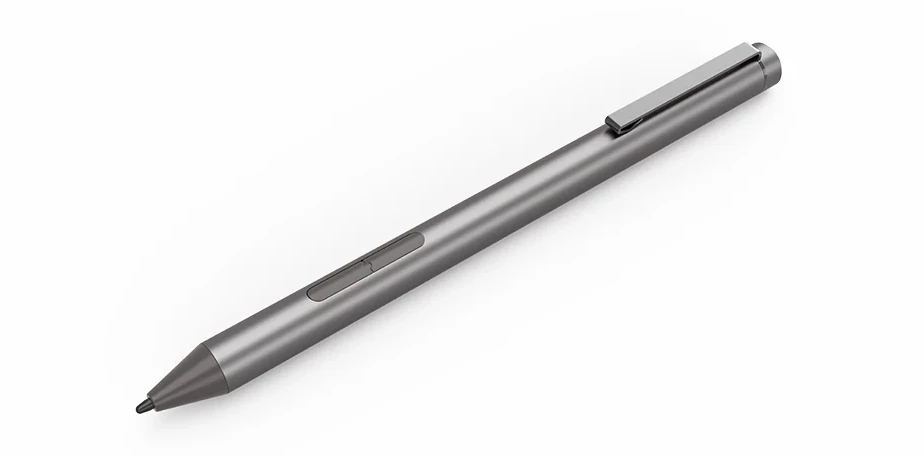
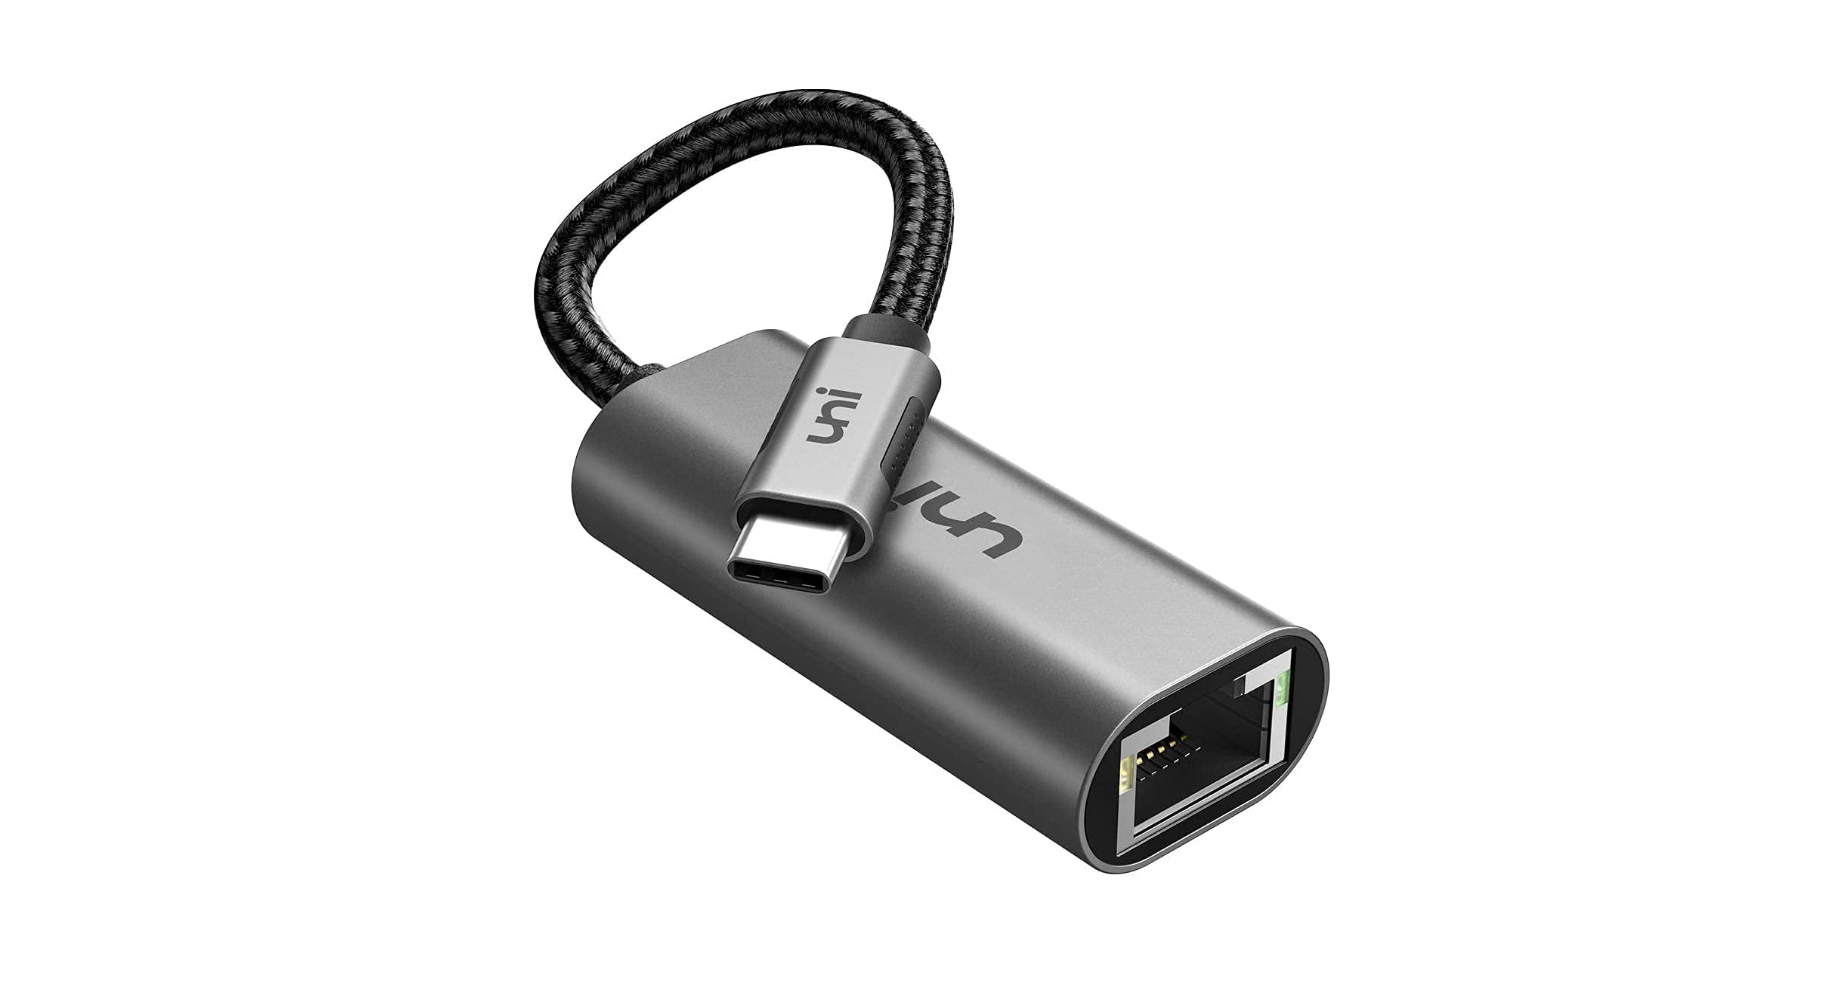
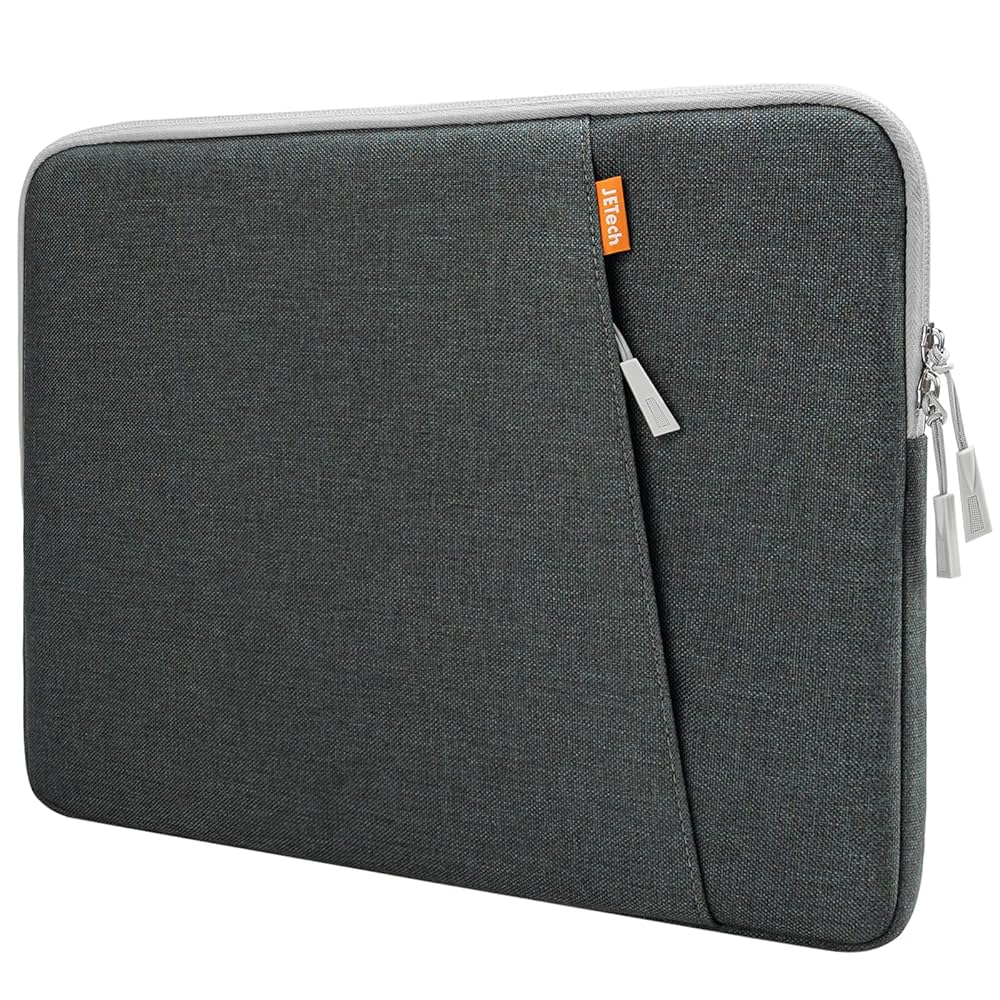
Accesorios:
| HUB USB-C | MPP HiPen H7 | Non oficial Ethernet adapter | Non oficial Carry bag(13,3) |
|---|---|---|---|
 |
 |
 |
 |
Las especificaciones del sistema son las siguientes:
Display |
13.4-inch, 2.5K (2520RGB×1680) IPS Touchscreen, 3:2 |
Stylus Support |
Yes, Compatible with HiPen H7 |
CPU |
Intel Twin Lake N150 (4 Cores, 4 Threads, 6 MB Intel Smart Cache, up to 3.6 GHz) |
GPU |
Intel Graphics (1 GHz Max Dynamic Frequency, 24 Execution Units) |
Memory |
12/16GB LPDDR5 4000MHz |
Storage |
512GB PCIe SSD (1× M.2 2280 SSD Slot, Compatible with SATA 3 or PCIe 3.0×4, Expandable up to 1TB) |
Battery |
38 Wh (7.6V/5000mAh)(4h with a regular use) |
I/O Ports |
2× Full-Featured USB 3.0 Type-C Ports (support data, charging and DisplayPort) / 1× USB 2.0 Type-C Port (data transfer) / 1× 3.5mm Audio Jack |
Wireless |
Wi-Fi 6(SpeedTest: 164.41/213.31 Mbit/s), Bluetooth 5.2 |
Webcam |
1 MP Front Camera |
Audio |
4× Speakers / 1× Microphone |
Power Adapter |
12V/3A USB-C Power Adapter |
Size |
301.4 × 224.3 × 18.4 mm |
Weight |
About 1360g |
En este artículo vamos a abarcar desde la instalación base del sistema operativo hasta la configuración de AwesomeWM para un uso “normal” del equipo y KDE para un uso estilo tablet:
- Instalación Debian.
- Instalación de software adicional.
- Ajustes del sistema.
- Configuración del touchpad.
- Retoques adicionales del sistema.
- Software externo.
- Control de pantallas.
- Botones función.
- Aplicaciones gráficas arranque AwesomeWM.
- Configuración AwesomeWM.
- Control de carga y alertas.
- Gestión de energía.
- Tablet mode.
- SSH-FS.
- Otros sistemas operativos
Instalación Debian:
La instalación es bastante sencilla, simplemente quemamos la ISO-NetInstall en un USB:
wget https://cdimage.debian.org/debian-cd/current/amd64/iso-cd/debian-13.1.0-amd64-netinst.iso
dd if=/home/kr0m/debian-13.1.0-amd64-netinst.iso of=/dev/sdX bs=4M status=progress oflag=sync
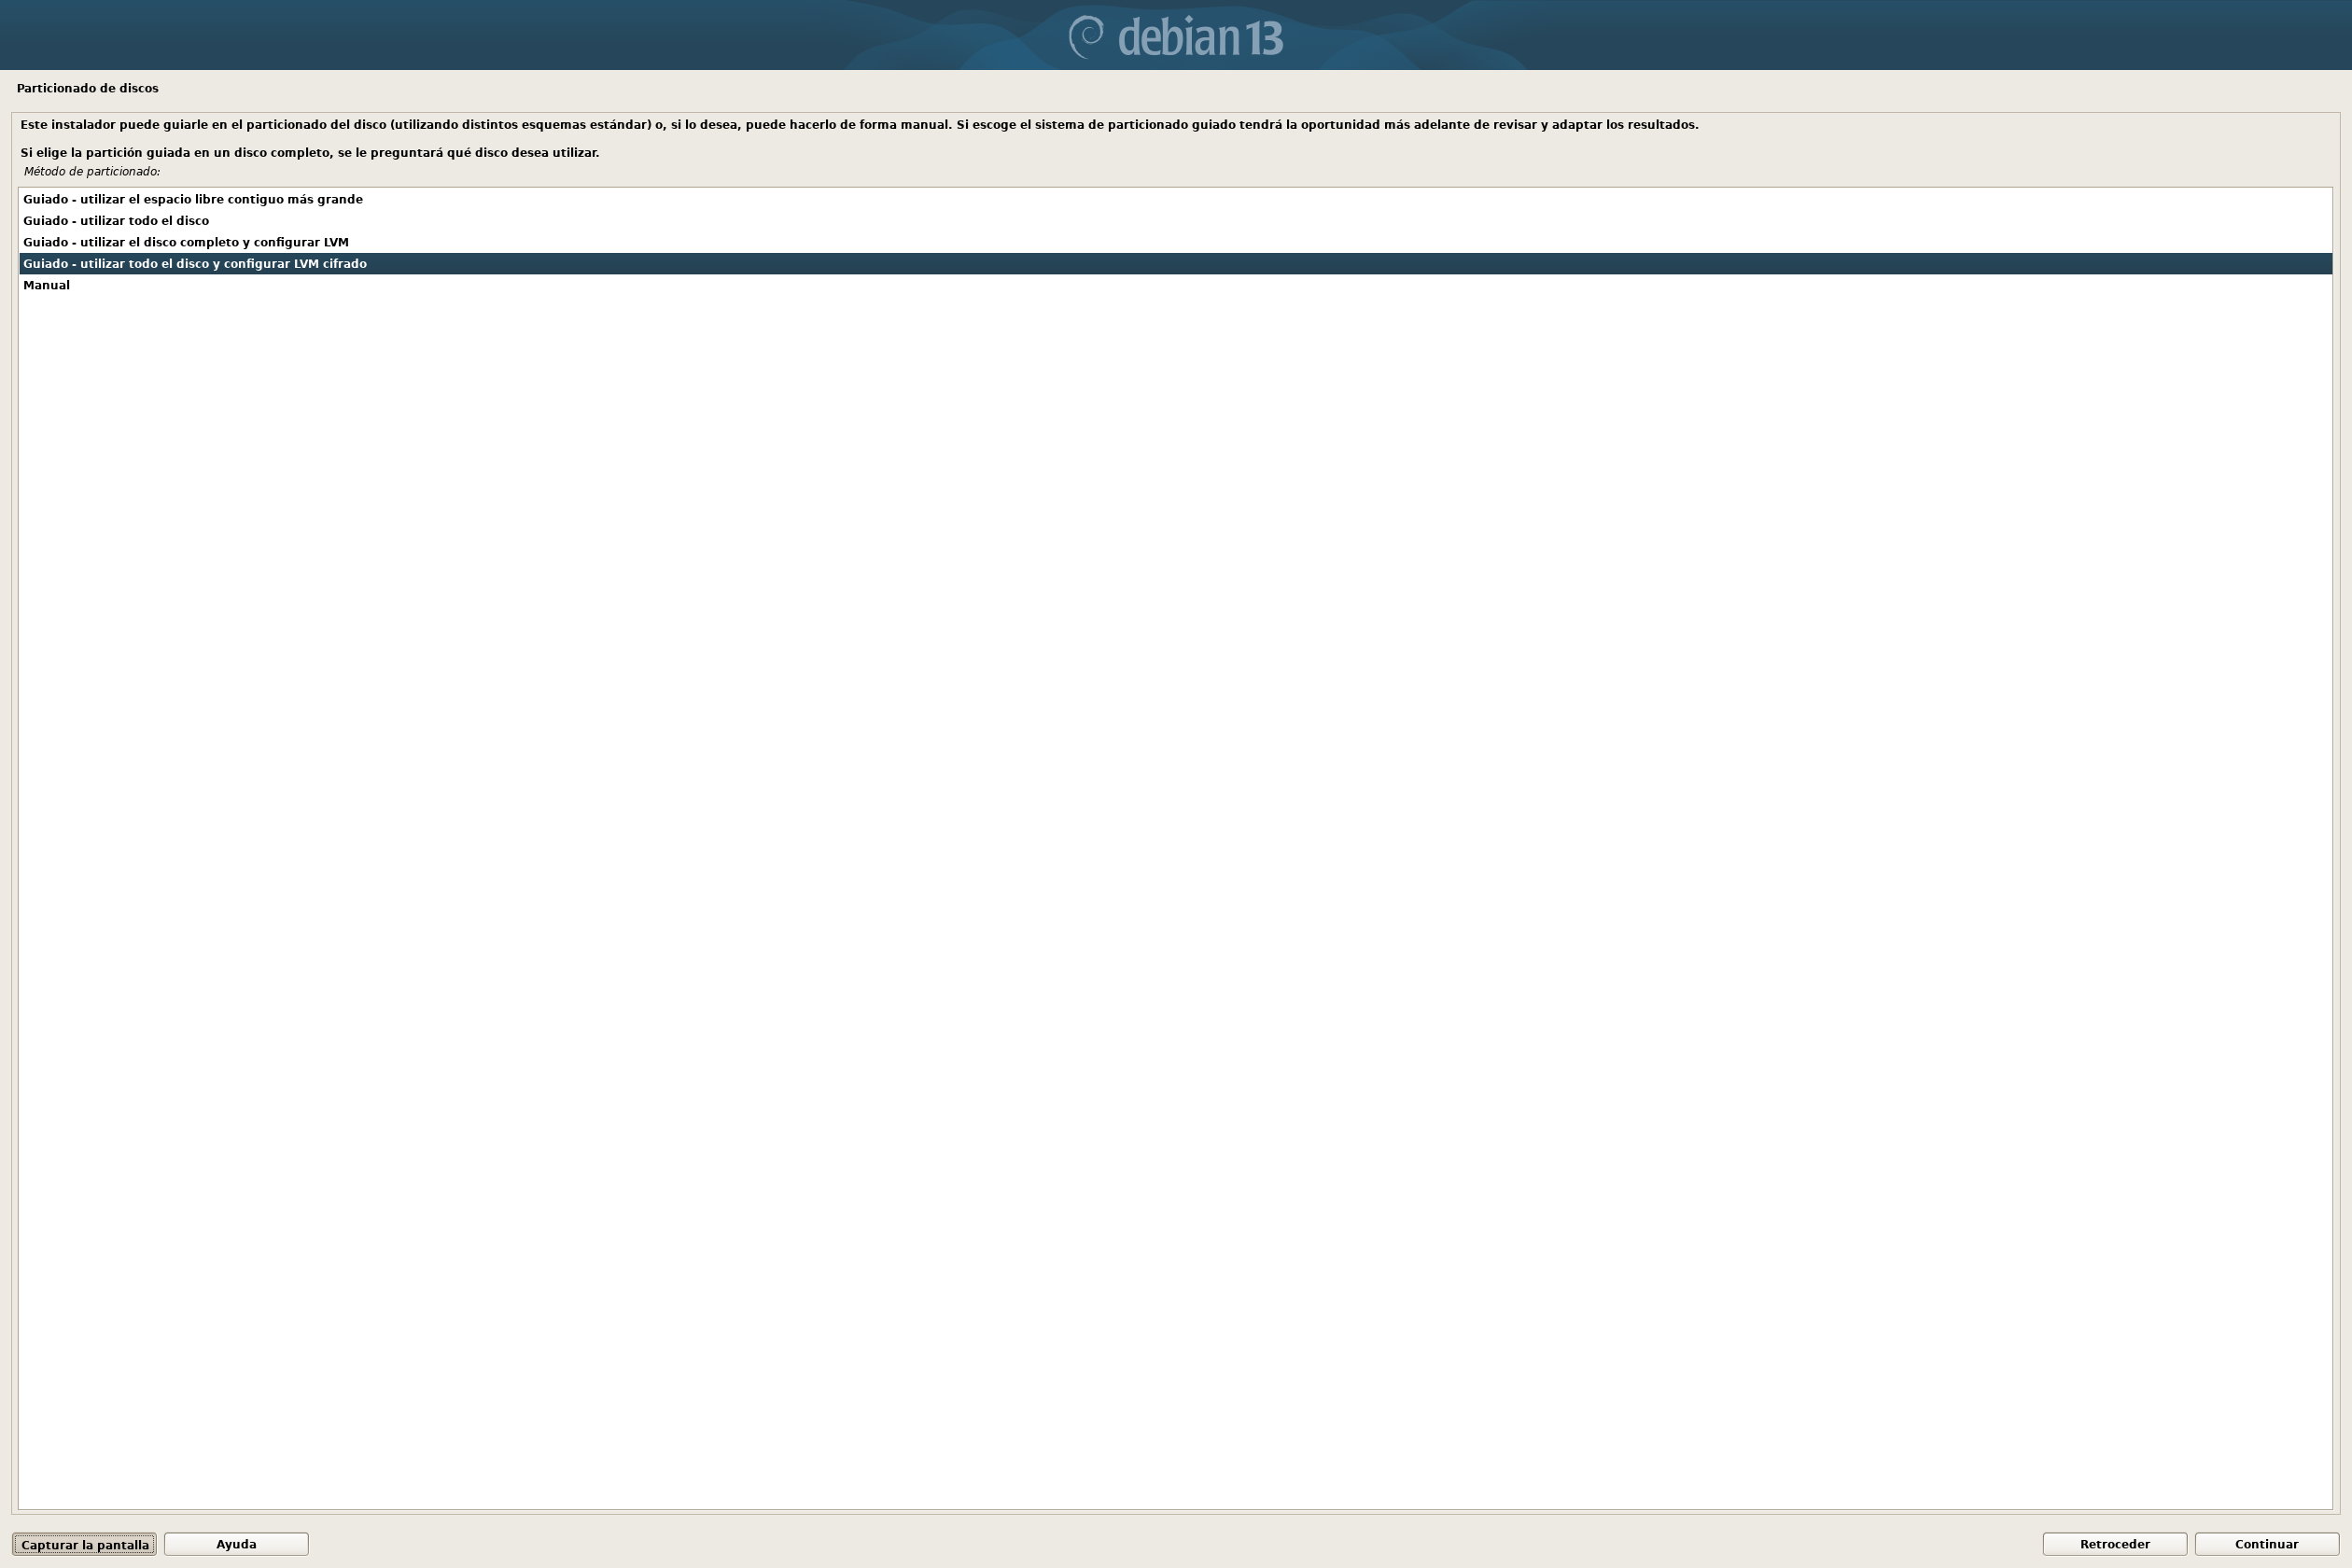
Arrancamos en modo gráfico, seguimos los pasos de configuración básica, ciframos el disco con el asistente e instalamos las utilidades estandar, el servidor SSH y la base del entorno gráfico:
| Ciphered disk | Software installation |
|---|---|
|

|
Instalación de software adicional:
Instalamos todo lo necesario, además de algunas herramientas que considero útiles:
apt install picom flameshot nextcloud-desktop net-tools tcpdump wireshark watch xautomation vim alsa-tools pcmanfm apt-transport-https ca-certificates curl mumble network-manager-gnome rofi xbindkeys brightnessctl acpi pulseaudio-utils awesome awesome-extra bat alacritty ssh-askpass blueman mpv evince okular gimp krita xournal inkscape kde-full maliit-keyboard pssh rdesktop screen ruby lshw inxi fastfetch tree rfkill gthumb syslog-ng cmake libcurl4-openssl-dev libavahi-compat-libdnssd-dev libxtst-dev qtbase5-dev qtbase5-dev-tools qt5-qmake qttools5-dev qttools5-dev-tools power-profiles-daemon filezilla eog yt-dlp fping nmap gobuster wifite hcxdumptool hcxtools macchanger bully hashcat john cowpatty lm-sensors python3.13-venv libgtk-3-dev libglib2.0-dev libgstreamer1.0-dev libgstreamer-plugins-base1.0-dev libjpeg-dev libtiff-dev libpng-dev libsm-dev libnotify-dev freeglut3-dev pkg-config build-essential python3-dev python3-venv python3-pip python3-wheel xss-lock slock btop khal vdirsyncer xdotool evtest wmctrl libinput-tools iio-sensor-proxy plocate deskflow speedtest-cli uuid-runtime pavucontrol libasound2-plugins htop xinput libnotify-bin
Ajustes del sistema:
Syslog:
Syslog nos spamea con estadísticas del propio sistema de logs:
tail -f /var/log/syslog
Aug 22 21:35:12 MiniBeast syslog-ng[209099]: Log statistics; processed='destination(d_mail)=0', processed='destination(d_cron)=13', processed='destination(d_uucp)=0', processed='destination(d_error)=4', processed='global(payload_reallocs)=3770', processed='center(received)=1653', dropped='global(internal_source)=0', processed='global(internal_source)=16', queued='global(internal_source)=0', processed='destination(d_daemon)=599', processed='destination(d_messages)=937', processed='destination(d_newserr)=0', processed='destination(d_debug)=31', processed='destination(d_newscrit)=0', processed='center(queued)=4205', processed='destination(d_console)=0', processed='destination(d_kern)=884', processed='destination(d_user)=5', processed='source(s_src)=1653', stamp='src.journald(s_src#0,journal)=1755862498', processed='src.journald(s_src#0,journal)=1637', queued='global(scratch_buffers_bytes)=0', processed='src.internal(s_src#1)=16', processed='destination(d_syslog)=1551', processed='global(msg_clones)=6', stamp='src.internal(s_src#1)=1755862511', processed='global(sdata_updates)=0', processed='destination(d_lpr)=0', processed='destination(d_xconsole)=56', processed='destination(d_console_all)=56', queued='global(scratch_buffers_count)=2', processed='destination(d_newsnotice)=0', processed='destination(d_auth)=69'
Deshabilitamos las estadísticas:
echo "options { stats(freq(0)); };  # Disable statistics" > /etc/syslog-ng/conf.d/disable_stats.conf
/etc/init.d/syslog-ng restart
Podemos comprobar que sigan llegando logs con:
tail -f /var/log/syslog
crontab -l
KWallet:
KWallet resulta muy molesto preguntando por guardar claves que nadie le ha pedido que guarde, lo deshabilitamos.
Panel de control KDE -> Cartera de KDE: Activar el subsistema de carteras de KDE.
Sudoers:
Permitimos que nuestro usuario pueda ejecutar cualquier comando con sudo:
echo "kr0m ALL=(ALL) NOPASSWD: ALL" > /etc/sudoers.d/kr0m
Vim:
Retocamos un poco la configuración de Vim.
echo "set clipboard=unnamedplus" > ~/.vimrc
echo "syntax enable" >> ~/.vimrc
Bash:
Definimos algunos alias, deshabilitamos el nuevo sistema de pegado en consola, configuramos el lenguaje de consola para que los mensajes aparezcan en inglés y retocamos el prompt.
vi ~/.bashrc
# kr0m config:
alias cat='batcat -p --paging=never'
alias su='su -l'
alias chirp='~/chirp/bin/python ~/chirp/bin/chirp'

if [[ $- == *i* ]]; then
	bind 'set enable-bracketed-paste off'
fi

export LANG=en_US.UTF-8
export PS1="\[\033[1;96m\]\h\[\033[1;93m\] $ \[\033[1;92m\]\w> \[\033[0m\]"

PATH=$PATH:$HOME/.scripts:$HOME/.local/bin
Realizamos una configuración similar para root:
echo "set clipboard=unnamedplus" > ~/.vimrc
echo "syntax enable" >> ~/.vimrc
vi ~/.bashrc
alias cat='batcat -p --paging=never'

if [[ $- == *i* ]]; then
	bind 'set enable-bracketed-paste off'
fi

export LANG=en_US.UTF-8
export PS1="\[\033[1;91m\]\h\[\033[1;93m\] # \[\033[1;92m\]\w> \[\033[0m\]"
Configuración del touchpad:
Configuramos las X para tener click, botón derecho y botón de en medio con tap de 1/2/3 dedos:
vi /etc/X11/xorg.conf.d/90-touchpad.conf
Section "InputClass"
    Identifier "libinput touchpad"
    MatchIsTouchpad "on"
    Driver "libinput"
    Option "Tapping" "on"
    Option "ClickMethod" "buttonareas"
    Option "TappingDrag" "on"
    Option "DisableWhileTyping" "on"
EndSection
Para evitar que se puedan saltar el protector de pantalla, deshabilitamos el poder cambiar a una VT o matar las X con Ctrl+Alt+Backspace:
vi /etc/X11/xorg.conf.d/91-screensaver.conf
Section "ServerFlags"
        Option "DontVTSwitch" "True"
        Option "DontZap"      "True"
EndSection
Para poder emplear gestos avanzados necesitaremos libinput-gestures, lo instalamos como root:
git clone https://github.com/bulletmark/libinput-gestures.git
cd libinput-gestures
make install
Añadimos nuestro usuario al grupo input:
gpasswd -a kr0m input
El resto de la configuración la realizaremos con nuestro usuario regular, localizamos el dispositivo asociado al touchpad:
libinput list-devices
Device:                  XXXX0000:04 36B6:C001 Touchpad
Kernel:                  /dev/input/event10
Id:                      i2c:36b6:c001
Group:                   6
Seat:                    seat0, default
Size:                    129x85mm
Capabilities:            pointer gesture
Tap-to-click:            disabled
Tap-and-drag:            enabled
Tap button map:          left/right/middle
Tap drag lock:           disabled
Left-handed:             disabled
Nat.scrolling:           disabled
Middle emulation:        disabled
Calibration:             n/a
Scroll methods:          *two-finger edge
Scroll button:           n/a
Scroll button lock:      n/a
Click methods:           *button-areas clickfinger
Clickfinger button map:  left/right/middle
Disable-w-typing:        enabled
Disable-w-trackpointing: enabled
Accel profiles:          flat *adaptive custom
Rotation:                n/a
Area rectangle:          n/a
Comprobamos que los swipes sean detectados:
libinput debug-events --device /dev/input/event10
Podemos encontrar el fichero de ejemplo en la siguiente ruta: /etc/libinput-gestures.conf.
En mi caso me interesa asociar los siguientes movimientos a ciertas acciones:
-
3 dedos arriba:
Home -
3 dedos abajo:
F5 -
3 dedos derecha:
Alt+Right -
3 dedos izquierda:
Alt+Left -
4 dedos arriba:
Super+m -
4 dedos abajo:
Super+Shift+c -
4 dedos derecha:
Next workspace -
4 dedos izquierda:
Previous workspace
mkdir -p ~/.config
vi ~/.config/libinput-gestures.conf
# Web browsing:
# 3-finger swipe up → Home
gesture swipe up    3 xdotool key Home

# 3-finger swipe down → Reload
gesture swipe down    3 xdotool key F5

# 3-finger swipe right → Next
gesture swipe right    3 xdotool key alt+Right

# 3-finger swipe left → Previous
gesture swipe left    3 xdotool key alt+Left


# AwesomeWM:
# 4-finger swipe up → Super+m
gesture swipe up    4 xdotool key Super+m

# 4-finger swipe down → Super+Shift+c
gesture swipe down  4 xdotool key Super+Shift+c

# 4-finger swipe right → switch to next workspace
gesture swipe right 4 xdotool set_desktop --relative 1

# 4-finger swipe left → switch to previous workspace
gesture swipe left  4 xdotool set_desktop --relative -- -1
Arrancamos el servicio:
libinput-gestures-setup start
Si hacemos cambios en el fichero de configuración podemos recargar los cambios con un restart:
libinput-gestures-setup restart
Retoques adicionales del sistema:
Tamaño del cursor y DPI:
vi ~/.Xresources
Xcursor.size: 28
Xft.dpi: 140
Teclas mayor y menor que:
Este portátil no tiene las teclas </>, por lo que tendremos que mapearla a la tecla con un cuadrito con tres líneas horizontales en su interior.
vi ~/.Xmodmap
! Menu key mapping (keycode 135)
keycode 135 = less greater less greater
Tema iconos:
git clone https://github.com/bikass/kora.git
cp -r kora/kora ~/.local/share/icons/
cp -r kora/kora-light ~/.local/share/icons/
cp -r kora/kora-light-panel ~/.local/share/icons/
cp -r kora/kora-pgrey ~/.local/share/icons/
rm -rf kora
Fuentes AwesomeWM:
wget https://pavelmakhov.com/awesome-wm-widgets/assets/fonts/awesomewm-font.ttf
gnome-font-viewer awesomewm-font.ttf
# Botón "Install"(Se quedará ahí, pero la habrá instalado)
Nerd Font:
Nos bajamos la fuente de
su repositorio de GitHub.
FONT_DIR="$HOME/.local/share/fonts"
REPO="ryanoasis/nerd-fonts"
FONT="JetBrainsMono"

mkdir -p "$FONT_DIR"
cd "$FONT_DIR"

LATEST=$(curl -s https://api.github.com/repos/$REPO/releases/latest | grep '"tag_name":' | sed -E 's/.*"([^"]+)".*/\1/')
URL="https://github.com/$REPO/releases/download/$LATEST/$FONT.zip"
wget -q --show-progress "$URL" -O "$FONT.zip"
unzip -o "$FONT.zip"
rm "$FONT.zip"

fc-cache -fv
Avatar:
Nos bajamos la imagen del avatar y la configuramos.
wget https://alfaexploit.com/images/freebook/avatar.jpg

XDG_CURRENT_DESKTOP=GNOME gnome-control-center
System -> Users

rm avatar.jpg
Software externo:
Chrome:
curl -fSsL https://dl.google.com/linux/linux_signing_key.pub | gpg --dearmor | tee /usr/share/keyrings/google-chrome.gpg >> /dev/null
echo deb [arch=amd64 signed-by=/usr/share/keyrings/google-chrome.gpg] http://dl.google.com/linux/chrome/deb/ stable main | tee /etc/apt/sources.list.d/google-chrome.list
apt update
apt install google-chrome-stable
VS-Code:
curl https://packages.microsoft.com/keys/microsoft.asc | gpg --dearmor > microsoft.gpg
install -o root -g root -m 644 microsoft.gpg /etc/apt/keyrings/microsoft-archive-keyring.gpg
sh -c 'echo "deb [arch=amd64,arm64,armhf signed-by=/etc/apt/keyrings/microsoft-archive-keyring.gpg] https://packages.microsoft.com/repos/code stable main" > /etc/apt/sources.list.d/vscode.list'
apt-get update
apt-get install code
Telegram:
Descargamos el comprimido de
su web.
Lo descomprimimos e instalamos como usuario regular:
wget https://telegram.org/dl/desktop/linux
mv linux tsetup.tar.xz
tar -xf tsetup.tar.xz
cd Telegram/
mkdir -p ~/.local/bin
mv Telegram ~/.local/bin
mv Updater ~/.local/bin
cd
rm -rf Telegram tsetup.tar.xz
CHIRP:
Creamos un venv de Python donde instalamos las dependencias y el propio software:
python3 -m venv chirp
cd chirp
source bin/activate

pip install wxPython

wget https://archive.chirpmyradio.com/chirp_next/next-20250905/chirp-20250905-py3-none-any.whl
pip install chirp-20250905-py3-none-any.whl
GameboyCamera:
Bajamos el .deb y lo instalamos:
wget https://github.com/lesserkuma/FlashGBX/releases/download/4.4/FlashGBX_4.4_Ubuntu-all.deb
dpkg -i FlashGBX_4.4_Ubuntu-all.deb
apt --fix-broken install
usermod -aG dialout kr0m
newgrp dialout
Conectar con el microcontrolador de la placa visible y el cartucho de la GBC con el número de serie arriba.
NO todos los cables funcionan, utilizar el de la bolsita que sabemos que funciona al 100%.

flashgbx
Connect
Options -> Tools -> Game Boy Camera Album Viewer
Steam:
La verdad es que no tengo claro si vale la pena instalar Steam en un sistema tan limitado, pero bueno, a algún juego básico podremos jugar:
dpkg --add-architecture i386
apt update
Añadimos contrib, non-free:
vi /etc/apt/sources.list
deb http://deb.debian.org/debian/ trixie main contrib non-free non-free-firmware
deb-src http://deb.debian.org/debian/ trixie main contrib non-free non-free-firmware

deb http://security.debian.org/debian-security trixie-security main contrib non-free non-free-firmware
deb-src http://security.debian.org/debian-security trixie-security main contrib non-free non-free-firmware

deb http://deb.debian.org/debian/ trixie-updates main contrib non-free non-free-firmware
deb-src http://deb.debian.org/debian/ trixie-updates main contrib non-free non-free-firmware
apt update
apt install steam-installer
KVMs:
El acceso a KVMs suele ser conflictivo, la mejor manera es bajarnos como usuario regular javaws desde la
web oficial.
wget https://javadl.oracle.com/webapps/download/AutoDL?BundleId=252312_68ce765258164726922591683c51982c#xd_co_f=NjY1ZjExZWUtNDY2NC00ZGZlLTg2YmUtZGUyOTBkZWU1Nzgy~
mv AutoDL\?BundleId\=252312_68ce765258164726922591683c51982c jre-8u461-linux-x64.tar.gz
tar xvzf jre-8u461-linux-x64.tar.gz
rm jre-8u461-linux-x64.tar.gz
Luego ya podremos ejecutar los jnlp de la siguiente manera:
cd ~/jre1.8.0_461/bin
./javaws ~/XXXXXXX.jnlp
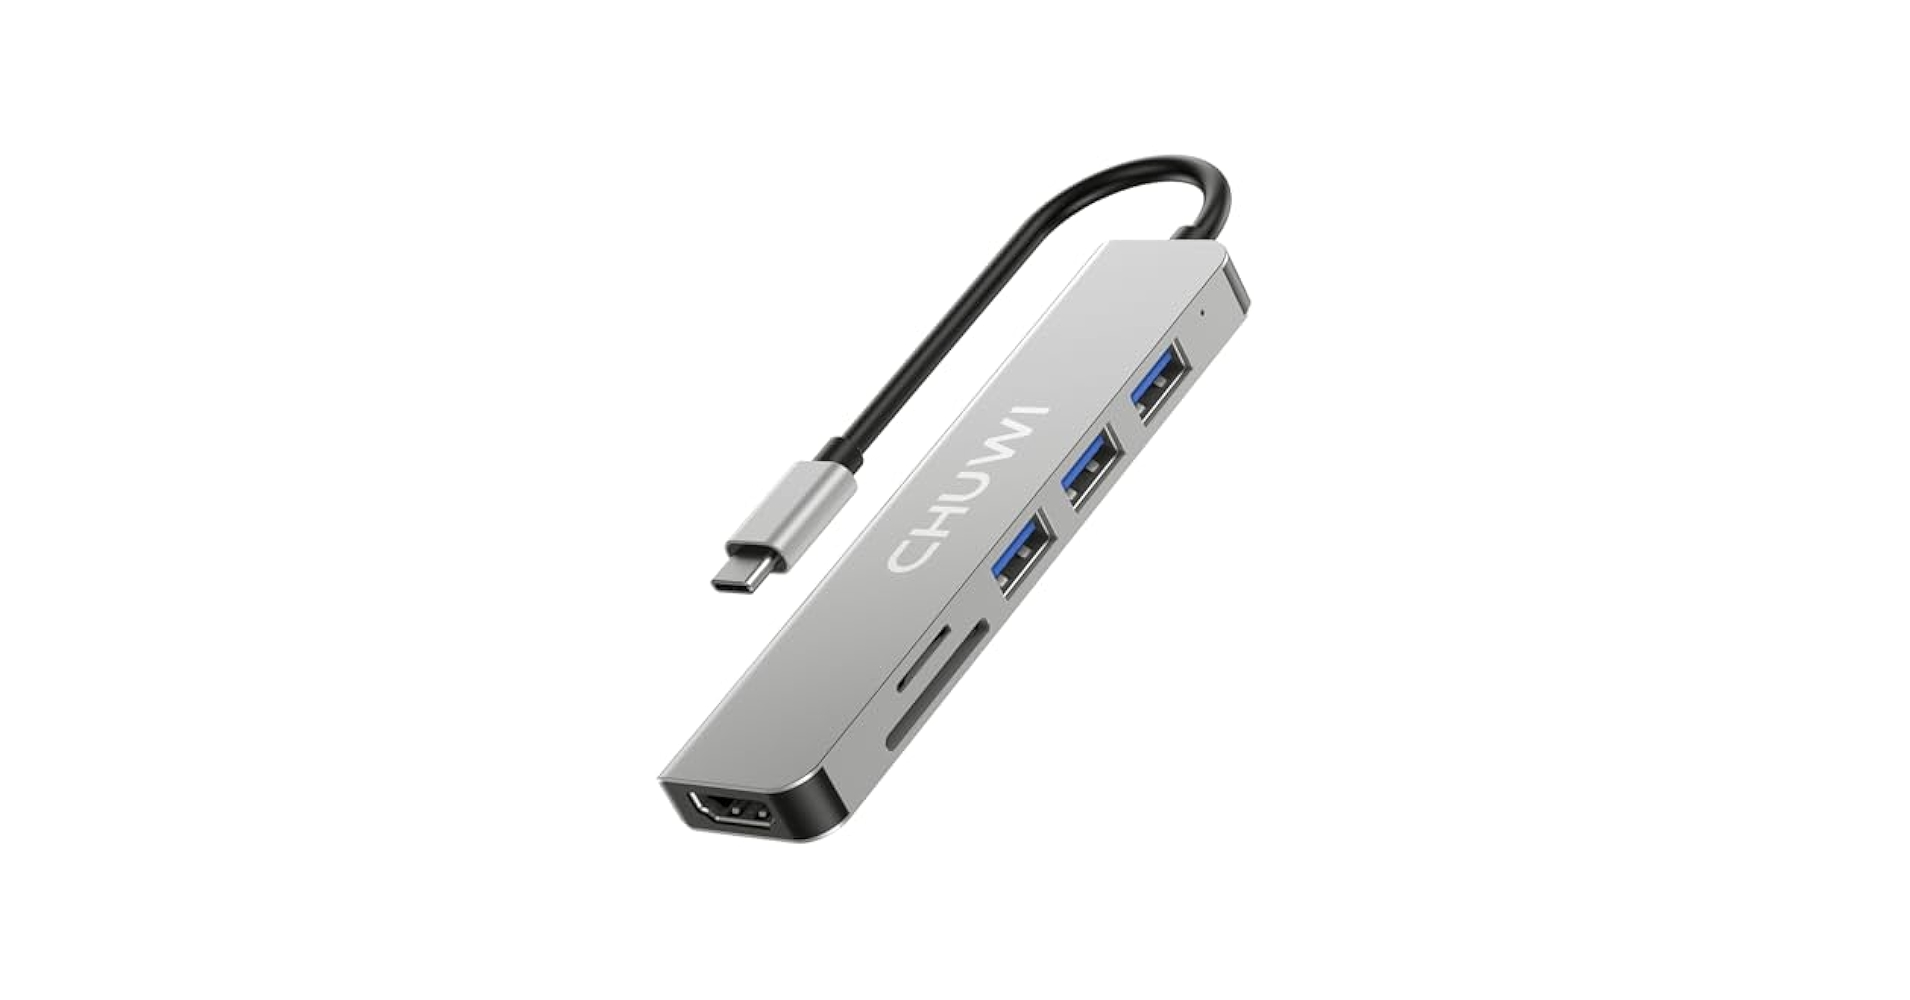
Control de pantallas:
Para el uso de pantallas externas por HDMI tendremos que adquirir el
USB-HUB.
A continuación dejo los scripts necesarios para administrar tanto la salida de video como la de audio.
Salida TV:
vi ~/.scripts/TV.sh
#!/usr/bin/env bash

EXT_MONITOR=$(xrandr --query | grep " connected" | grep -v "eDP-1" | awk '{print $1}')
if [ -n "$EXT_MONITOR" ]; then
    #xrandr --output "$EXT_MONITOR" --auto
    #xrandr --output eDP-1 --off
    xrandr --output "$EXT_MONITOR" --auto --right-of eDP-1

    pactl set-card-profile 48 output:hdmi-stereo
    pactl set-default-sink alsa_output.pci-0000_00_1f.3.hdmi-stereo
else
    echo "No external monitor detected"
fi
chmod 700 ~/.scripts/TV.sh
Salida PC:
vi ~/.scripts/PC.sh
#!/usr/bin/env bash

EXT_MONITOR=$(xrandr --query | grep " connected" | grep -v "eDP-1" | awk '{print $1}')
if [ -n "$EXT_MONITOR" ]; then
    xrandr --output "$EXT_MONITOR" --off
fi

xrandr --output eDP-1 --auto
pactl set-card-profile 48 output:analog-stereo+input:analog-stereo
chmod 700 ~/.scripts/PC.sh
Deshabilitar pantalla táctil:
vi ~/.scripts/disableTouchscreen.sh
#!/usr/bin/env bash

ids=$(xinput list | grep "GXTP7386:00 27C6:0118" | grep -o 'id=[0-9]\+' | cut -d= -f2)
for id in $ids; do
    xinput disable "$id" 2>/dev/null
done
chmod 700 ~/.scripts/disableTouchscreen.sh
Habilitar pantalla táctil:
vi ~/.scripts/enableTouchscreen.sh
#!/usr/bin/env bash

ids=$(xinput list | grep "GXTP7386:00 27C6:0118" | grep -o 'id=[0-9]\+' | cut -d= -f2)
for id in $ids; do
    xinput enable "$id" 2>/dev/null
done
chmod 700 ~/.scripts/enableTouchscreen.sh
Salvapantallas:
vi ~/.scripts/screenLocker.sh
#!/usr/bin/env bash
slock &
systemctl suspend
chmod 700 ~/.scripts/screenLocker.sh
Botones función:
Configuramos los típicos botones multimedia, los botones backward/forward para habilitar/deshabilitar las salida HDMI y las combinaciones de teclas de cerrar y maximizar ventana por si utilizamos ratón desde Deskflow o le conectamos un ratón con botones laterales directamente al equipo.
vi ~/.xbindkeysrc
# ===== VOLUME (ALSA) =====
"amixer sset Master 5%+"
    XF86AudioRaiseVolume
"amixer sset Master 5%-"
    XF86AudioLowerVolume
"amixer sset Master toggle"
    XF86AudioMute

# ===== BRIGHTNESS =====
"brightnessctl set 5%+"
    XF86MonBrightnessUp
"brightnessctl set 5%-"
    XF86MonBrightnessDown

# ===== MEDIA KEYS =====
"bash -c '$HOME/.scripts/TV.sh'"
    XF86AudioNext
"bash -c '$HOME/.scripts/PC.sh'"
    XF86AudioPrev

# ===== SIDE MOUSE BUTTONS: DESKFLOW CASE =====
"xte 'keydown Shift_R' 'keydown Super_R' 'key c' 'keyup Shift_R' 'keyup Super_R'"
b:8
"xte 'keydown Super_R' 'key m' 'keyup Super_R'"
b:9
Aplicaciones gráficas arranque AwesomeWM:
La mejor manera de arrancar programas en AwesomeWM es invocando un único script encargado de arrancar todo lo necesario:
vi ~/.scripts/x-init.sh
#!/usr/bin/env bash

picom -b --backend glx

xbindkeys
xmodmap ~/.Xmodmap
libinput-gestures-setup start

# KDE overwrites it, so reconfigure it in each AwesomeWM start
sed -i 's/^gtk-icon-theme-name=.*/gtk-icon-theme-name=kora/' ~/.config/gtk-3.0/settings.ini
sed -i 's/^gtk-icon-theme-name=.*/gtk-icon-theme-name=kora/' ~/.config/gtk-4.0/settings.ini
sed -i 's/^gtk-icon-theme-name=.*/gtk-icon-theme-name="kora"/' ~/.gtkrc-2.0

nm-applet &
flameshot &
nextcloud &

# Start deskflow:
deskflow &
# Close it to send Deskflow to trayicon automatically
for i in {1..20}; do
  WINID=$(wmctrl -l | awk 'BEGIN{IGNORECASE=1} /Deskflow/ {print $1; exit}')
  if [ -n "$WINID" ]; then
    wmctrl -i -c "$WINID"
  fi
  sleep 0.1
done

# ScreenSaver:
xset s 600 0                              # Activate after 60s inactivity, second argument: if screensaver supports animations, time for looping animation. Slock doents support it -> 0.
xset +dpms                                # Activate power management.
xss-lock ~/.scripts/screenLocker.sh &     # Lock screen and suspend system to RAM.

~/.scripts/disableTouchscreen.sh
~/.scripts/powerManager.sh balanced

if [ -z "$SSH_AUTH_SOCK" ]; then
    eval $(ssh-agent -s)
fi

export DISPLAY=:0
export SSH_ASKPASS=ssh-askpass
ssh-add ~/.ssh/id_rsa < /dev/null

if [ ! -z "$(pgrep ssh-agent)" ]; then
        export SSH_AGENT_PID=$(pgrep ssh-agent)
        export SSH_AUTH_SOCK=/run/user/$UID/openssh_agent
fi

blueman-applet &
Configuración AwesomeWM:
Añadimos widgets de gestión de batería, monitorización de temperatura de la CPU y aviso de eventos del calendario.
mkdir ~/.config/awesome
cd ~/.config/awesome
git clone https://github.com/ARPABoy/kr0mWidgets.git
También añadimos varios widgets útiles cortesía de
streetturtle
:
cd ~/.config/awesome
git clone https://github.com/streetturtle/awesome-wm-widgets.git
Nos bajamos una configuración con los widgets habilitados, un atajo para reconfigurar los perfiles energéticos y el script de inicialización de aplicaciones gráficas configurado.
cd ~/.config/awesome/
wget https://alfaexploit.com/files/awesomeWMFiles.tar.gz
tar xvzf awesomeWMFiles.tar.gz
mv awesomeWMFiles/* ./
rm -rf awesomeWMFiles awesomeWMFiles.tar.gz
Para que el widget de aviso de eventos del calendario funcione debemos configurar khal tal como se indica
aquí
y obviamente tener un servidor de calendar funcionando(también explicado
aquí.
)
Control de carga y alertas:
Es recomendable que la carga de la batería se mantenga entre el 20-80% a fin de maximizar la vida útil de esta, pero nuestro portátil no soporta la limitación de carga por software.
Así que simplemente dejaremos crontabeado un script que nos avise al llegar tanto al umbral superior como inferior y apague el pc si la batería llega al 1%:
vi ~/.scripts/batteryAlerts.sh
#!/usr/bin/env bash

export DISPLAY=:0
export DBUS_SESSION_BUS_ADDRESS="unix:path=/run/user/$(id -u)/bus"
export XDG_RUNTIME_DIR="/run/user/$(id -u)"

LOW_THRESHOLD=20
HIGH_THRESHOLD=80
MAX_ALERTS=10
CRITICAL_THRESHOLD=1
STATE_FILE="/tmp/battery_alerts_state"
ALERT_SOUND="/usr/share/sounds/freedesktop/stereo/dialog-warning.oga"

# Initialize state file if it doesn't exist
if [ ! -f "$STATE_FILE" ]; then
    echo "LOW=0" > "$STATE_FILE"
    echo "HIGH=0" >> "$STATE_FILE"
fi

# Read counters
source "$STATE_FILE"

# Get current battery percentage and charging status
BATTERY=$(acpi -b | grep -P -o '[0-9]+(?=%)')
STATUS=$(acpi -b | awk '{print $3}' | tr -d ',')

# Critical battery shutdown (only if discharging)
if [ "$BATTERY" -le "$CRITICAL_THRESHOLD" ] && [[ "$STATUS" == "Discharging" ]]; then
    paplay "$ALERT_SOUND" &
    notify-send -u critical -t 60000 "Critical Battery" \
        "Battery at ${BATTERY}%. Shutting down in 60 seconds!"
    sleep 60
    sudo /usr/sbin/shutdown -h now
fi

# Low battery warning (only if discharging)
if [ "$BATTERY" -le "$LOW_THRESHOLD" ] && [[ "$STATUS" == "Discharging" ]]; then
    if [ "$LOW" -lt "$MAX_ALERTS" ]; then
        paplay "$ALERT_SOUND" &
        notify-send -u critical -t 20000 \
            "Low Battery Healthy Charge Threshold Reached" \
            "Battery at ${BATTERY}%.\nPlease connect the charger in order to maintain it between 20-80%."
        LOW=$((LOW + 1))
    fi
else
    LOW=0
fi

# High battery warning (only if charging)
if [ "$BATTERY" -ge "$HIGH_THRESHOLD" ] && [[ "$STATUS" == "Charging" ]]; then
    if [ "$HIGH" -lt "$MAX_ALERTS" ]; then
        paplay "$ALERT_SOUND" &
        notify-send -u critical -t 20000 \
            "High Battery Healthy Charge Threshold Reached" \
            "Battery at ${BATTERY}%.\nPlease disconnect the charger in order to maintain it between 20-80%."
        HIGH=$((HIGH + 1))
    fi
else
    HIGH=0
fi

# Save updated counters
echo "LOW=$LOW" > "$STATE_FILE"
echo "HIGH=$HIGH" >> "$STATE_FILE"
chmod 700 ~/.scripts/batteryAlerts.sh
crontab -e
*/1 * * * * ~/.scripts/batteryAlerts.sh
Gestión de energía:
Mediante este script podremos seleccionar el perfil energético deseado y el nivel de brillo de la pantalla:
vi ~/.scripts/powerManager.sh
#!/usr/bin/env bash

# Determine profile (parameter or menu)
if [ -n "$1" ]; then
    profile="$1"
else
    profile=$(powerprofilesctl list | grep -E "power-saver|balanced|performance" | cut -d ":" -f 1 | tr -d ' ' | rofi -dmenu -p "Select Power Profile")
fi

# Remove leading asterisk if present
profile="${profile#\*}"

# Apply selected profile
if [ -n "$profile" ]; then
    case "$profile" in
        "power-saver")
            powerprofilesctl set power-saver
            brightnessctl set 30%
            notify-send "🟢 Power-Saver Enabled" \
              "• Power Profile: Power-Saver\n• Brightness: 30%\n• Touchscreen: Disabled" \
              -i battery-caution
            ;;

        "balanced")
            powerprofilesctl set balanced
            brightnessctl set 50%
            notify-send "🟡 Balanced Mode" \
              "• Power Profile: Balanced\n• Brightness: 50%\n• Touchscreen: Disabled" \
              -i battery-balanced
            ;;

        "performance")
            powerprofilesctl set performance
            brightnessctl set 90%
            notify-send "🔴 Performance Mode" \
              "• Power Profile: Performance\n• Brightness: 90%\n• Touchscreen: Disabled" \
              -i battery-full
            ;;
        *)
            notify-send "⚠️ Invalid profile" "Valid options: power-saver, balanced, performance"
            echo "Selected profile: $profile"
            exit 1
            ;;
    esac
fi
chmod 700 ~/.scripts/powerManager.sh
Cuando conectamos el enchufe queremos que pase a performance mode y cuando lo desenchufamos a powersave mode de forma automática.
NOTA: udev no permite rutas con $HOME o ~/, si hay mas de un usuario habría que mover el script a un lugar común.
vi /etc/udev/rules.d/99-power-profiles.rules
SUBSYSTEM=="power_supply", ATTR{type}=="Mains", ATTR{online}=="1", RUN+="/home/kr0m/.scripts/powerManager.sh performance"
SUBSYSTEM=="power_supply", ATTR{type}=="Mains", ATTR{online}=="0", RUN+="/home/kr0m/.scripts/powerManager.sh power-saver"
Cargamos la configuración:
udevadm control --reload
udevadm trigger
Tablet mode:
En modo Tablet la única opción decente es KDE-Wayland pero con el teclado virtual Maliit:
Panel de control KDE -> Entrada y salida -> Teclado: Teclado virtual: Maliit
Cuando entremos en modo Tablet la mejor opción es dejar el teclado virtual Maliit configurado y deshabilitar el touchpad/teclado.
Para deshabilitar el touchpad, primero debemos localizar su i2c-ID:
grep -E '^(N|P):' /proc/bus/input/devices
Ahora ya podemos gestionarlo desde sys:
echo "i2c-XXXX0000:04" | tee /sys/bus/i2c/drivers/i2c_hid_acpi/unbind
echo "i2c-XXXX0000:04" | tee /sys/bus/i2c/drivers/i2c_hid_acpi/bind
En cuanto al teclado podemos identificarlo mediante:
udevadm info /dev/input/event0
Deshabilitarlo en Wayland en principio es imposible, pero si que podemos mantenerlo ocupado para que no responda:
evtest --grab /dev/input/event0
Creamos el siguiente script que gestionará el modo tablet:
vi ~/.scripts/screenRotator.sh
#!/usr/bin/env bash

SCREEN=$(xrandr | grep " connected" | awk '{print $1}')
STATE_FILE="/tmp/screen_rotation_state"
TOUCHPAD_DEV="i2c-XXXX0000:04"
KEYBOARD_EVENT="/dev/input/event0"

# Read current rotation state
if [ -f "$STATE_FILE" ]; then
    ROT=$(cat "$STATE_FILE")
else
    ROT="normal"
fi

# Function to manage touchpad state
toggle_touchpad() {
    local enable=$1

    if [[ "$enable" == "0" ]]; then
        echo "$TOUCHPAD_DEV" | sudo tee /sys/bus/i2c/drivers/i2c_hid_acpi/unbind >/dev/null
        notify-send -t 3000 "Touchpad disabled" -i input-touchpad
    else
        echo "$TOUCHPAD_DEV" | sudo tee /sys/bus/i2c/drivers/i2c_hid_acpi/bind >/dev/null
        notify-send -t 3000 "Touchpad enabled" -i input-touchpad
    fi
}

# Function to manage keyboard state
toggle_keyboard() {
    local enable=$1

    if [[ "$enable" == "0" ]]; then
        evtest --grab "$KEYBOARD_EVENT" &>/dev/null &
        echo $! > "/tmp/evtest_keyboard_pid"
        notify-send -t 3000 "Keyboard disabled" -i input-keyboard
    else
        killall -9 evtest 2>/dev/null
        notify-send -t 3000 "Keyboard enabled" -i input-keyboard
    fi
}

# Main rotation logic
if [ "$ROT" = "normal" ]; then
    # Rotate to left orientation (tablet mode)
    kscreen-doctor output.$SCREEN.rotation.left &>/dev/null
    echo "left" > "$STATE_FILE"

    # Disable touchpad and keyboard
    toggle_touchpad 0
    toggle_keyboard 0
else
    # Rotate back to normal orientation (laptop mode)
    kscreen-doctor output.$SCREEN.rotation.normal &>/dev/null
    echo "normal" > "$STATE_FILE"

    # Enable touchpad and keyboard
    toggle_touchpad 1
    toggle_keyboard 1
fi

# Final status notification
notify-send -t 3000 "Display rotation: $(cat "$STATE_FILE")" -i video-display
Le asignamos permisos:
chmod 700 ~/.scripts/screenRotator.sh
Para que KDE no dé problemas con el script, debemos deshabilitar la orientación automática:
Panel de control KDE -> Entrada y salida -> Pantalla y monitor -> Configuración de la pantalla -> Orientación: Manual
Para que resulte mas cómodo crearemos el siguiente .desktop que dejaré en la barra de KDE para un rápido acceso:
vi ~/.scripts/screenRotator.desktop
[Desktop Entry]
Comment[es_ES]=
Comment=
Exec=/home/kr0m/.scripts/screenRotator.sh
GenericName[es_ES]=
GenericName=
Icon=vokoscreen
MimeType=
Name[es_ES]=ScreenRotator
Name=ScreenRotator
Path=
StartupNotify=true
Terminal=false
TerminalOptions=
Type=Application
X-KDE-SubstituteUID=false
X-KDE-Username=
El modo Tablet presenta un problema y es que cuando ponemos un video a pantalla completa, se queda en modo vertical, cuando lo ideal es verlo en modo horizontal.
Para solventarlo generamos el siguiente script:
vi ~/.scripts/screenRotatorOnlyScreen.sh
#!/usr/bin/env bash

SCREEN=$(xrandr | grep " connected" | awk '{print $1}')
STATE_FILE="/tmp/screen_rotation_state"

# Read current rotation state
if [ -f "$STATE_FILE" ]; then
    ROT=$(cat "$STATE_FILE")
else
    ROT="normal"
fi

# Current state check:
if [ "$ROT" = "normal" ]; then
    # Rotate to left orientation
    kscreen-doctor output.$SCREEN.rotation.left &>/dev/null
    echo "left" > "$STATE_FILE"
else
    # Rotate to normal orientation
    kscreen-doctor output.$SCREEN.rotation.normal &>/dev/null
    echo "normal" > "$STATE_FILE"
fi
chmod 700 ~/.scripts/screenRotatorOnlyScreen.sh
Mediante
Touchegg
configuraremos que con el tap de 3 dedos cambie la orientación de la pantalla.
Instalamos el software como root:
wget https://github.com/JoseExposito/touchegg/releases/download/2.0.18/touchegg_2.0.18_amd64.deb
dpkg -i touchegg_2.0.18_amd64.deb
Y realizamos la configuración como usuario regular:
cat /usr/share/touchegg/touchegg.conf

mkdir -p ~/.config/touchegg
vi ~/.config/touchegg/touchegg.conf
<touchégg>

  <settings>
    <!--
      Delay, in milliseconds, since the gesture starts before the animation is displayed.
      Default: 150ms if this property is not set.
      Example: Use the MAXIMIZE_RESTORE_WINDOW action. You will notice that no animation is
      displayed if you complete the action quick enough. This property configures that time.
    -->
    <property name="animation_delay">150</property>

    <!--
      Percentage of the gesture to be completed to apply the action. Set to 0 to execute actions unconditionally.
      Default: 20% if this property is not set.
      Example: Use the MAXIMIZE_RESTORE_WINDOW action. You will notice that, even if the
      animation is displayed, the action is not executed if you did not move your fingers far
      enough. This property configures the percentage of the gesture that must be reached to
      execute the action.
    -->
    <property name="action_execute_threshold">20</property>

    <!--
      Global animation colors can be configured to match your system colors using HEX notation:

        <color>909090</color>
        <borderColor>FFFFFF</borderColor>

      You can also use auto:

        <property name="color">auto</property>
        <property name="borderColor">auto</property>

      Notice that you can override an specific animation color.
    -->
    <property name="color">auto</property>
    <property name="borderColor">auto</property>
  </settings>

  <!--
    Configuration for every application.
  -->
  <application name="All">
    <gesture type="TAP" fingers="3">
      <action type="RUN_COMMAND">
        <repeat>false</repeat>
        <command>~/.scripts/screenRotatorOnlyScreen.sh</command>
        <on>begin</on>
      </action>
    </gesture>
  </application>

</touchégg>
Además cambiamos el tamaño por defecto del teclado virtual ya que resulta excesivamente grande para mi gusto:
vi /usr/share/maliit/keyboard2/devices/default.json
"keyboardHeightPortrait": 0.10,
"keyboardHeightLandscape": 0.19,
SSH-FS:
Este equipo viene con un disco de 512Gb lo que limitará bastante su capacidad de almacenamiento local, pero podemos utilizar SSH-FS para acceder de forma transparente al contenido alojado en un equipo remoto.
Como root permitimos que los usuarios regulares puedan gestionar sistemas de ficheros bajo FUSE:
vi /etc/fuse.conf
user_allow_other
Ahora como usuario regular ya podremos gestionar el montaje/desmontaje del directorio remoto:
vi ~/.scripts/paperstreetSSHfs.sh
#!/usr/bin/env bash

# Configuration
REMOTE_USER="kr0m"
REMOTE_HOST="192.168.69.4"
REMOTE_PATH="/mnt/6T/sdf"
MOUNT_POINT="/home/kr0m/PaperStreet-sshfs"

# Create mount directory if it does not exist
if [ ! -d "$MOUNT_POINT" ]; then
    mkdir -p "$MOUNT_POINT"
fi

# Check if already mounted
if mountpoint -q "$MOUNT_POINT"; then
    echo "Unmounting $MOUNT_POINT..."
    fusermount -u "$MOUNT_POINT"
    if [ $? -eq 0 ]; then
        notify-send "SSHFS" "Unmounted: $MOUNT_POINT"
    else
        notify-send "SSHFS" "Error: Failed to unmount $MOUNT_POINT"
        exit 1
    fi
else
    echo "Mounting via sshfs..."
    sshfs -o allow_other "${REMOTE_USER}@${REMOTE_HOST}:${REMOTE_PATH}" "$MOUNT_POINT"
    if [ $? -eq 0 ]; then
        notify-send "SSHFS" "Mounted at: $MOUNT_POINT"
        # Open Dolphin file manager in the mounted directory
        dolphin "$MOUNT_POINT" &
    else
        notify-send "SSHFS" "Error: Failed to mount $MOUNT_POINT"
        exit 1
    fi
fi
Asignamos permisos:
chmod 700 ~/.scripts/paperstreetSSHfs.sh
Para que resulte mas cómodo crearemos el siguiente .desktop que dejaré en la barra de KDE para un rápido acceso:
vi ~/.scripts/paperstreetSSHfs.desktop
[Desktop Entry]
Comment[es_ES]=
Comment=
Exec=/home/kr0m/.scripts/paperstreetSSHfs.sh
GenericName[es_ES]=
GenericName=
Icon=drive-multidisk
MimeType=
Name[es_ES]=PaperStreet-sshfs
Name=PaperStreet-sshfs
Path=
StartupNotify=true
Terminal=false
TerminalOptions=
Type=Application
X-KDE-SubstituteUID=false
X-KDE-Username=
Otros sistemas operativos:
Se intentó instalar FreeBSD pero el asistente de instalación no reconocía la tarjeta wifi, en cambio arrancando desde NomadBSD todo funciona sin problemas y el rendimiento es equiparable al de Linux incluso funcionando por USB-C.
Esto me lleva a pensar que si instalamos FreeBSD mediante el
adaptador ethernet
, podremos hacer funcionar la wifi instalando drivers adicionales.