As we all know, Android is Google’s OS for mobile devices, which is based on Linux in addition to many proprietary blobs necessary for certain hardware to work. Installing Linux natively is an option, but we would have to worry about all these drivers. The solution I propose is to use a chroot within Android and access Linux through VNC.
Initially, Gentoo was chosen, but the compilation time made the process impractical due to the poor disk access provided by the SD card as well as the lack of RAM in the system. Being honest, the performance of an ARM processor is not comparable to that of an X86, at least not today.
The hardware we have is an LG Optimus2X, which is a fairly old mobile phone with 512MB of RAM (shared), a Tegra2 microprocessor (CPU: CortexA9/GPU: 250 AP20H).
The steps to follow are:
Factory reset:
- Turn off the phone
- Remove the battery
- Connect the phone via USB to the PC
- Start the phone by pressing the power button and both volume buttons simultaneously
Check that the PC recognizes the phone:
Bus 001 Device 009: ID 0955:7f20 NVidia Corp.
Flash the phone using NVFlash:
unzip NVFlashWin-LinuxRecovery5.0.2.0.zip
cd NVFlashWin-LinuxRecovery5.0.2.0
su
./flash
Flasheando LG Optimus 2x...
Nvflash started
rcm version 0X20001
System Information:
 chip name: unknown
 chip id: 0x20 major: 1 minor: 3
 chip sku: 0xf
 chip uid: 0x042800c442c015d7
 macrovision: disabled
 hdcp: enabled
 sbk burned: false
 dk burned: false
 boot device: emmc
 operating mode: 3
 device config strap: 0
 device config fuse: 17
 sdram config strap: 0
sending file: Star.bct
- 4080/4080 bytes sent
Star.bct sent successfully
downloading bootloader -- load address: 0x108000 entry point: 0x108000
sending file: fastboot.bin
/ 1024992/1024992 bytes sent
fastboot.bin sent successfully
waiting for bootloader to initialize
bootloader downloaded successfully
setting device: 2 3
creating partition: BCT
creating partition: PT
creating partition: EBT
creating partition: MBR
creating partition: APP
creating partition: CAC
creating partition: MSC
creating partition: EB1
creating partition: LNX
creating partition: EB2
creating partition: DRM
creating partition: EB3
creating partition: SOS
creating partition: EB4
creating partition: UDA
creating partition: EB5
creating partition: UDB
sending file: fastboot.bin
/ 1024992/1024992 bytes sent
fastboot.bin sent successfully
sending file: ext3system.img
- 358400000/358400000 bytes sent
ext3system.img sent successfully
sending file: ext3flashboot.img
- 3424256/3424256 bytes sent
ext3flashboot.img sent successfully
sending file: recovery.img
/ 3641344/3641344 bytes sent
recovery.img sent successfully
It will stay the LG logo flashing, disconnect from the PC, insert the battery and start.
Rooting:
Enable USB debugging:
Settings -> Applications -> Development -> USB Debugging.
Root:
tar xvzf G2xRootMacLinux.tar.gz
cd G2xRootMacLinuxv0.5
./root.command
Checking for connected device...
Pushing temporary root exploint (psneuter) to device...
1279 KB/s (585731 bytes in 0.447s)
Running psneuter on device...
property service neutered.
killing adbd. (should restart in a second or two)
Waiting for device...
Remounting /system read/write...
remount succeeded
Pushing su to /system/bin/su...
470 KB/s (26324 bytes in 0.054s)
Pushing busybox to /system/bin/busybox...
1299 KB/s (1062992 bytes in 0.799s)
Installing Superuser.apk android application...
930 KB/s (196521 bytes in 0.206s)
Removing psneuter from device...

Rebooting device...

Once device has rebooted you should be rooted.
Press Enter when you're ready to quit:
SD Partitioning:
At this moment we will have the phone as it came from the factory.
The idea is to leave a partition to load new ROMs and a second one where we will have the chroot files:
Disco /dev/mmcblk0: 29,3 GiB, 31499223040 bytes, 61521920 sectores
Unidades: sectores de 1 * 512 = 512 bytes
Tipo de etiqueta de disco: dos
Identificador del disco: 0x4b6d53ea
Disposit.      Inicio Comienzo    Final Sectores Tamano Id Tipo
/dev/mmcblk0p1            2048 16779263 16777216     8G  c W95 FAT32 (LBA)
/dev/mmcblk0p2        16779264 61521919 44742656  21,3G 83 Linux
Format the partition in vfat and copy the Cyanogen ROM:
mount /dev/mmcblk0p1 /mnt/aux
cd /mnt/aux
wget http://download.cyanogenmod.com/get/jenkins/59356/cm-10.1-20140216-NIGHTLY-p990.zip
cd
umount /mnt/aux
Plug the SD into the phone and install the clockworkmod from the market:
NOTE: If we can’t configure the gmail account on the phone, Google may be blocking us, we check the mail for:
An attempt to sign in was prevented.
Access https://myaccount.google.com/security?hl=en&pli=1#connectedapps -> Allow less secure apps: YES
Now we can log in and install from the market.
Reflash with Cyanogen:
Start clockworkmod -> ROM Manager requires a custom recovery like clockworkmod.... -> Aceptar
Install or Update Recovery -> Clockworkmod Recovery -> LG Optimus 2X -> Flashear Clockworkmod Recovery
Apagamos el teléfono
Start with volumedown key pressed
From the ClockWorkMod menu:
wipe data/factory reset
wipe cache partition
Install zip from sd card -> choose zip from external sdcard -> cm-10.1-20140216-NIGHTLY-p990.zip
Go back -> reboot system now
NOTE: If we want to use Google tools, we will have to copy them to the SD:
Boot into recovery mode from clockworkmod
install zip from sdcard
Shell:
Enable ADB access:
Settings -> Developer options -> USB debugging
Settings -> Developer options -> Admin access -> Apps and ADB
We connect the phone via USB and install the Android SDK:
We check that we can see the phone:
Bus 001 Device 030: ID 1004:631c LG Electronics, Inc. Optimus Android Phone [MTP mode]
We add some UDEV rules to recognize the model correctly:
SUBSYSTEM=="usb", ATTR{idVendor}=="0502", MODE="0666", GROUP="plugdev"
SUBSYSTEM=="usb", ATTR{idVendor}=="0b05", MODE="0666", GROUP="plugdev"
SUBSYSTEM=="usb", ATTR{idVendor}=="413c", MODE="0666", GROUP="plugdev"
SUBSYSTEM=="usb", ATTR{idVendor}=="0489", MODE="0666", GROUP="plugdev"
SUBSYSTEM=="usb", ATTR{idVendor}=="04c5", MODE="0666", GROUP="plugdev"
SUBSYSTEM=="usb", ATTR{idVendor}=="091e", MODE="0666", GROUP="plugdev"
SUBSYSTEM=="usb", ATTR{idVendor}=="18d1", MODE="0666", GROUP="plugdev"
SUBSYSTEM=="usb", ATTR{idVendor}=="109b", MODE="0666", GROUP="plugdev"
SUBSYSTEM=="usb", ATTR{idVendor}=="0bb4", MODE="0666", GROUP="plugdev"
SUBSYSTEM=="usb", ATTR{idVendor}=="12d1", MODE="0666", GROUP="plugdev"
SUBSYSTEM=="usb", ATTR{idVendor}=="24e3", MODE="0666", GROUP="plugdev"
SUBSYSTEM=="usb", ATTR{idVendor}=="2116", MODE="0666", GROUP="plugdev"
SUBSYSTEM=="usb", ATTR{idVendor}=="0482", MODE="0666", GROUP="plugdev"
SUBSYSTEM=="usb", ATTR{idVendor}=="17ef", MODE="0666", GROUP="plugdev"
SUBSYSTEM=="usb", ATTR{idVendor}=="1004", MODE="0666", GROUP="plugdev"
SUBSYSTEM=="usb", ATTR{idVendor}=="22b8", MODE="0666", GROUP="plugdev"
SUBSYSTEM=="usb", ATTR{idVendor}=="0409", MODE="0666", GROUP="plugdev"
SUBSYSTEM=="usb", ATTR{idVendor}=="2080", MODE="0666", GROUP="plugdev"
SUBSYSTEM=="usb", ATTR{idVendor}=="0955", MODE="0666", GROUP="plugdev"
SUBSYSTEM=="usb", ATTR{idVendor}=="2257", MODE="0666", GROUP="plugdev"
SUBSYSTEM=="usb", ATTR{idVendor}=="10a9", MODE="0666", GROUP="plugdev"
SUBSYSTEM=="usb", ATTR{idVendor}=="1d4d", MODE="0666", GROUP="plugdev"
SUBSYSTEM=="usb", ATTR{idVendor}=="0471", MODE="0666", GROUP="plugdev"
SUBSYSTEM=="usb", ATTR{idVendor}=="04da", MODE="0666", GROUP="plugdev"
SUBSYSTEM=="usb", ATTR{idVendor}=="05c6", MODE="0666", GROUP="plugdev"
SUBSYSTEM=="usb", ATTR{idVendor}=="1f53", MODE="0666", GROUP="plugdev"
SUBSYSTEM=="usb", ATTR{idVendor}=="04e8", MODE="0666", GROUP="plugdev"
SUBSYSTEM=="usb", ATTR{idVendor}=="04dd", MODE="0666", GROUP="plugdev"
SUBSYSTEM=="usb", ATTR{idVendor}=="054c", MODE="0666", GROUP="plugdev"
SUBSYSTEM=="usb", ATTR{idVendor}=="0fce", MODE="0666", GROUP="plugdev"
SUBSYSTEM=="usb", ATTR{idVendor}=="2340", MODE="0666", GROUP="plugdev"
SUBSYSTEM=="usb", ATTR{idVendor}=="0930", MODE="0666", GROUP="plugdev"
SUBSYSTEM=="usb", ATTR{idVendor}=="19d2", MODE="0666", GROUP="plugdev"
SUBSYSTEM=="usb", ATTR{idVendor}=="1004", ATTR{idProduct}=="631c", MODE="0666", GROUP="plugdev"
We give the correct permissions to the file and restart Udev:
/etc/init.d/udev restart
ADB is now able to see the phone:
List of devices attached
42800c442c015d7 device
We access as root and run bash:
adb shell
bash
Chrooted Debian installation:
We are going to install an ARM binary chroot on our X86 PC. To do this, we will use debootstrap to obtain the files and qemu to be able to run the downloaded binaries. Qemu must be compiled statically to work.
Compiling qemu statically in Gentoo is not the best option if we use it as a virtualization system. We download the DEB, unpack it, and copy the binaries.
First, we make sure that our kernel supports running binaries from other architectures:
KERNEL
Executable file formats / Emulations ---> [*] Kernel support for MISC binaries
We tell the kernel that when it detects an ARM binary, it should run it with: /opt/qemu-arm/qemu-wrapperopt/qemu-arm/qemu-wrapper
[ -f /proc/sys/fs/binfmtmisc/register ] || mount binfmtmisc -t binfmtmisc /proc/sys/fs/binfmtmisc
echo ‘:armrpi:M::x7fELFx01x01x01x00x00x00x00x00x00x00x00x00x02x00x28x00:xffxffxffxffxffxffxffx00xffxffxffxffxffxffxffxffxfexffxffxff:/opt/qemu-arm/qemu-wrapper:’ > /proc/sys/fs/binfmtmisc/register
We download the statically compiled QEMU binary from Debian:
cd qemu-static
wget http://security.debian.org/debian-security/pool/updates/main/q/qemu/qemu-user-static2.1+dfsg-12+deb8u4amd64.deb
alien –to-tgz qemu-user-static2.1+dfsg-12+deb8u4amd64.deb
tar xvzf qemu-user-static-2.1+dfsg.tgz
mkdir -p debianchroot/opt/qemu-arm/
cp qemu-static/usr/bin/qemu-arm-static debianchroot/opt/qemu-arm/
emerge -av app-arch/alien dev-util/debootstrap
cd ..
mkdir debianchroot
debootstrap –arch=armhf –foreign jessie debianchroot http://http.debian.net/debian
We can search for our CPU at
https://en.wikipedia.org/wiki/ARM_architecture
Knowing that it is -march=armv7-a -mtune=cortex-a9
qemu -cpu cortex-a9
#include <string.h>
#include <unistd.h>

int main(int argc, char **argv, char **envp) {
    char *newargv[argc + 3];
    newargv[0] = argv[0];
    newargv[1] = "-cpu";
    newargv[2] = "cortex-a9";
    memcpy(&newargv[3], &argv[1], sizeof(*argv) * (argc - 1));
    newargv[argc + 2] = NULL;
    return execve("/opt/qemu-arm/qemu-arm-static", newargv, envp);
}
gcc -static qemu-wrapper.c -o qemu-wrapper
We prepare the chroot and install the base software:
mount -o bind /dev /home/kr0m/debianchroot/dev
mount -o bind /dev/pts /home/kr0m/debianchroot/dev/pts
mount -o bind /sys /home/kr0m/debianchroot/sys
mount -t proc proc /home/kr0m/debianchroot/proc
mount -o bind /dev/shm /home/kr0m/debianchroot/dev/shm
cd /home/kr0m/debianchroot
chroot ./ /bin/bash -l
export PATH=/usr/local/sbin:/usr/local/bin:/usr/sbin:/usr/bin:/sbin:/bin
/debootstrap/debootstrap –second-stage
useradd -u 2000 -g users -d /home/kr0m -m -s /bin/bash kr0m
passwd kr0m
passwd
groupadd -g 3001 aidnetbtadmin
groupadd -g 3002 aidnetbt
groupadd -g 3003 aidinet
groupadd -g 3004 aidinetraw
groupadd -g 3005 aidinetadmin
gpasswd -a kr0m aidnetbtadmin
gpasswd -a kr0m aidnetbt
gpasswd -a kr0m aidinet
gpasswd -a kr0m aidinetraw
gpasswd -a kr0m aidinetadmin
apt-get update
apt-get upgrade
apt-get install less vim rsync openssh-client bash-completion openssh-server tightvncserver screen htop glances fluxbox iceweasel feh bzip2 xfonts-75dpi xfonts-100dpi rxvt-unicode-256color locales gtk-chtheme sudo
We generate a file that will serve as swap:
chown root:root /swapfile1
chmod 0600 /swapfile1
mkswap /swapfile1
We reconfigure the time zone and locales:
None -> UTC
esES.UTF-8 UTF-8
We generate some files to avoid errors:
We configure the hosts so that the loopback corresponds to the chosen name:
DebDroid
We modify the profile to avoid errors in chrooted environments:
PATH="/usr/local/sbin:/usr/local/bin:/usr/sbin:/usr/bin:/sbin:/bin"
export PATH

if [ "$PS1" ]; then
  if [ "$BASH" ] && [ "$BASH" != "/bin/sh" ]; then
    # The file bash.bashrc already sets the default PS1.
    # PS1='h:w$ '
    if [ -f /etc/bash.bashrc ]; then
      . /etc/bash.bashrc
    fi
  else
    if [ "`id -u`" -eq 0 ]; then
      PS1='# '
    else
      PS1='$ '
    fi
  fi
fi

if [ -d /etc/profile.d ]; then
  for i in /etc/profile.d/*.sh; do
    if [ -r $i ]; then
      . $i
    fi
  done
  unset i
fi
We generate the script to be executed every time we enter the chroot:
cat > /bin/bashkr0m.start «- EOF
#! /bin/bash -l
hostname DebDroid
swapon /swapfile1
/etc/init.d/ssh start
for PID in pidof Xtightvnc; do
kill -9 $PID
done
rm -rf /tmp/.X*-lock
rm -rf /tmp/.X11-unix/X*
su - kr0m -c “vncserver -geometry 800x450 -depth 24”
EOF
We generate the script to be executed every time we exit the chroot:
cat > /bin/bashkr0m.stop «- EOF
#! /bin/bash -l
swapoff /swapfile1
for PID in pidof Xtightvnc; do
kill -9 $PID
done
for PID in pidof sshd; do
kill -9 $PID
done
/etc/init.d/ssh stop
rm -rf /tmp/.X*-lock
rm -rf /tmp/.X11-unix/X*
exit
EOF
chmod 700 /bin/bashkr0m.start
chmod 700 /bin/bashkr0m.stop
We configure Urxvt so that it does not show the sidebar in the console:
URxvt.scrollBar: false
We configure VNC to start the window manager, set the wallpaper:
vi /home/kr0m/.vnc/xstartup
#! /bin/sh
export XKLXMODMAPDISABLE=1
startfluxbox &
fbsetbg -f /home/kr0m/.config/wallpaper.jpg &
xrdb -merge /home/kr0m/.Xresources
We download the wallpaper, GTK theme, and fluxbox style:
mkdir /home/kr0m/.config
cd /home/kr0m/.config
wget
www.alfaexploit.com/images/1273381147326.jpg
mv 1273381147326.jpg wallpaper.jpg
mkdir /home/kr0m/.themes
cd /home/kr0m/.themes
wget
www.alfaexploit.com/files/Nova-Arch.tar.gz
tar xvzf Nova-Arch.tar.gz
mkdir -p /home/kr0m/.fluxbox/styles
cd /home/kr0m/.fluxbox/styles
wget
www.alfaexploit.com/files/59359-Nova-fluxbox.tar.gz
tar vxzf 59359-Nova-fluxbox.tar.gz
mv Nova/* ./
rm 59359-Nova-fluxbox.tar.gz
exit
We create the chroot file system and synchronize the content of the local chroot to the SD card:
cd
mkfs.ext4 /dev/mmcblk0p2
mount /dev/mmcblk0p2 /mnt/aux
rsync -av –exclude /dev –exclude /sys –exclude /proc /home/kr0m/debianchroot/* /mnt/aux/
mkdir /mnt/aux/dev
mkdir /mnt/aux/sys
mkdir /mnt/aux/proc
umount /mnt/aux
We plug the SD card into the phone and access it via ADB:
adb root
adb shell
bash
mkdir /data/debian
mountpoint -q /data/debian/ || mount /dev/block/mmcblk1p2 /data/debian
mountpoint -q /data/debian/dev || mount -o bind /dev /data/debian/dev
mountpoint -q /data/debian/dev/pts || mount -o bind /dev/pts /data/debian/dev/pts
mountpoint -q /data/debian/sys || mount -o bind /sys /data/debian/sys
mountpoint -q /data/debian/proc || mount -t proc proc /data/debian/proc
mkdir /data/debian/dev/shm 2>/dev/null
mountpoint -q /data/debian/dev/shm || mount -o bind /dev/ashmem /data/debian/dev/shm
grep -v rootfs /proc/mounts > /data/debian/etc/mtab
sysctl -w net.ipv4.ipforward=1
export HOME=/root
export TERMINFO=/etc/terminfo
chroot /data/debian/ /bin/bash -l
chown -R kr0m:users /home/kr0m/
exit
We prepare the chroot entry script:
mkdir /data/debian 2>/dev/null
busybox mount /dev/block/mmcblk1p2 /data/debian
busybox mount -o bind /dev /data/debian/dev
busybox mount -o bind /dev/pts /data/debian/dev/pts
busybox mount -o bind /sys /data/debian/sys
busybox mount -t proc proc /data/debian/proc

mkdir /data/debian/dev/shm 2>/dev/null
busybox mount -o bind /dev/ashmem /data/debian/dev/shm

grep -v rootfs /proc/mounts > /data/debian/etc/mtab
sed -i 's//dev/block/mmcblk1p2 /data/debian//dev/block/mmcblk1p2 //g' /data/debian/etc/mtab
sysctl -w net.ipv4.ipforward=1
export HOME=/root
export TERMINFO=/etc/terminfo

chmod 700 /data/debian/bin/bashkr0m.start
chroot /data/debian/ /bin/bashkr0m.start
And the exit script:
chmod 700 /data/debian/bin/bashkr0m.start
chroot /data/debian/ /bin/bashkr0m.stop

busybox umount -l /data/debian/proc
busybox umount -l /data/debian/sys
busybox umount -l /data/debian/dev/pts
busybox umount -l /data/debian/dev
busybox umount /data/debian
chmod 700 /data/debian.stop
We start the chroot:
We can make Android start the chroot every time it boots:
su -c /data/debian.start
Now we can access it from a PC either through SSH or VNC:
ssh kr0m@IP
su
vncviewer IP:1
fbsetbg -f /home/kr0m/.config/wallpaper.jpg
We change the GTK theme:
And the Fluxbox style:
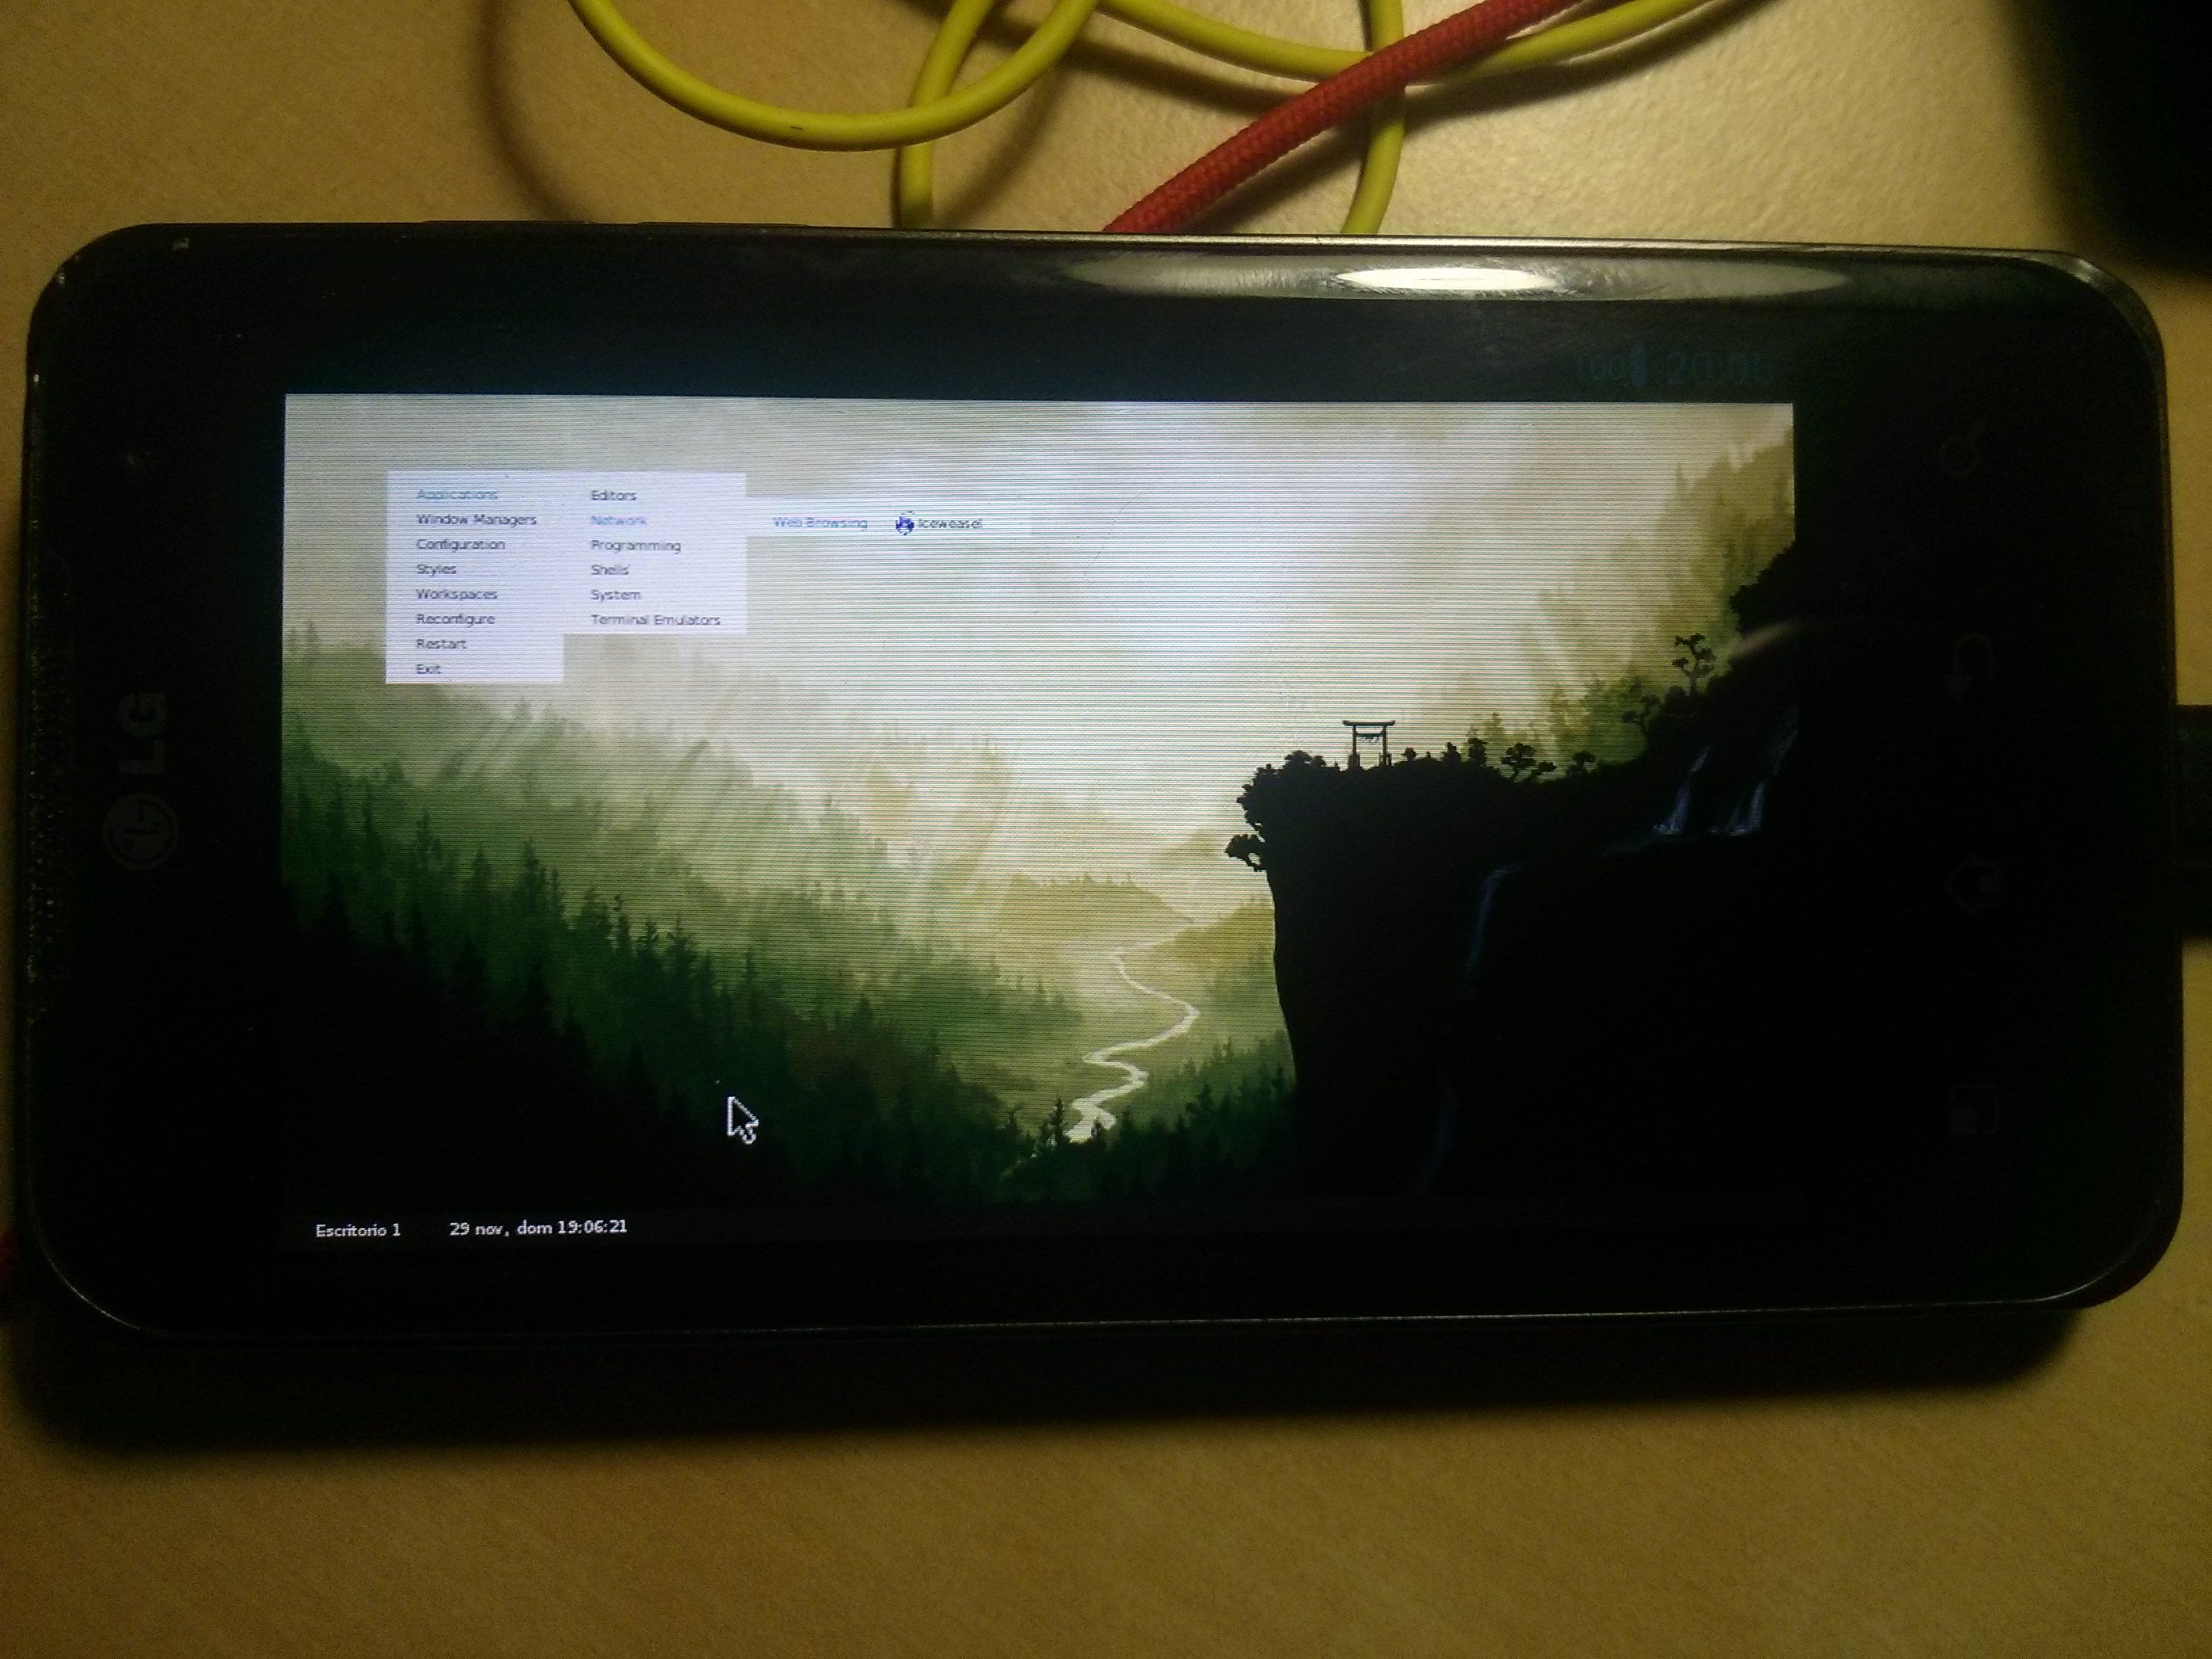
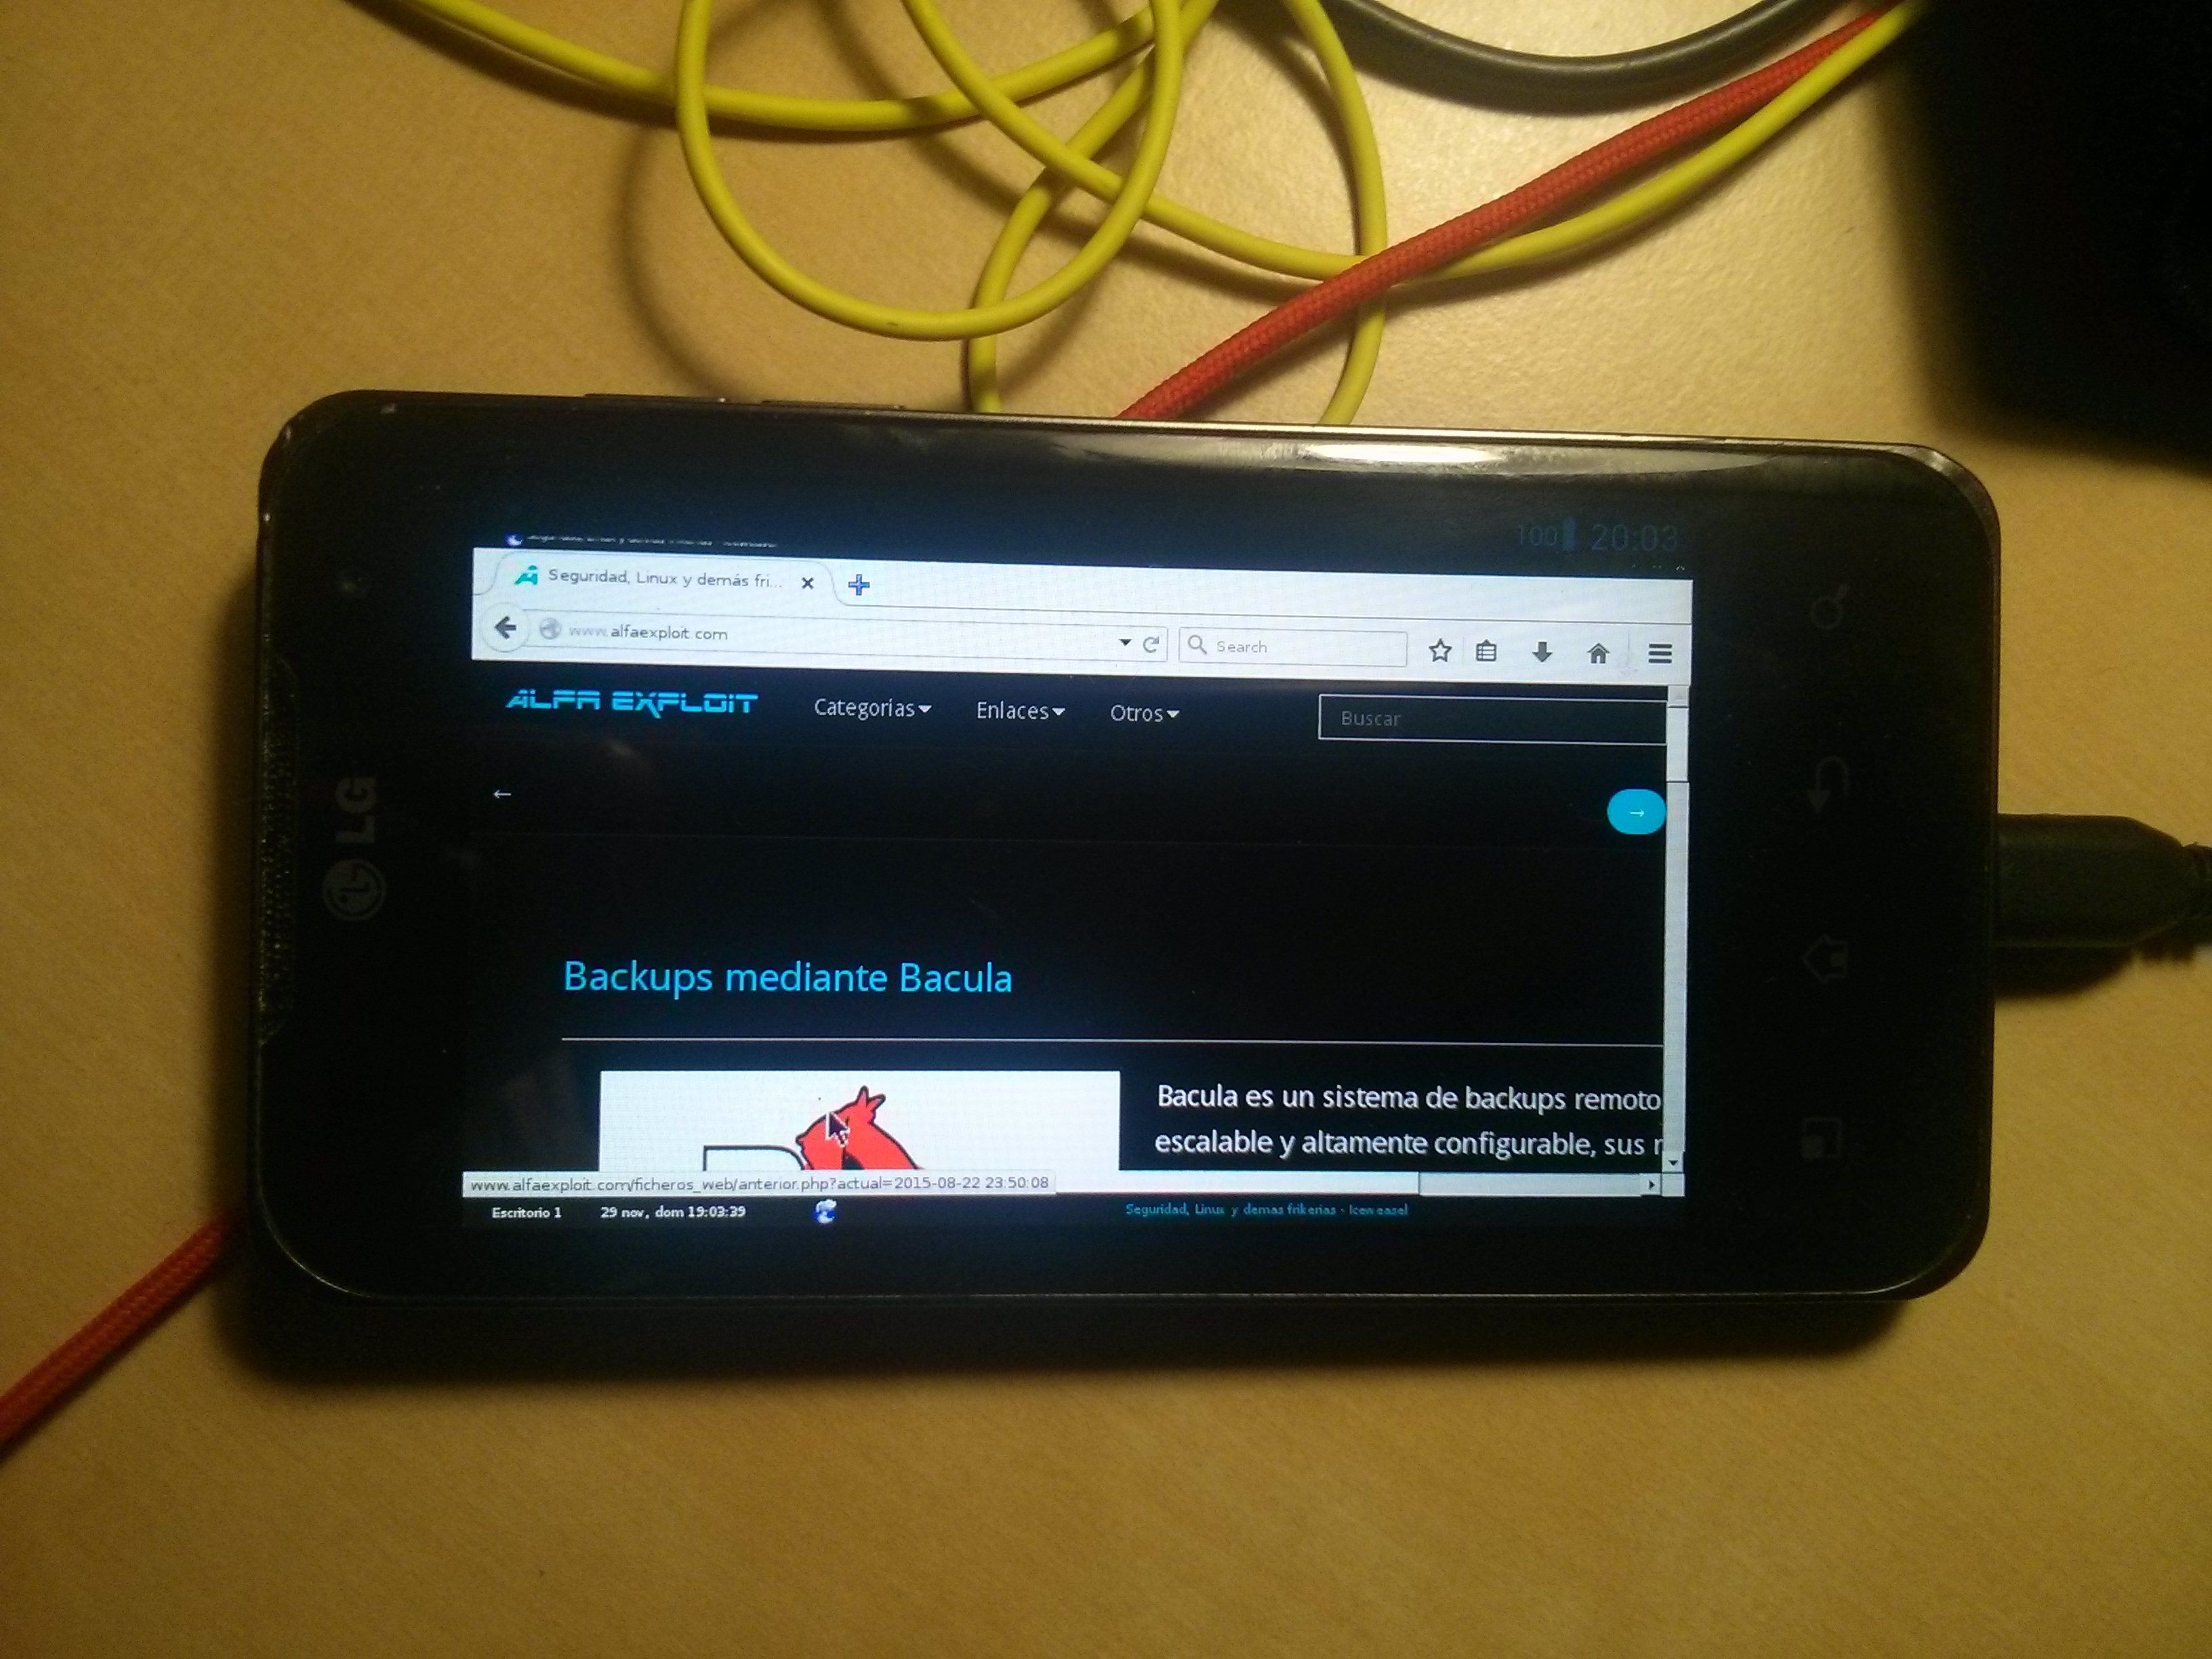
To access it from the phone itself, we install a VNC client on Android and connect to it:
To prevent the chroot filesystem from getting corrupted, we must unmount it before shutting down the phone. We run the following command in a terminal on the phone:
I leave a couple of photos so you can see how it looks in the end: